The Brief From A Midrand Prototype Workshop
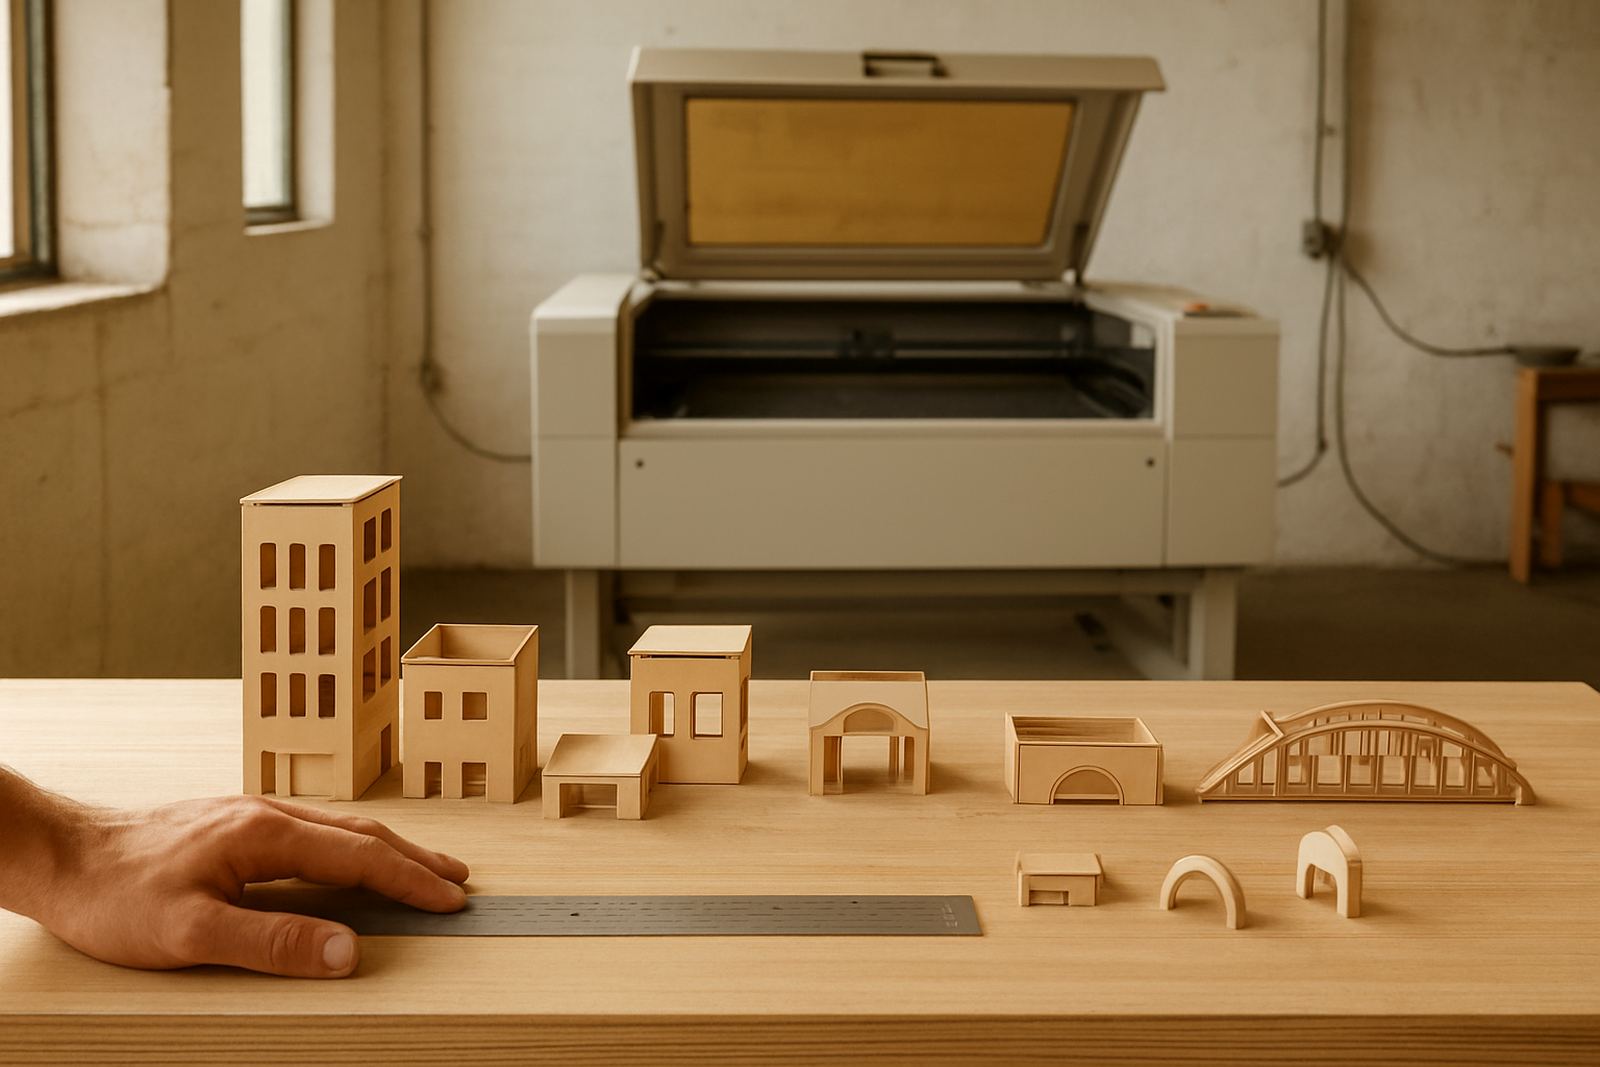
The client was a prototype and model workshop in Midrand working on architectural presentation pieces, repeat façade parts and small internal fittings for display models. Their team needed cleaner cut edges and better consistency across repeat parts, especially where slots, tabs and interlocking details had to line up first time on assembly.
The brief was straightforward: improve fit accuracy, reduce rework and make the cutting process easier to manage across different material thicknesses. They also wanted a setup that could cope with short production runs, because model work changes often and the cutting needs shift from one job to the next.
There were a few constraints on the project. The workshop floor space was tight, power supply had to be planned carefully and the team could not afford long down time while they changed over from manual finishing. Midrand also gets its share of dust and dry air, so lens care and extraction planning mattered from day one.
What We Supplied And Set Up
We supplied a CO2 laser cutting system matched to the client's mix of acrylic, MDF, plywood and card. The machine was configured for fine detail work, with attention on edge quality, repeat position accuracy and stable output on nested sheets. We also set the cutting profile for the thicknesses they use most often in model making.
During installation, our technical team checked the room layout, extraction route, cooling arrangement and access for maintenance. We aligned the beam, checked airflow and confirmed that the machine could run cleanly on the usual day-to-day jobs without the operator having to keep adjusting settings all the time.
- Material range set up for 2 mm to 6 mm acrylic, 3 mm MDF, thin plywood and card
- Fine detail settings tuned for small apertures, tabs and slot joints
- Extraction and cooling checked for a workshop environment with regular short runs
- Operating notes prepared for repeat cuts, nesting and batch control
Installation Week And Operator Training
The install and handover took place over one week. On day one we completed the physical placement, power checks and extraction connection. On day two we ran test cuts on the client's own files, then adjusted speed, power and air assist settings to improve the joint fit on their architectural parts. By the end of the week, the operator was producing repeat sets with much less manual trimming.
Training was practical and hands-on. We worked through file prep, material setup, focusing checks, lens cleaning, beam alignment basics and safe shutdown routines. The team was shown how to spot early warning signs such as poor edge finish, slight offset and heat damage before a batch went too far. We also covered load-shedding planning, because a sudden stop during a cut can waste material and affect the next run if the system is not reset properly.
- Operator training delivered on site in Midrand
- Test files run on actual project parts, not sample shapes only
- Shutdown and restart routine explained for power interruptions
- Basic daily checks assigned to the operator and supervisor
Fit Accuracy On Repeat Architectural Parts
The main result was tighter fit accuracy on repeat architectural parts. Slots, tabs and wall panels came off the machine more consistently, so the assembly team spent less time sanding, trimming and matching parts by hand. That made a clear difference on model jobs where 1 mm can change the look or fit of a whole section.
We also saw a cleaner edge finish on acrylic and MDF, with less charring on the cut line and better detail on smaller features. For a model maker, that matters because presentation pieces need to look neat before they even reach a client meeting. The workshop was able to cut more parts per batch and keep a better rhythm on jobs that repeat over several units.
After the handover, the team reported fewer rejected parts and better consistency between morning and afternoon runs. The operator could now keep the machine on the same setting set for a group of parts instead of chasing small variations job by job. That saved time and material, which is often the difference between a profitable prototype run and one that eats into the margin.
Support After The First Production Runs
Once the machine was in routine use, we stayed available with remote support and follow-up checks. The first few production runs are when small issues usually show up, such as dust build-up, a slightly dirty optic or a file that looks fine on screen but cuts too tight in real material. We worked through those early questions with the team and kept them moving.
We also set a simple maintenance routine around the workshop's actual pace of work. In a place like Midrand, where model jobs can come in quickly and need a fast turnaround, the machine has to be ready when the job arrives. That means cleaning the lens, checking the cooling water, keeping the extraction path clear and watching for drift before it affects the next batch.
- Remote support used for early run checks and file questions
- Optics cleaning scheduled into the weekly maintenance list
- Cooling and extraction checked before longer cutting sessions
- Spare parts and service planning kept in the background, not left to chance
What This Midrand Model-Making Job Taught Us
For another project in this category, we would use the same order of work. Start with the actual materials, not just the machine spec sheet. Test the parts the client really makes, especially if the job involves repeat architectural components with slots, folds and press fits. Then tune the process around the workshop's pace, power conditions and space.
For this Midrand model maker, the most useful part was not only the machine itself but the setup around it. Getting the beam aligned, the extraction right and the operator comfortable with the workflow made the difference between a machine that just cuts and one that helps the workshop keep up with demand. That's the part we focus on every time, because a clean install only matters if the parts fit better on the table the next day.
The result was practical: better fit accuracy, less rework and a smoother path from drawing to finished model. For repeat architectural work, that is exactly what the client needed.
Key facts
| Client type | Prototype and model workshop |
|---|---|
| Town | Midrand, Gauteng |
| Main materials | Acrylic, MDF, plywood and card |
| Project timeline | 1 week install and training, then follow-up support |
| Key outcome | Tighter fit accuracy on repeat architectural parts |
| Support scope | Installation, operator training, beam alignment and remote support |