Start with the pack size and product movement
Before any cutting starts, measure the product in its final packed state. Include the item itself, wrapping, any spacer material, and the way it moves inside the box when the carton is tilted or shaken. A sample that fits on the flat bench can still fail once it goes into courier handling or a retail shelf, so build in enough tolerance for real use.
For packaging samples, we usually work from the inside out. Confirm the internal length, width and depth first, then decide where inserts, slots, tabs and finger lifts are needed. Acrylic, board, wood and leather all behave differently, so the sample should match the final material as closely as possible. If the item is heavy or has sharp edges, give the corners extra support and avoid thin bridges that may flex or tear.
- Measure the product with any protective wrap in place
- Allow clearance for easy loading and removal
- Check if the item can rattle, shift or tip during transport
- Mark where inserts must hold, guide or separate components
Choose a sample structure that suits the job
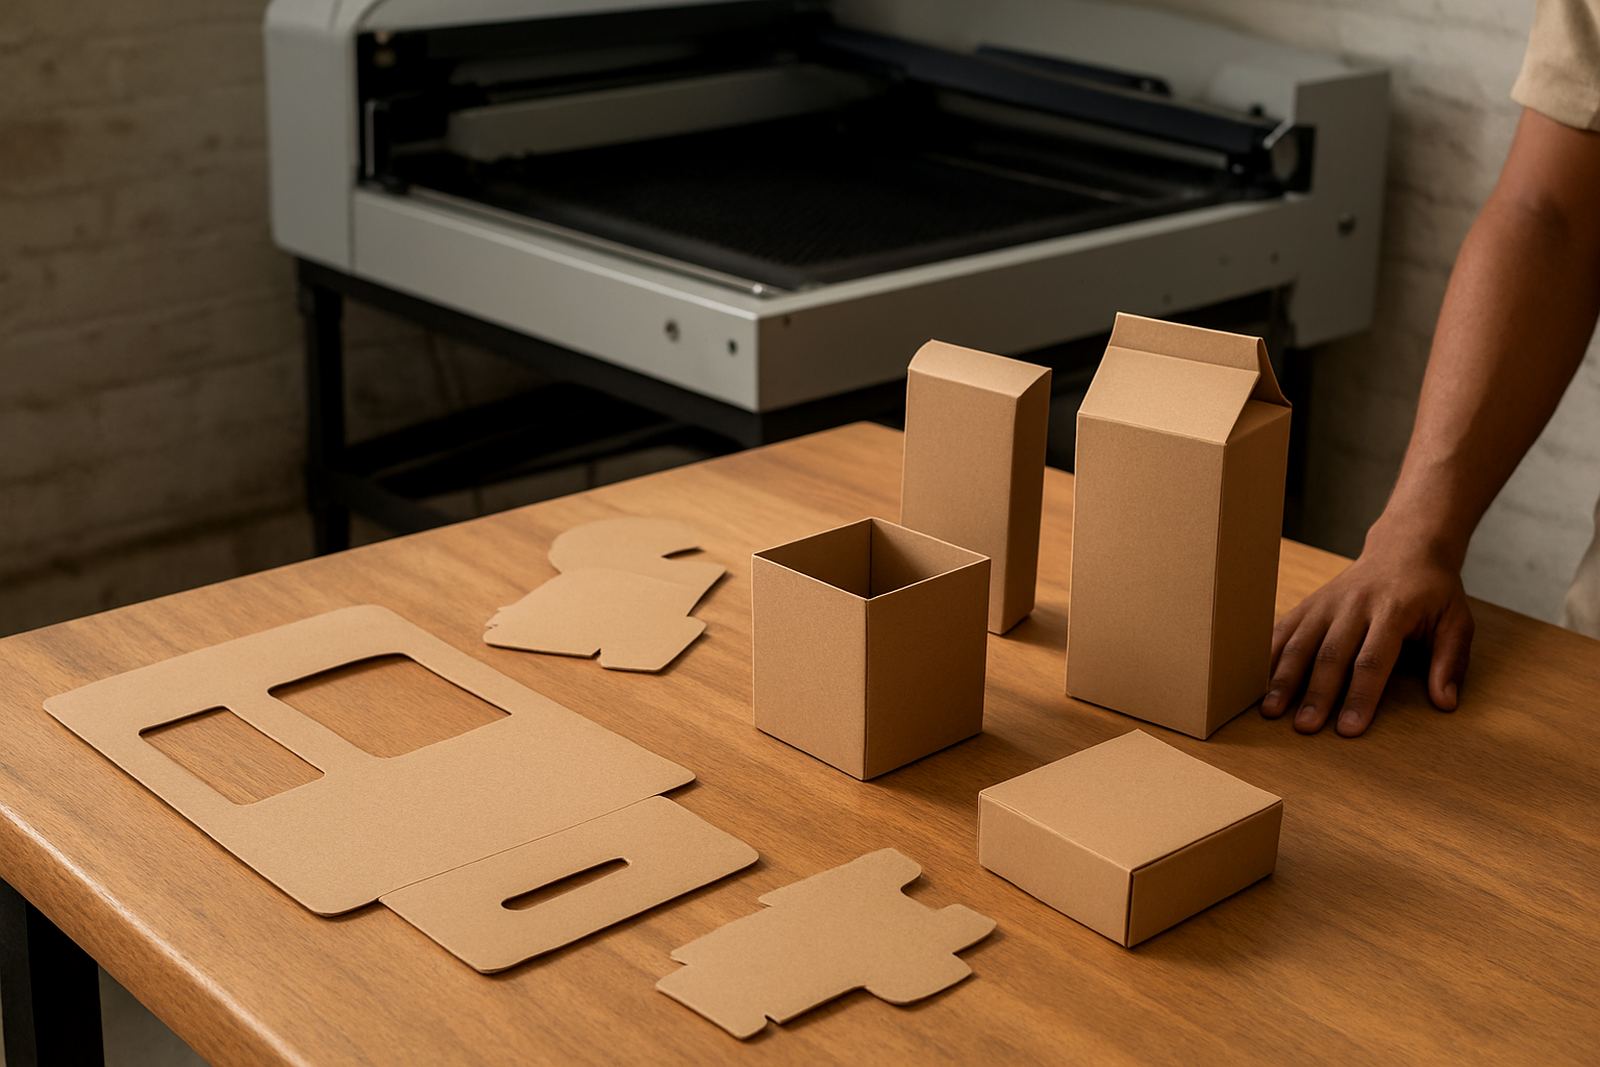
Laser cutting is useful because it lets you test different pack styles quickly. A simple folding carton may only need cut lines and score lines, while a presentation box may need layered panels, window cut-outs or a fitted insert. If the sample is for retail display, the opening style and visual finish matter just as much as the fit.
In Johannesburg, many clients use samples to compare courier packing against shelf-ready presentation. A sample with a lid, tuck-in flap or magnetic-style closure can show whether the product feels premium enough for the market. We often advise starting with one simple version and one upgraded version, then comparing the handling and labour time. That keeps the decision practical, not guesswork.
If you are planning volume production, keep the sample layout close to the final manufacturing method. That means using the same board thickness, same glue areas, and similar fold sequence where possible. It saves time later and shows where assembly may slow the team down.
Set up the cut file for clean sample runs
Good sample work starts with clear line control. Separate cut lines, score lines and engraving marks so the operator can process the job cleanly. Every fold, notch and window should be labelled in a way that matches the packing sequence. This is important when you need to test several versions in one morning and compare them side by side.
For packaging samples, small drawing issues can cause bigger problems later. A slot that is 0,5 mm too tight may work in one batch and fail in another. Likewise, a tab that sits too deep can weaken the wall of the box. Keep the file tidy, use consistent dimensions, and check the order of operations before cutting. A neat file makes the sample easier to repeat and easier to hand over to a production team.
- Use separate layers for cut, score and mark lines
- Check slot widths against actual material thickness
- Label reference points for folds, inserts and panel alignment
- Keep a revision note for each sample version
Run the first sample and check the physical finish
The first sample should be treated as a working test, not a final approval. Cut one unit, assemble it and inspect all contact points. Look at the edge finish, the ease of folding, the way the lid sits, and whether the insert holds its shape under light pressure. If the material scorches, chips or leaves residue, adjust the settings before cutting the next version.
For presentation pieces, the appearance of the inside matters too. A clean interior can improve the unboxing experience and reduce the need for extra print or wrap. In some cases, a simple window or cut-out handle can make the pack easier to use without adding material. That is often the difference between a good sample and one that works in production. Dont rely on visual appeal only, check the handling as well.
Where the sample is for repeat orders, compare the finished unit against the packaging specification and note any pinch points, loose sections or weak joins. Small corrections now are cheaper than fixing a full run later, especially when delivery dates are tight.
Use sample checklists for inserts, dividers and presentation parts
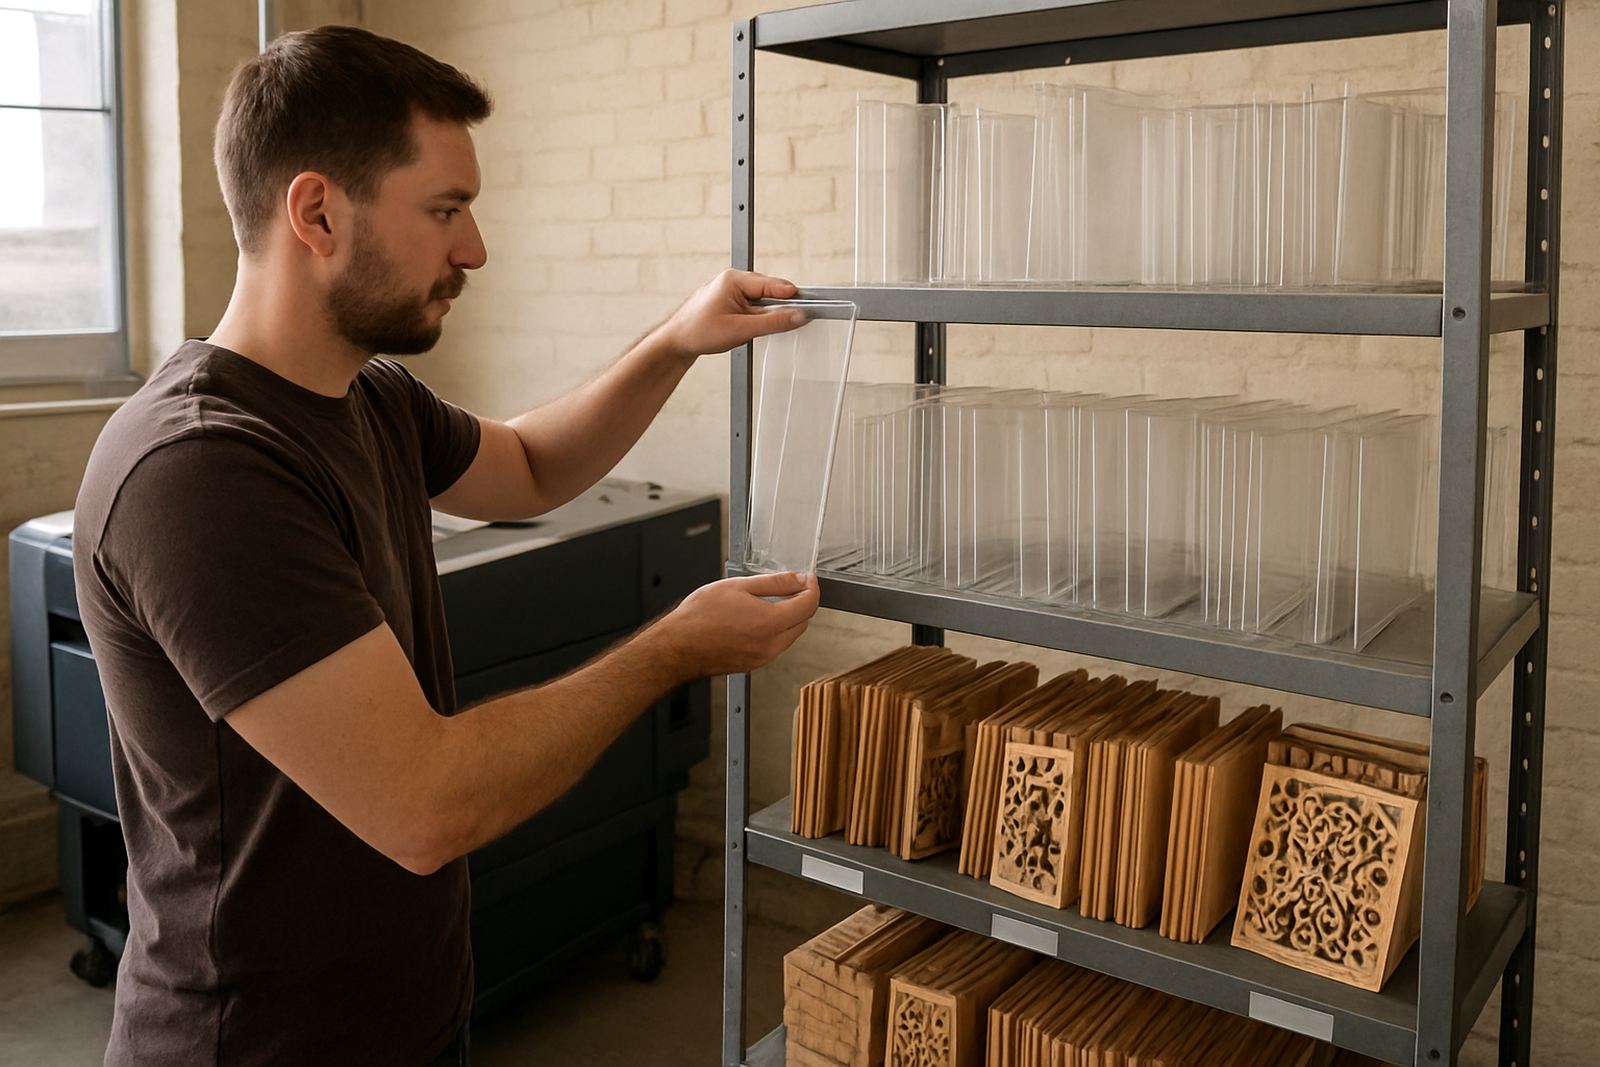
Insert work is where laser cutting really helps. You can test finger slots, cradle supports, divider spacing and multi-level inserts without waiting for expensive tooling. For cosmetics, electronics, craft kits or gift sets, the insert should hold each item securely and still allow easy removal. If the parts are too tight, the pack becomes hard to use. If they are too loose, the product moves around.
When checking inserts and presentation components, go item by item. The aim is not just to fill space, but to support the product in a way that looks organised and practical. In humid coastal areas, board and timber may change slightly with moisture, so recheck fit after a day or two. This is especially useful when samples are being sent between Johannesburg, Durban and Cape Town for approval.
- Confirm each item slot matches the actual product shape
- Test removal by hand without tearing the insert
- Check if layered parts sit level when packed
- Inspect the sample after standing overnight
- Make sure labels or branding areas stay visible
Move from one sample to a repeatable production plan
Once the sample is approved, document everything needed for the next run. That includes material type, thickness, cut settings, fold order, and the sequence used during assembly. If the sample was approved in Wynberg but the final pack will be assembled elsewhere, keep the notes clear so the result stays consistent. A good sample should reduce uncertainty, not create more of it.
We also suggest a final sign-off check on the first production batch. Compare the batch against the approved sample, not just the drawing. That includes edge quality, insert fit, fold memory and finish after handling. Where needed, make one more correction before scaling up. It is a simple step, but it saves time and waste. For businesses working around load-shedding or tight dispatch windows, a stable sample process makes planning much easier.
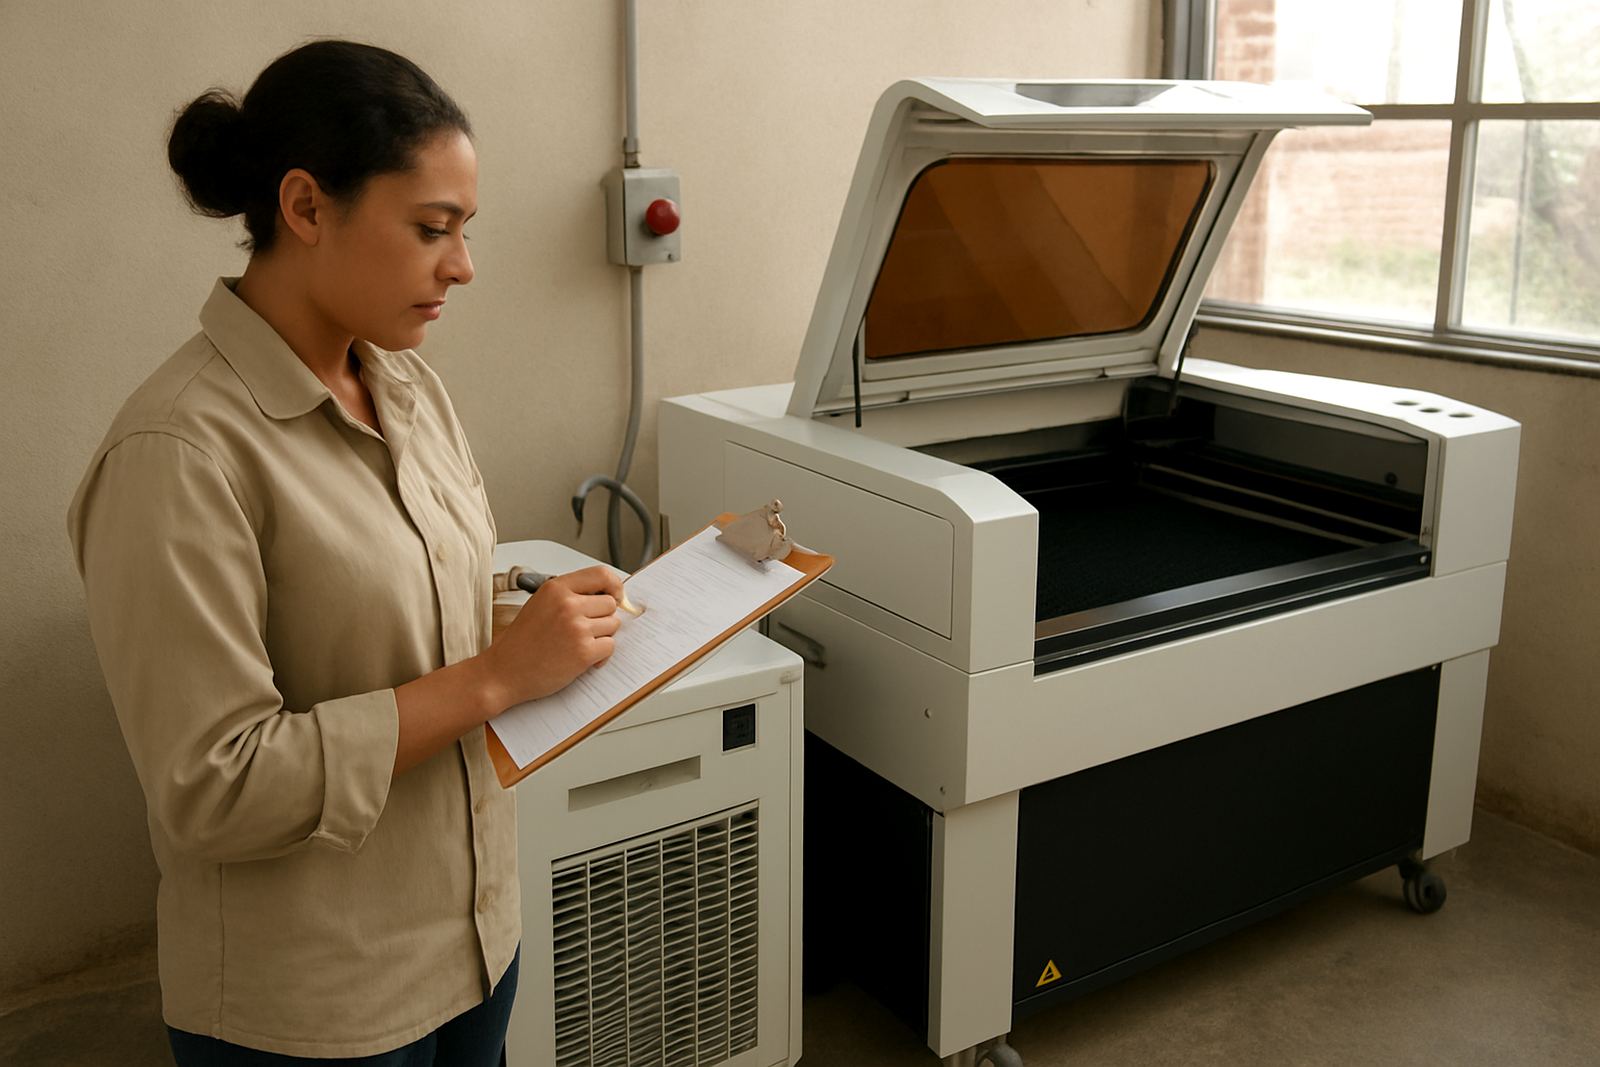
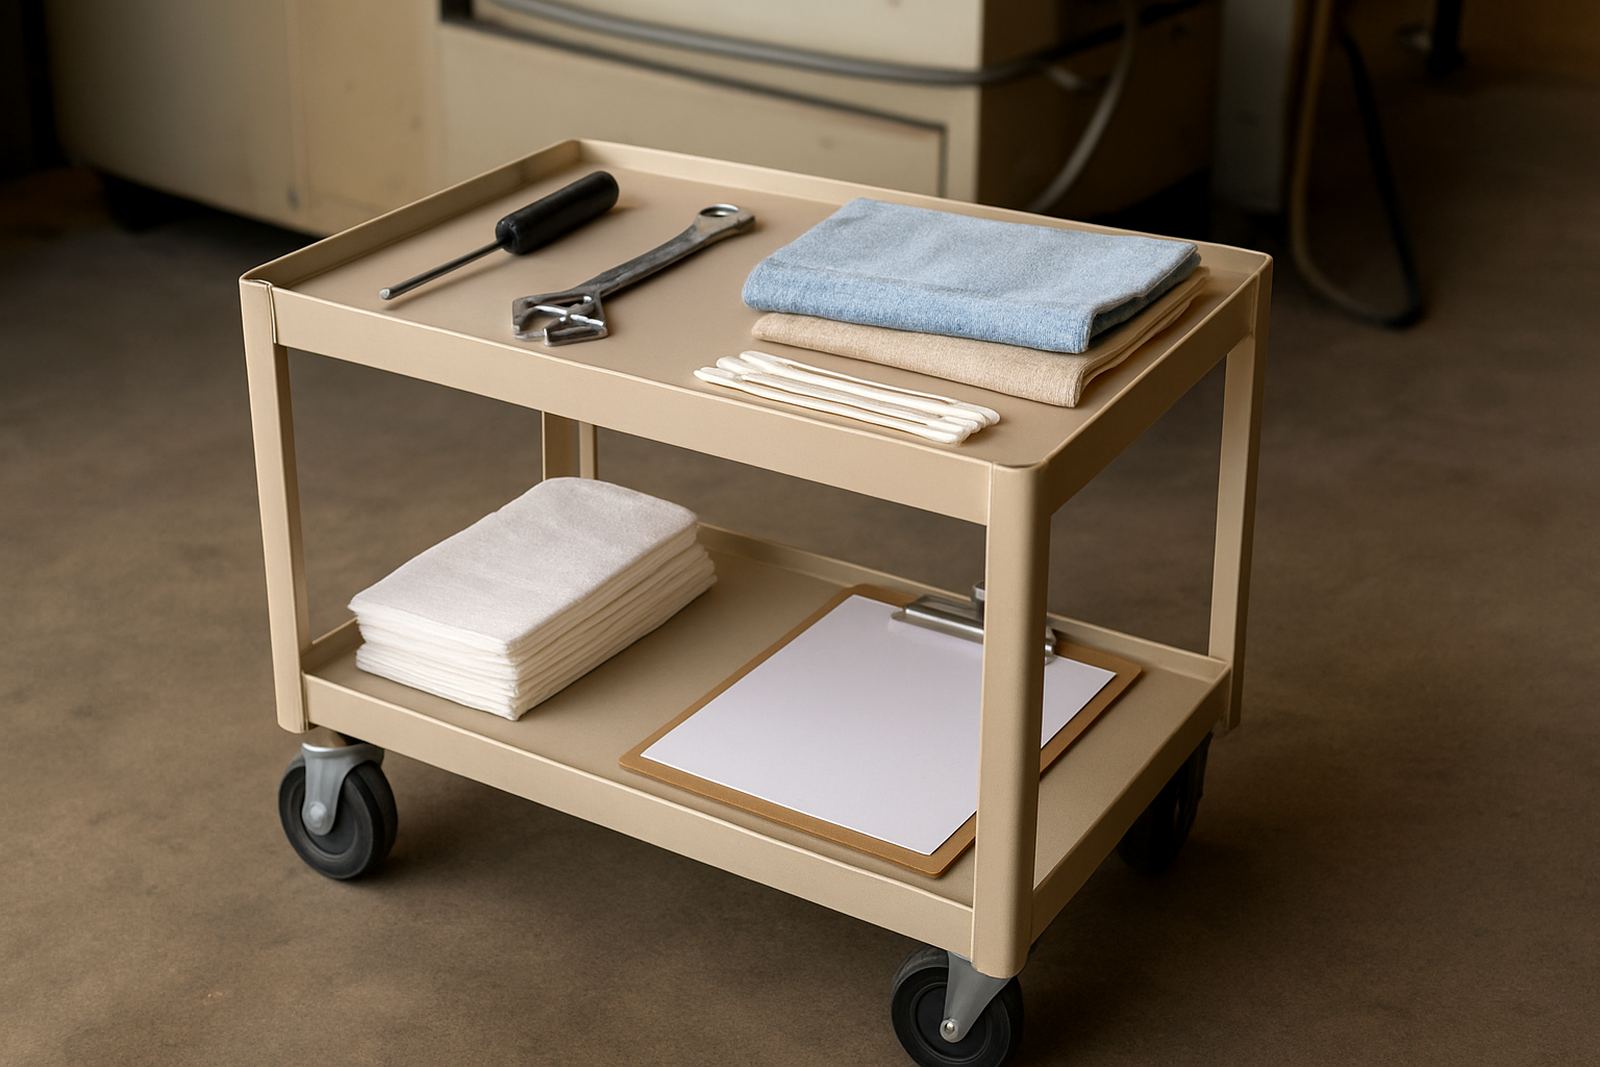
For practical support, use the enquiry form on our contact page to arrange demo cuts, installation support or operator training in Johannesburg and across South Africa. We also assist with maintenance, beam alignment, extraction checks, cooling checks and remote support where needed, so the sample process can keep moving.