Start With The Room, Not The Machine
Before you switch on, take 2 minutes to look at the room around the machine. A CO2 laser cutter depends on clear airflow, stable power and a clean work area, especially in busy workshops where dust, offcuts and packing material build up quickly. Check that the floor is dry, the extraction path is open, and nothing is stored against the rear or side panels.
In Johannesburg, Pretoria and the coastal areas, humidity and dust can change how the machine behaves from one day to the next. If the unit has been standing overnight, wipe down the bed, check for condensation on optics covers and make sure the cooling system is ready before you start the first job. If your site has load-shedding, confirm that the power return sequence is safe and that the machine has been shut down properly after the last session.
- Clear the table, honeycomb or slat bed of scraps, tape and loose offcuts
- Check extraction ducting for kinks, blockages or crushed sections
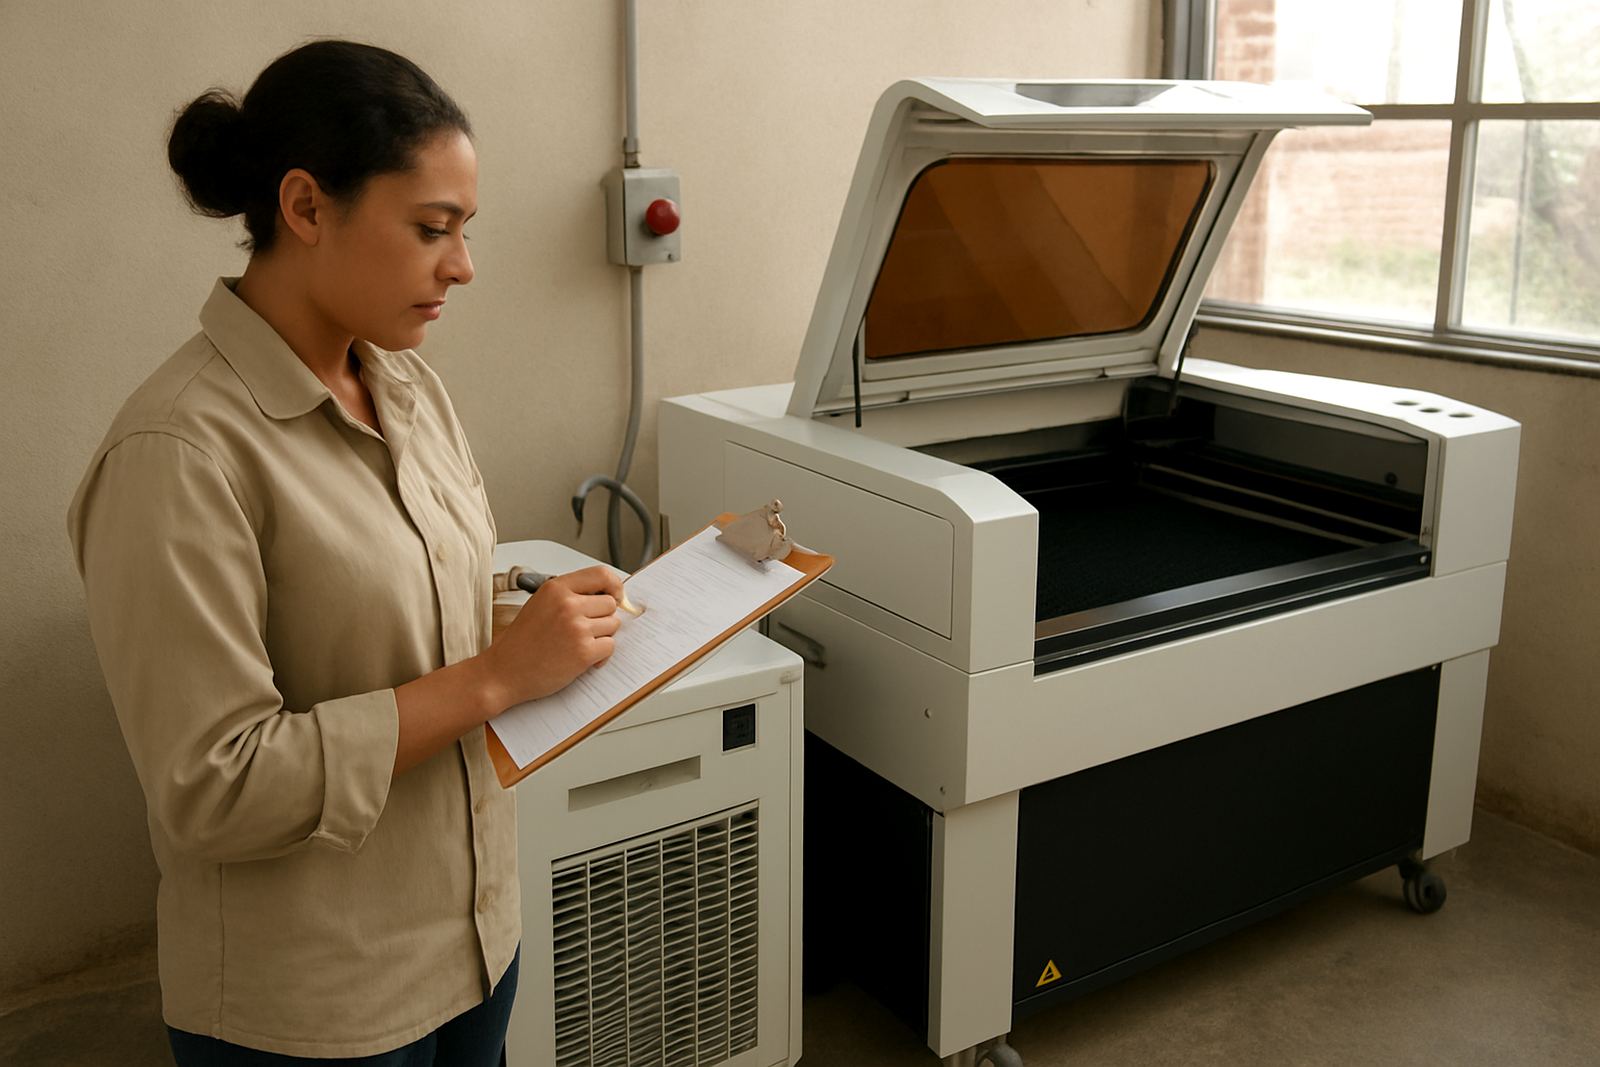
- Confirm the chiller, pump or cooling unit is running normally
- Make sure the extinguisher is in place and easy to reach
- Keep solvents, sprays and cleaning fluids away from the cutting area
Run A Quick Safety Check Before Powering Up
Operators should treat the startup sequence the same way every time. Consistency helps prevent faults, protects the optics and keeps the machine ready for production. If more than one person uses the machine, keep the checklist near the control panel so each shift follows the same steps.
Open the lid and check that no tools, rulers, magnets or test pieces are left inside. Make sure all access covers are closed, the emergency stop is released, and the machine can move freely across the full bed area. If your machine has interlocks, confirm they are active. For workshops in shared premises or industrial parks, this matters even more because people may move in and out of the space during the day.
- Switch on the main isolator and watch for unusual noise or vibration
- Check that the control screen boots normally without warning messages
- Verify the extraction fan starts when the machine is enabled
- Confirm water flow or cooling temperature is within the normal range
- Check lens, mirrors and nozzle area for dust before the first job
Prepare The Material And Job File Properly
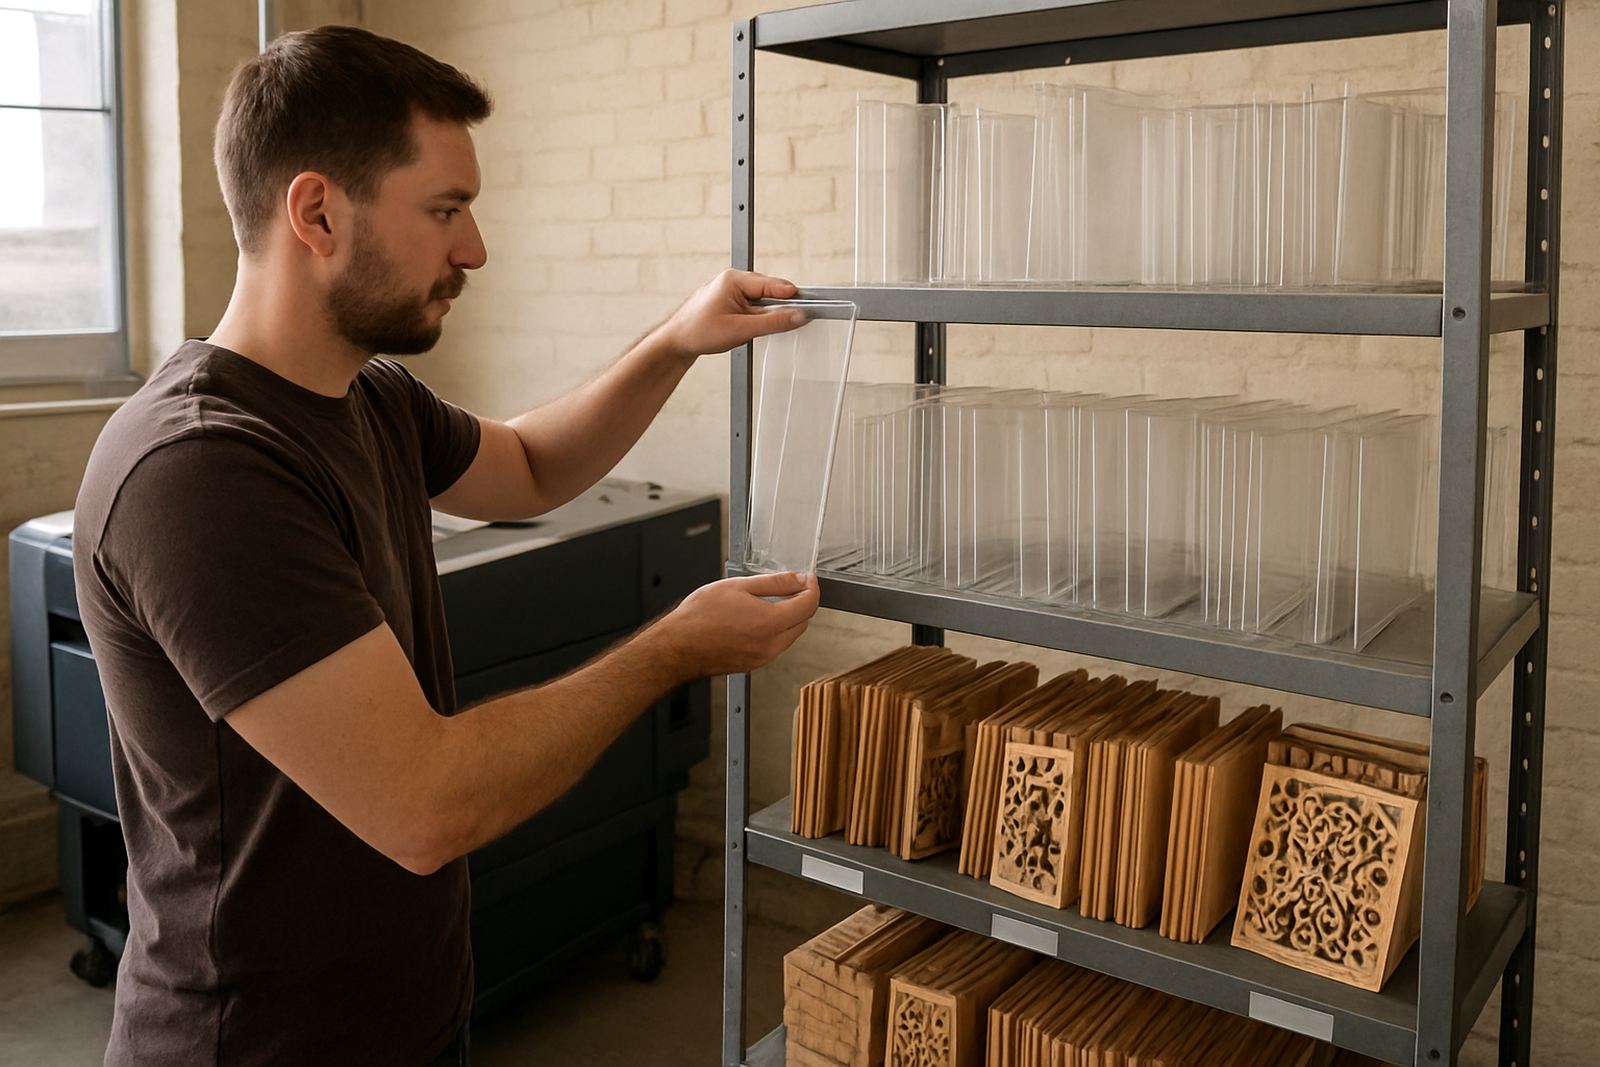
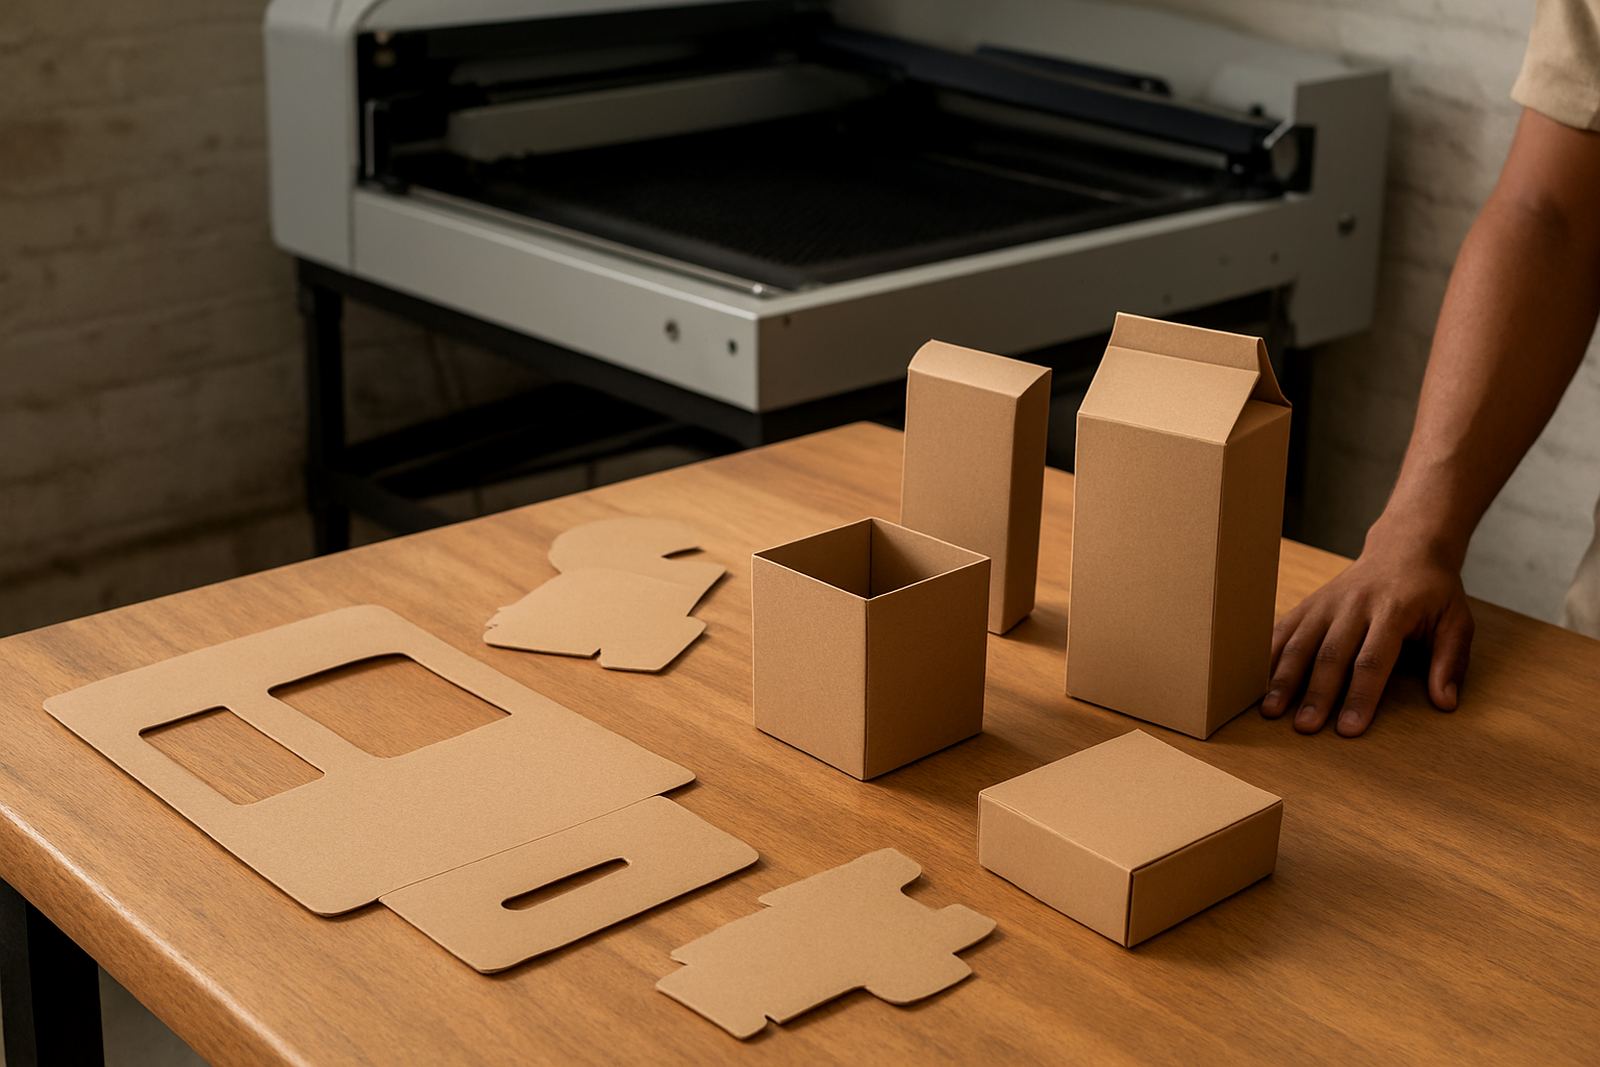
Good cutting starts with good preparation. Acrylic, wood and leather all behave differently, so do not use the same settings for every sheet. Confirm the thickness with a vernier or ruler, then inspect the surface for warping, glue, film residue or knots. On wood, uneven density can affect edge quality. On leather, stretch marks and surface finish can change the result, so test on a small offcut first.
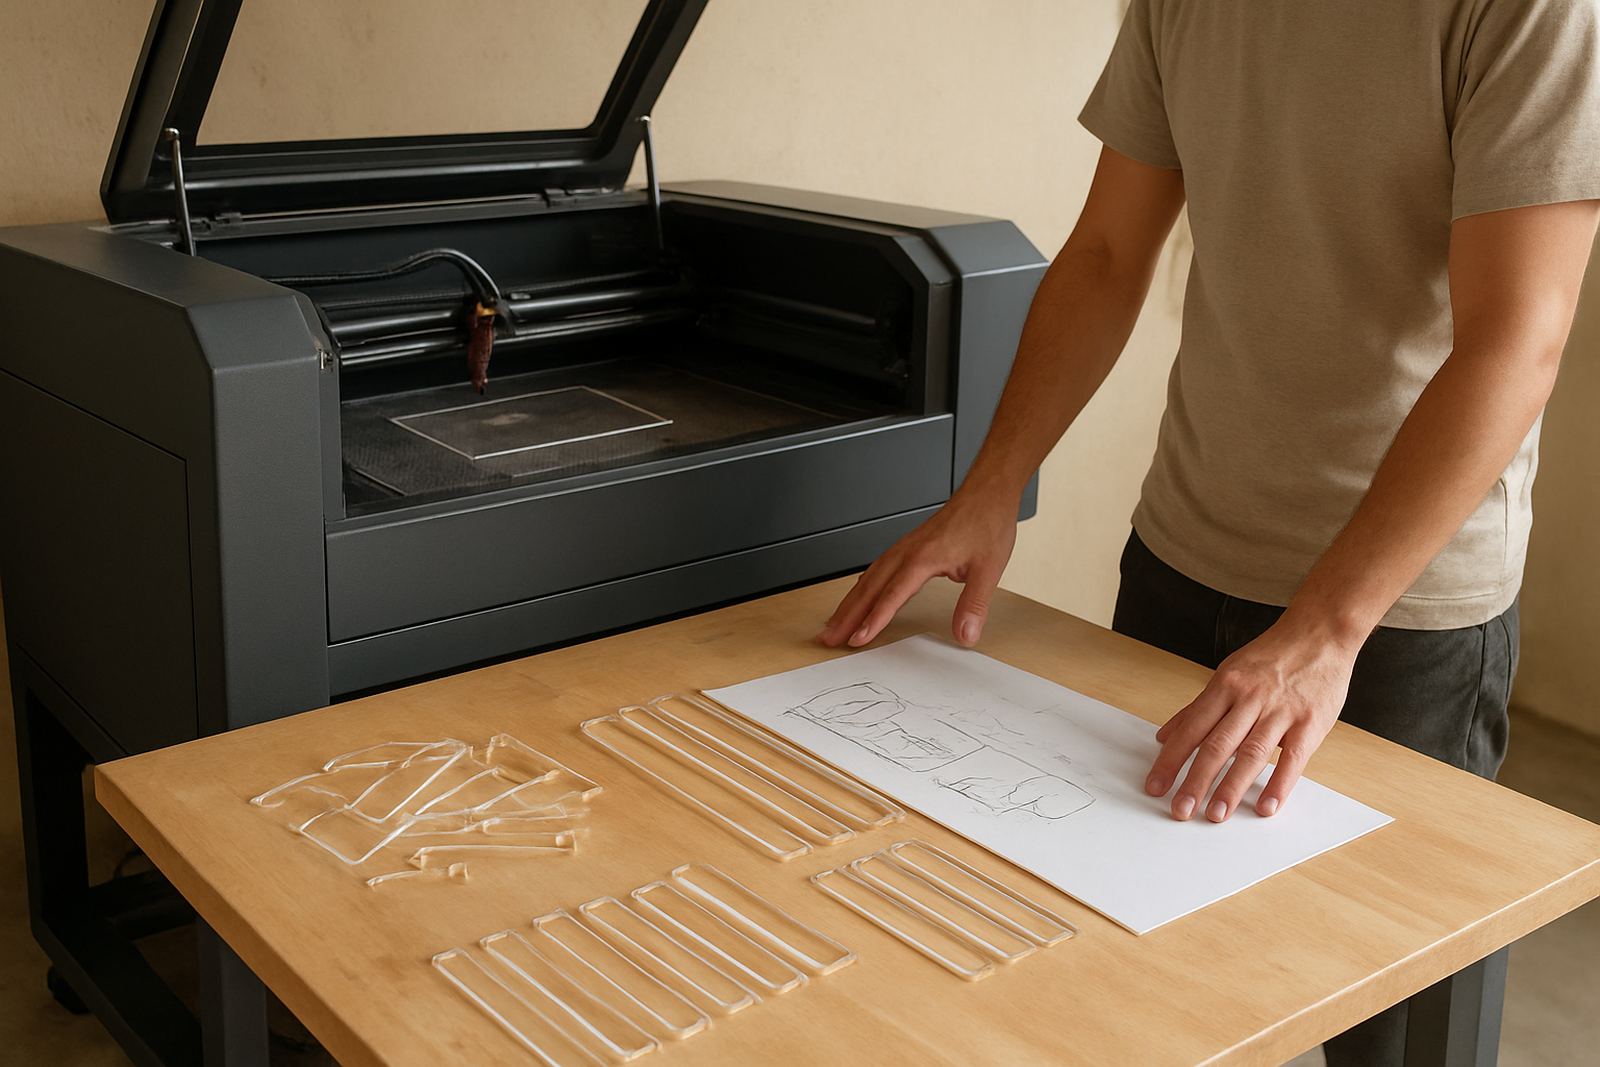
Keep the file simple and clean. Remove duplicate lines, open shapes and hidden objects that can cause extra passes or burn marks. If you are running a new product or a high-value batch, do a small sample cut first and check the edge, fit and finish before starting the full run. That extra step saves material and keeps the job on track.
- Measure the sheet size and confirm it fits the bed with a small margin
- Check the artwork scale is correct in millimetres, not pixels
- Use the right material profile for acrylic, wood or leather
- Keep a test piece aside for setting power and speed
- Label each batch if you are cutting multiple items at once
Set Zero, Focus And Airflow Before The First Cut
Once the machine is ready and the job is loaded, set your origin carefully. A rushed zero point can waste a full sheet if the head starts in the wrong place. Move the head slowly, check the corners, and keep enough clearance from clamps or warped edges. If the bed is uneven, correct the setup before running a long job.
Focus is just as important. Use the correct focusing method for your machine and material thickness, then confirm the beam path is clean. Air assist must be working properly because it helps clear smoke, protects the lens and gives cleaner edges. If the airflow is weak, you may see dark edges, flare ups or sticky residue on the cut line.
For most workshops, a steady first pass is better than pushing speed too hard. It is better to get one clean cut than to chase a fast setting that leaves unfinished corners or charring. That is especially true when the workshop is busy, the aircon is off, or the power supply has been unstable after load-shedding.
Use A First-Job Checklist For Safe Production
The first job of the day should be a short one if possible. It lets you confirm settings, observe the machine and catch problems before the full queue starts. Stay near the machine during the first minutes and watch the exhaust, beam motion and edge finish. If you smell heavy burning, see sparks or notice the material lifting, stop and check the setup.
Keep your hands clear while the machine is running and avoid leaving the room with a live cut in progress. In a small workshop, a second person should know how to pause the machine and call for help if needed. If the job will run for a long time, set a regular inspection interval so someone checks the cut quality and the cooling system.
- Watch the first 2 to 3 parts before leaving the machine unattended
- Check whether the cut passes through cleanly without extra scorch
- Look for smoke build-up around corners and closed shapes
- Confirm the bed is not catching debris under the sheet
- Keep a note of the settings that worked for the next batch
After The Job, Clean Up Properly For The Next Shift
When the job is complete, do not leave the machine with scrap, dust or adhesive residue inside. Clean the bed, remove cut-outs and check the lens area for smoke marks. A quick clean after each run helps protect optics and keeps the next startup simple. In Durban or other humid areas, this is especially important because residue can cling to surfaces more quickly.
Switch off the machine in the correct order, then isolate power if the unit will not be used again soon. If you are shutting down for the day, empty the scrap tray, check water levels and inspect hoses, cables and seals. Report any unusual sound, rough motion or weak cutting before the next operator takes over. Small faults are easier to fix early than after a breakdown.
If your team rotates between sites in Wynberg, Sandton, Midrand or Pretoria, keep the same shutdown routine everywhere. Consistent habits make training easier and reduce mistakes when different staff members use the machine.
When To Stop And Call For Support
Not every problem is a settings issue. If the beam is inconsistent, the cuts drift, the machine loses power part way through a job, or the cooling system cannot hold a safe temperature, stop and inspect the unit. Do not keep pushing through a fault just to finish the order. That can damage optics, waste material and create a safety risk.
Contact support through the enquiry form on our contact page if you need help with startup checks, training, preventive maintenance, beam alignment, extraction service or a relocation. For sites that need help across Johannesburg, Pretoria, the East Rand, West Rand, Cape Town or Durban, we can assist with installs, operator training and breakdown response. A trained operator works faster, wastes less material and gets more out of the machine every day.