Start With the Job Tolerance, Not the Drawing
Before a stencil or template goes near the cutter, define what the part must do. A spray mask for a workshop, a sewing pattern, a jig for repetitive drilling, or a packaging insert all need different tolerances. For repeat work, the right question is not only does it fit, but will it fit every time after handling, cleaning and transport. If a template will be used on site in Pretoria or Durban, allow for dust, heat and a bit of rough handling.
Use one master drawing and lock the dimensions before production starts. Measure the opening, the fixing points, and any clearance needed for tape, clamps or a marker pen. If the template must align with an existing edge, check the edge condition too because chipped timber or worn acrylic can throw off the final result by a few millimetres. That is enough to spoil a batch.
- Confirm the material type and thickness
- Measure the finished size at three points minimum
- Allow for mounting holes, tabs or locating pins
- Note whether the template is for one-off or repeated use
Choose the Right Material for the Job
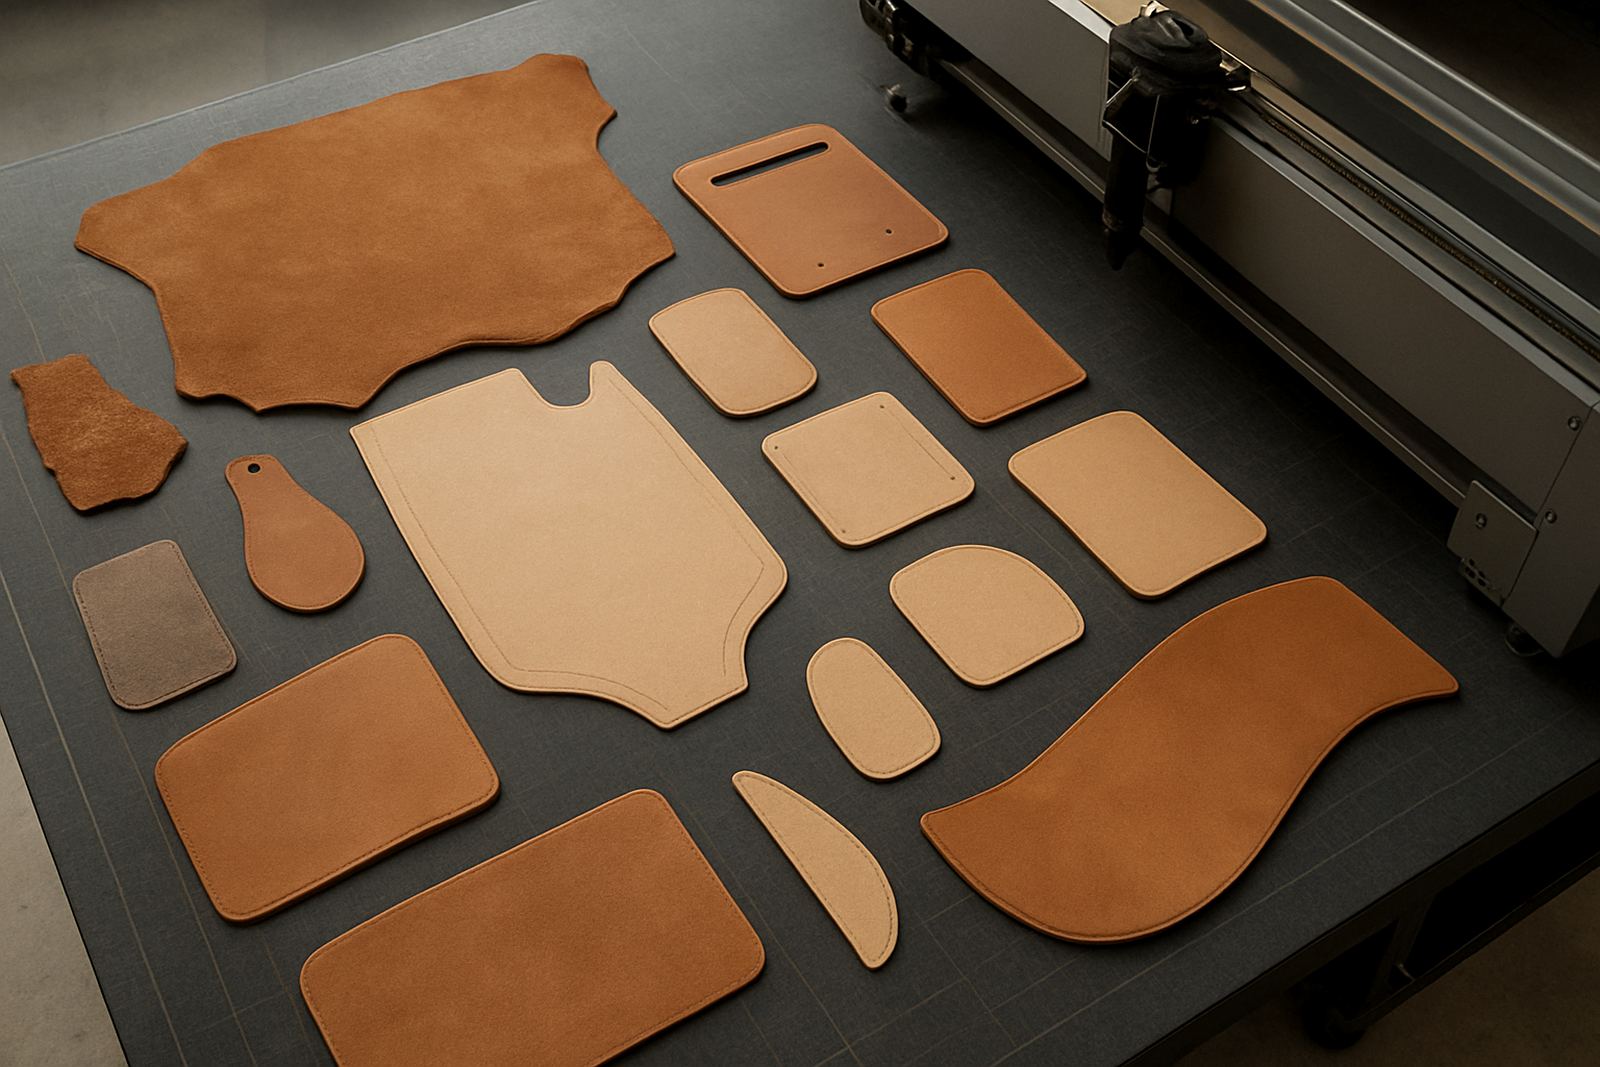
Template material choice affects cut quality, durability and cost. Thin acrylic is useful for clear alignment marks and clean edges, while plywood suits workshop jigs and heavier handling. Leather templates are handy for marking and cutting repetitive shapes, but they need careful power control so the edge does not harden or scorch. For outdoor or humid conditions, especially in coastal areas, pick stock that will not warp quickly after cutting.
In Johannesburg, dry conditions can make some materials behave predictably in winter, but summer humidity or dust can still affect storage and flatness. Keep stock flat, off the floor and away from direct sun. If a sheet is bowed before cutting, the finished template may not sit right on the material being marked.
- Acrylic: good for visibility and fine detail
- Wood: better for repeated handling and workshop use
- Leather: useful for craft marking and pattern work
- Test offcuts first when material thickness changes
Set the Cut for Clean Edges and True Repeats
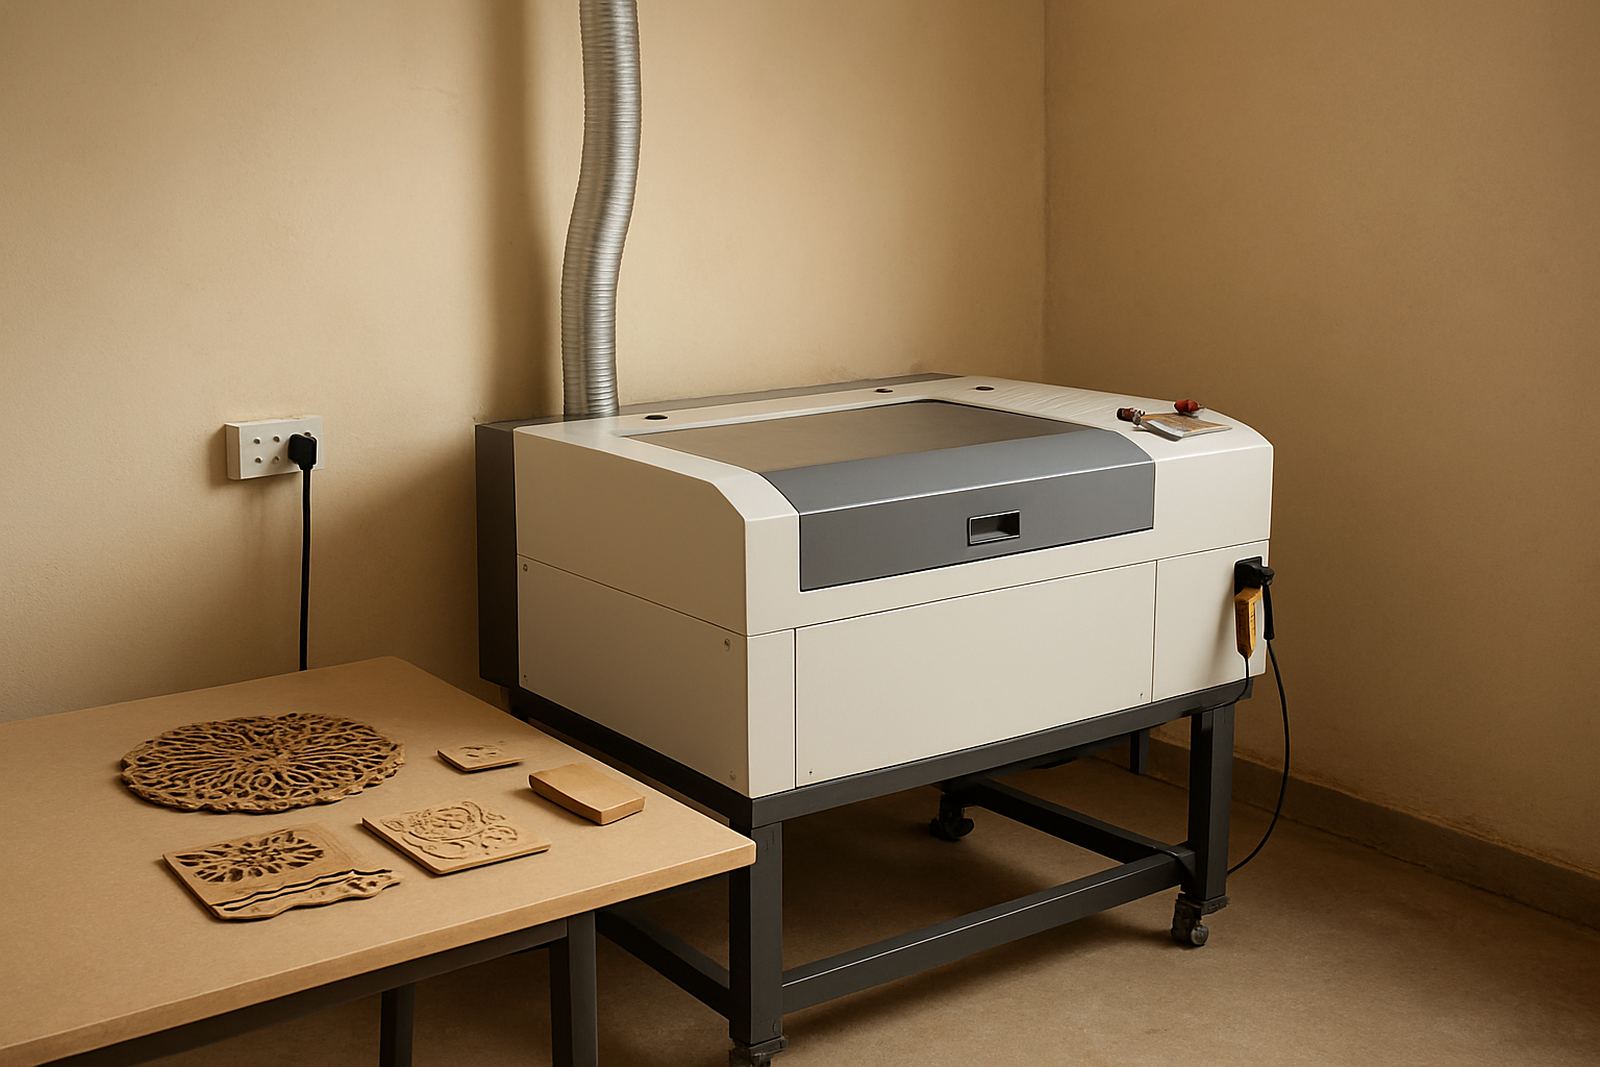
Repeat accuracy starts with a machine that is aligned and kept in good order. Beam alignment, optics cleaning and cooling checks all matter because a small fault can leave a wider kerf, rounded corners or uneven edge finish. For template work, even a slight taper can change how two pieces register against each other. That is why regular maintenance is worth more than trying to fix a bad batch later.
Run a sample cut before the main job. Check the corners, small internal cut-outs and narrow bridges between sections. If the edges show heavy scorching or soft melt back, adjust the settings rather than pushing through the full run. When load-shedding is part of the day, make sure the machine is restarted and checked properly after power returns, since cooling and air flow can be affected. A rushed restart can ruin accuracy.
- Inspect mirrors, lenses and the bed before production
- Verify the cooling system is working correctly
- Check extraction so smoke does not mark the sheet
- Keep a test piece from each material batch
Design Templates That Stay Useful on the Floor
A good template is easy to pick up, easy to read and hard to damage. Add clear reference marks, grip holes where needed and labels for the top edge or grain direction. If the template will be traced often, keep the markings simple and bold. Fine text looks neat on screen but gets lost in sawdust, glue and marker pen on a busy bench. For a factory in Sandton or a maker space in Midrand, the best template is the one the operator can use quickly without asking questions.
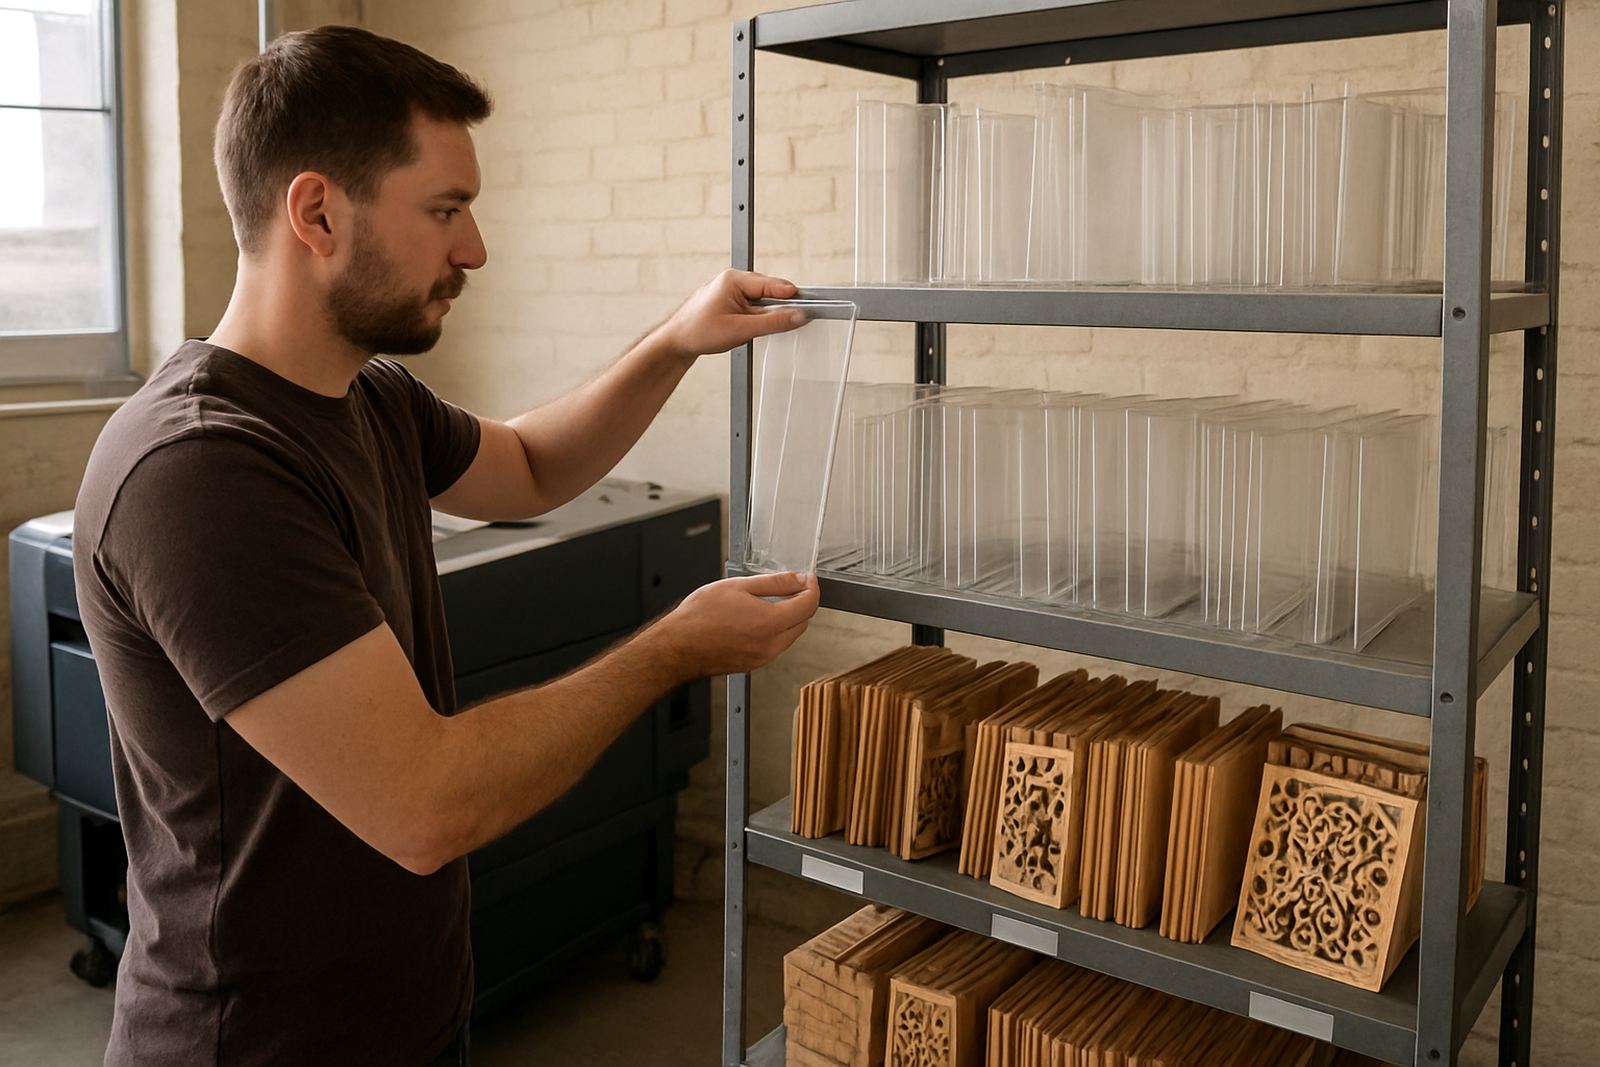
Where repeat positioning matters, add locating points or corner stops. If the item is handed from one person to another, label the face that should sit against the workpiece. For multi-part jobs, separate the master template from the working copies so the master stays safe in storage. One scratched template can lead to a string of wrong parts, and then the saving disappears.
- Mark top, front and centre lines clearly
- Include hole centres and fixed reference points
- Use bold labels for size, revision and material
- Store the master copy separately from daily-use copies
Plan for Installation, Training and Ongoing Support
Templates and stencils work best when the people using them know how to handle them correctly. During an installation or handover, operators should be shown how to load material, check focus, confirm the cut path and store finished sheets flat. Training should also cover what to do when the edge quality changes, when smoke marks appear, or when the machine starts to sound different. Small signals often point to a simple fix if they are caught early.
For clients outside Johannesburg, demo cuts and operator training can be arranged nationwide, with support in areas such as Pretoria, the East Rand, the West Rand, Durban and Cape Town. If the machine needs relocating or a service visit is due, it helps to have a maintenance plan in place rather than waiting for a breakdown. Preventive checks, spares supply and remote support all help keep repeat work moving, especially when production deadlines are tight.
- Show the operator the correct loading and unloading sequence
- Keep a written setting sheet for each material
- Review wear parts and optics on a set schedule
- Use the same checklist after every maintenance visit
Daily Checklist for Stencil and Template Runs
A short checklist saves time and keeps the batch consistent. It also makes it easier to spot when a job is drifting. Keep the checklist next to the machine, not buried in a drawer. If a template is for a client in a busy workshop, or for a retail or craft line where repeat orders come in often, the same routine should be followed every time. That way the final part matches the first part, even weeks later.
At the end of the day, clean the bed, remove offcuts and store completed templates where they will not warp. In a coastal area, keep them away from damp walls or open windows. In Gauteng, dust can settle quickly, so covers matter as much as storage racks. A little care now prevents a re-cut tomorrow.
- Check material thickness before loading
- Run one sample before the full batch
- Inspect edge quality and corner accuracy
- Clean the machine and store the master safely