Why clean cuts start before the machine runs
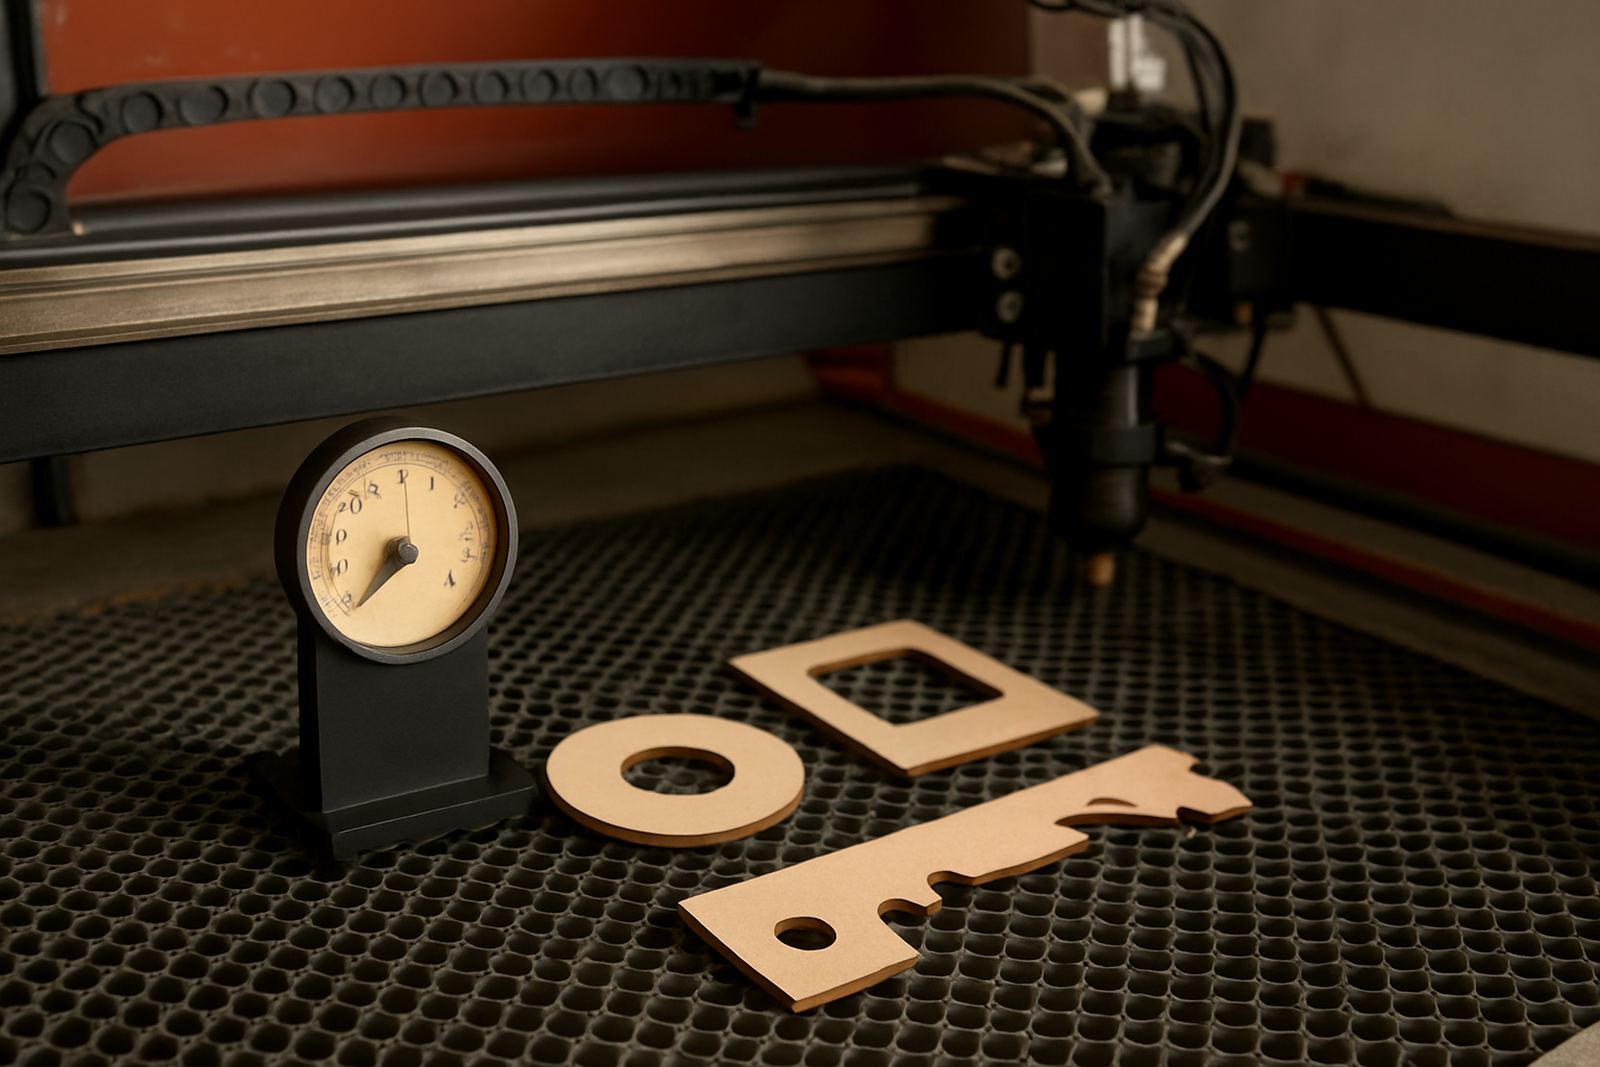
Most cutting problems begin long before the first pass. If the sheet is not flat, the focus is off or the assist air is weak, the machine will still cut, but the result usually needs rework. That means more scrap, more smell in the room and more time spent cleaning up parts that should have been ready for assembly.
In Johannesburg and the surrounding industrial areas, workshops often deal with dust, power interruptions and variable room conditions. That makes a proper pre-run check even more important. A quick look at the bed, lenses, mirrors, coolant and extraction path can save a full batch from getting spoiled.
Using the wrong speed and power for the material
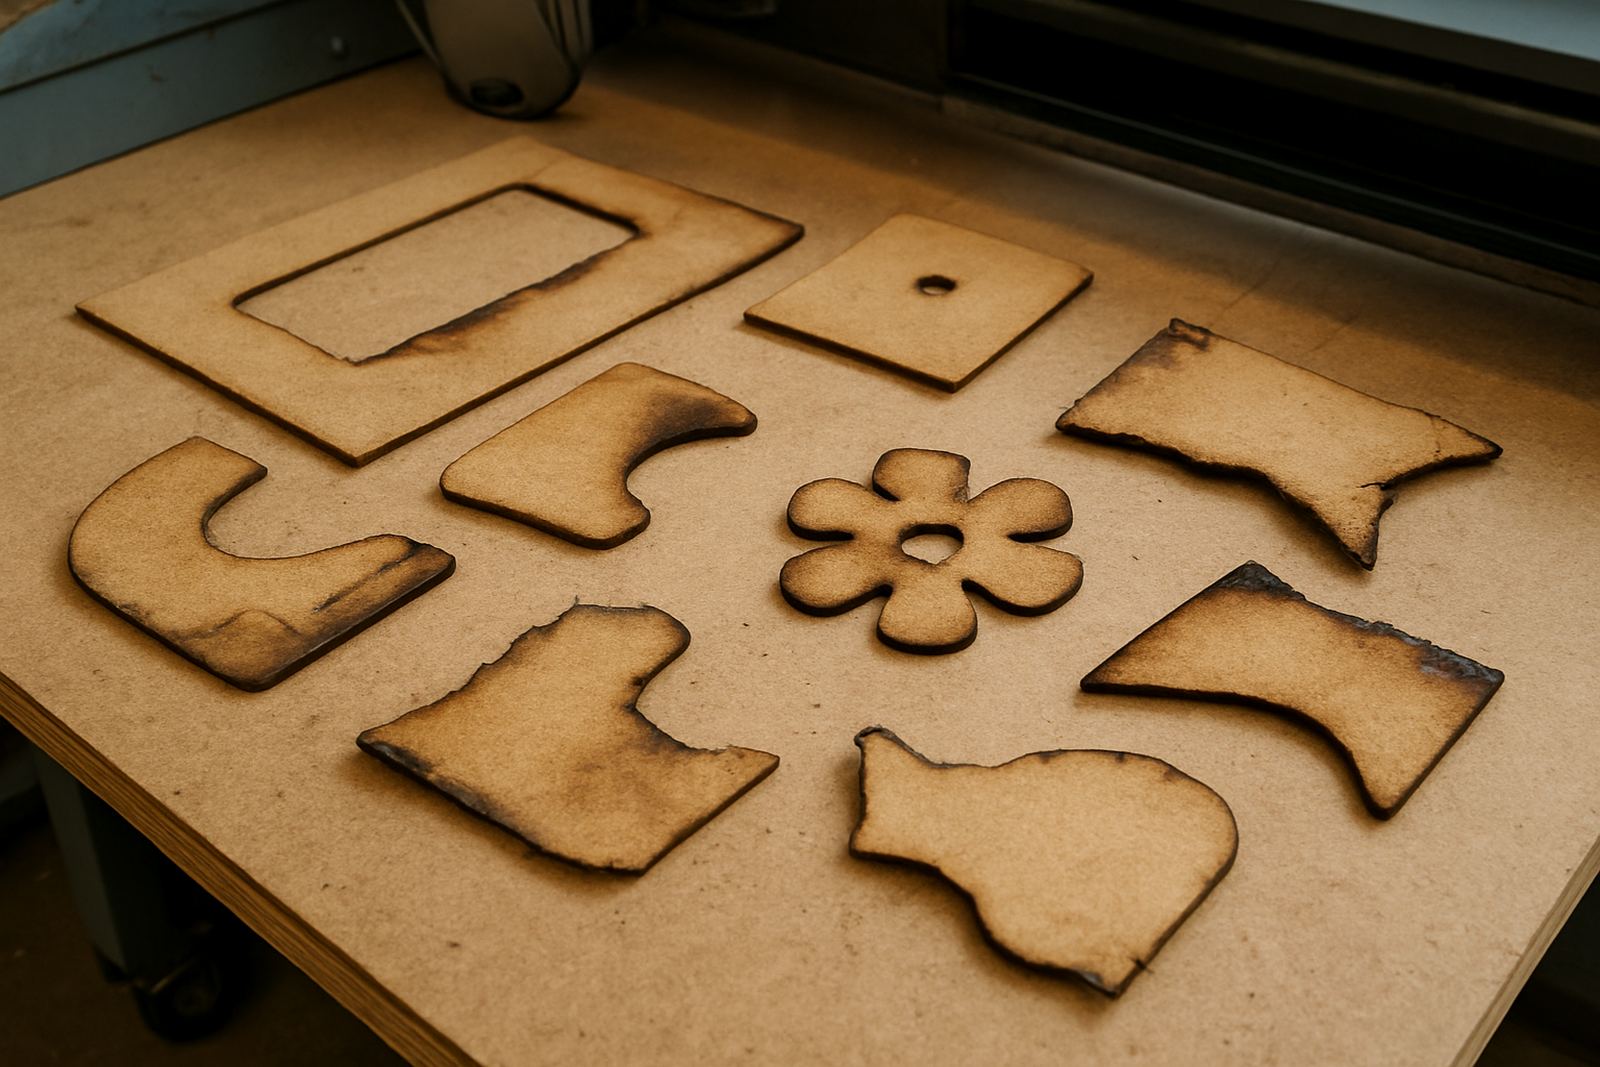
One of the most common mistakes is pushing power too high or running too slowly because the operator wants the sheet to cut through in a single pass. With acrylic, that often leads to melted edges. With wood, it can leave dark burns and a smell that lingers in the workshop. Leather can also char faster than expected if the settings are too aggressive.
The best setting depends on the material thickness, moisture content and finish you need. A 3 mm acrylic sign panel will not behave the same way as 6 mm birch plywood, and a soft hide can scorch long before the beam gets to the back of the part. Trial cuts are worth the time, especially when a job has a tight deadline.
- Start with a small test square before running a full sheet.
- Keep a simple settings sheet for each material and thickness.
- If the edge is sticky, smoky or brown, back off the power or increase speed.
Skipping focus checks and beam alignment
If the beam is not in focus, the machine will still mark the sheet but the kerf becomes wider and the edge loses detail. This is where fine lettering, small holes and interlocking pieces start to fail. Operators sometimes blame the material, when the real issue is that the head height has drifted or the lens path is out.
Beam alignment matters just as much. A slightly misaligned beam can leave one side of the bed cutting well and the other side looking rough. Over time, that also puts extra strain on the optics. In a busy shop, especially one running long shifts, a short alignment check can prevent a lot of frustration later.
Poor extraction and weak airflow create smoke marks
Even a good cut can look poor if the smoke has nowhere to go. When extraction is clogged or the airflow is too low, residue settles back onto the material and leaves staining. This is common with wood and leather, where the smoke has more chance to sit on the surface and darken the edge.
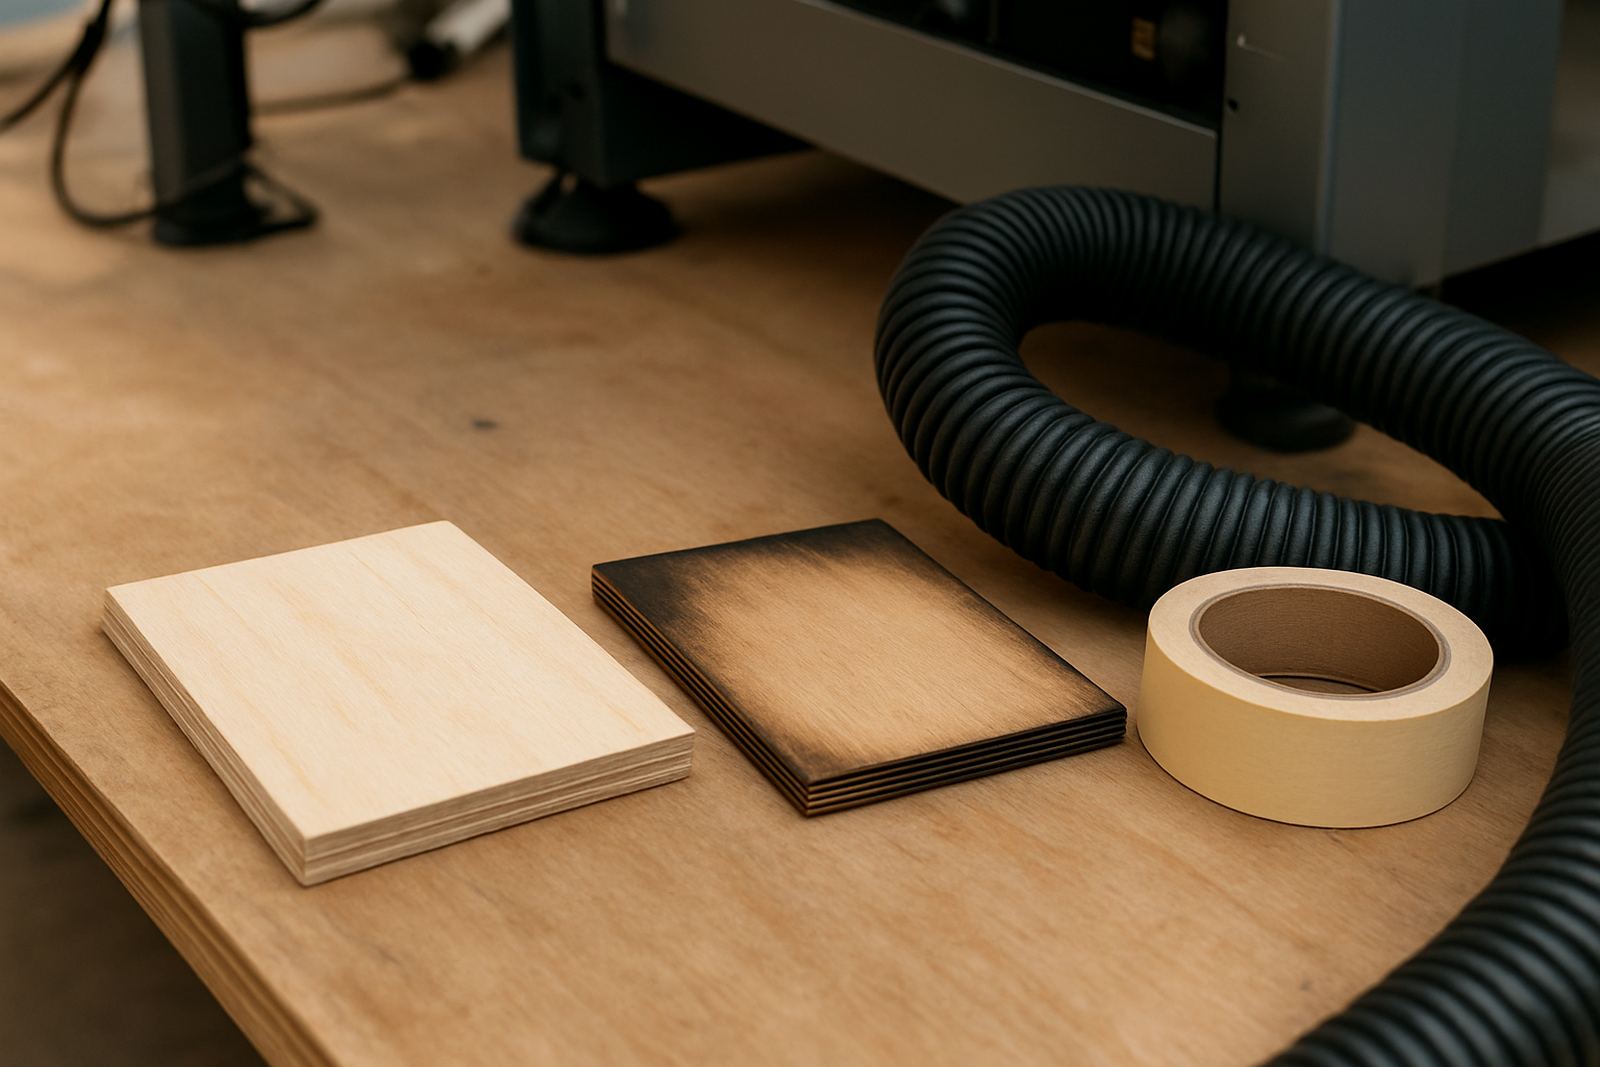
Humidity can make this worse, especially in coastal support areas where materials sometimes absorb moisture during storage. A damp sheet does not behave the same as a dry one, and it can also hold soot more easily. Keep the extraction path clear, check filters on schedule and make sure the room is not loading up with fumes.
- Clean the extraction ducting before it starts pulling unevenly.
- Do not stack fresh-cut parts straight on top of each other.
- Store sheet material off the floor and away from wet walls.
Ignoring material prep and sheet quality
Some cutting faults come from the material itself. Bowed acrylic, warped plywood and uneven leather hide can all throw off the cut line. If the sheet is not properly supported, the focus distance changes across the job and the cut quality will vary from one corner to the next.
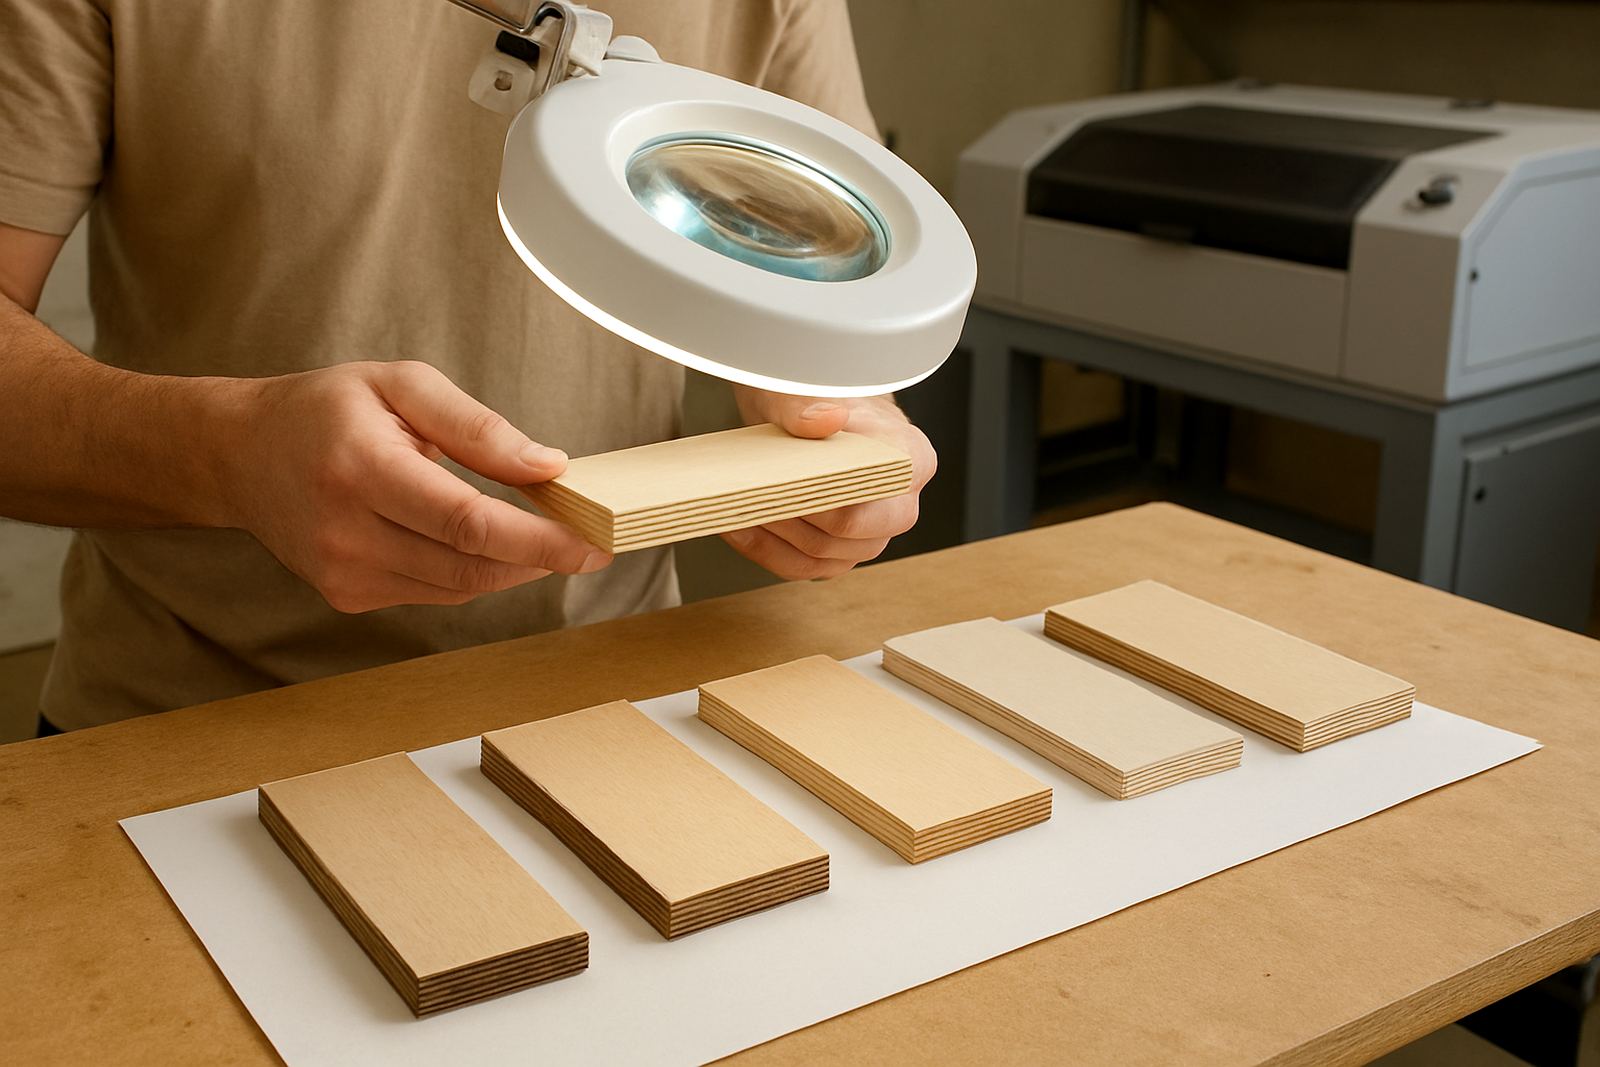
Operators also sometimes forget that different batches can behave differently. A board that cuts well one week may have a harder glue line the next. If the supplier changed the board grade or the protective film has been left on too long, the job can need a different setting. That is why it helps to inspect the stock before loading, not after the first sheet has already been wasted.
Running without a maintenance routine
Many shops wait until the machine starts struggling before they call for help. By then the lens may already be dirty, the mirrors may be off and the cooling system may be under pressure. The machine can still run in this state, but the cuts get slower and less accurate, and the risk of downtime goes up fast.
A simple routine keeps things under control. Clean optics, check coolant levels, inspect hoses and confirm that the beam path is still true. In South African workshops where load-shedding or generator use is part of normal life, power stability also matters. After a sudden switch or outage, it is worth checking the machine again before starting production.
- Wipe optics at the interval recommended for your work volume.
- Check coolant temperature before long production runs.
- Listen for unusual pump noise, vibration or air loss.
A practical example from a high-output Johannesburg workshop
A signage and craft workshop in the northern suburbs once struggled with smoky edges on acrylic name plates and rough cut-outs on 4 mm plywood. The operator had been chasing speed to finish same-day orders, but the real problems were dirty optics, weak extraction and a focus setting that had drifted after a recent move. Once the machine was checked, the settings were reset and the extraction path cleared, the waste dropped sharply.
That kind of fix is common. The machine was not failing, it was being asked to do clean work with poor support. A brief training refresh, a maintenance check and a better settings log made the difference. The owner said the biggest change was not the cut quality only, but the reduction in wasted sheets and the smaller cleanup at the end of each shift.