Why plywood edge quality changes from sheet to sheet
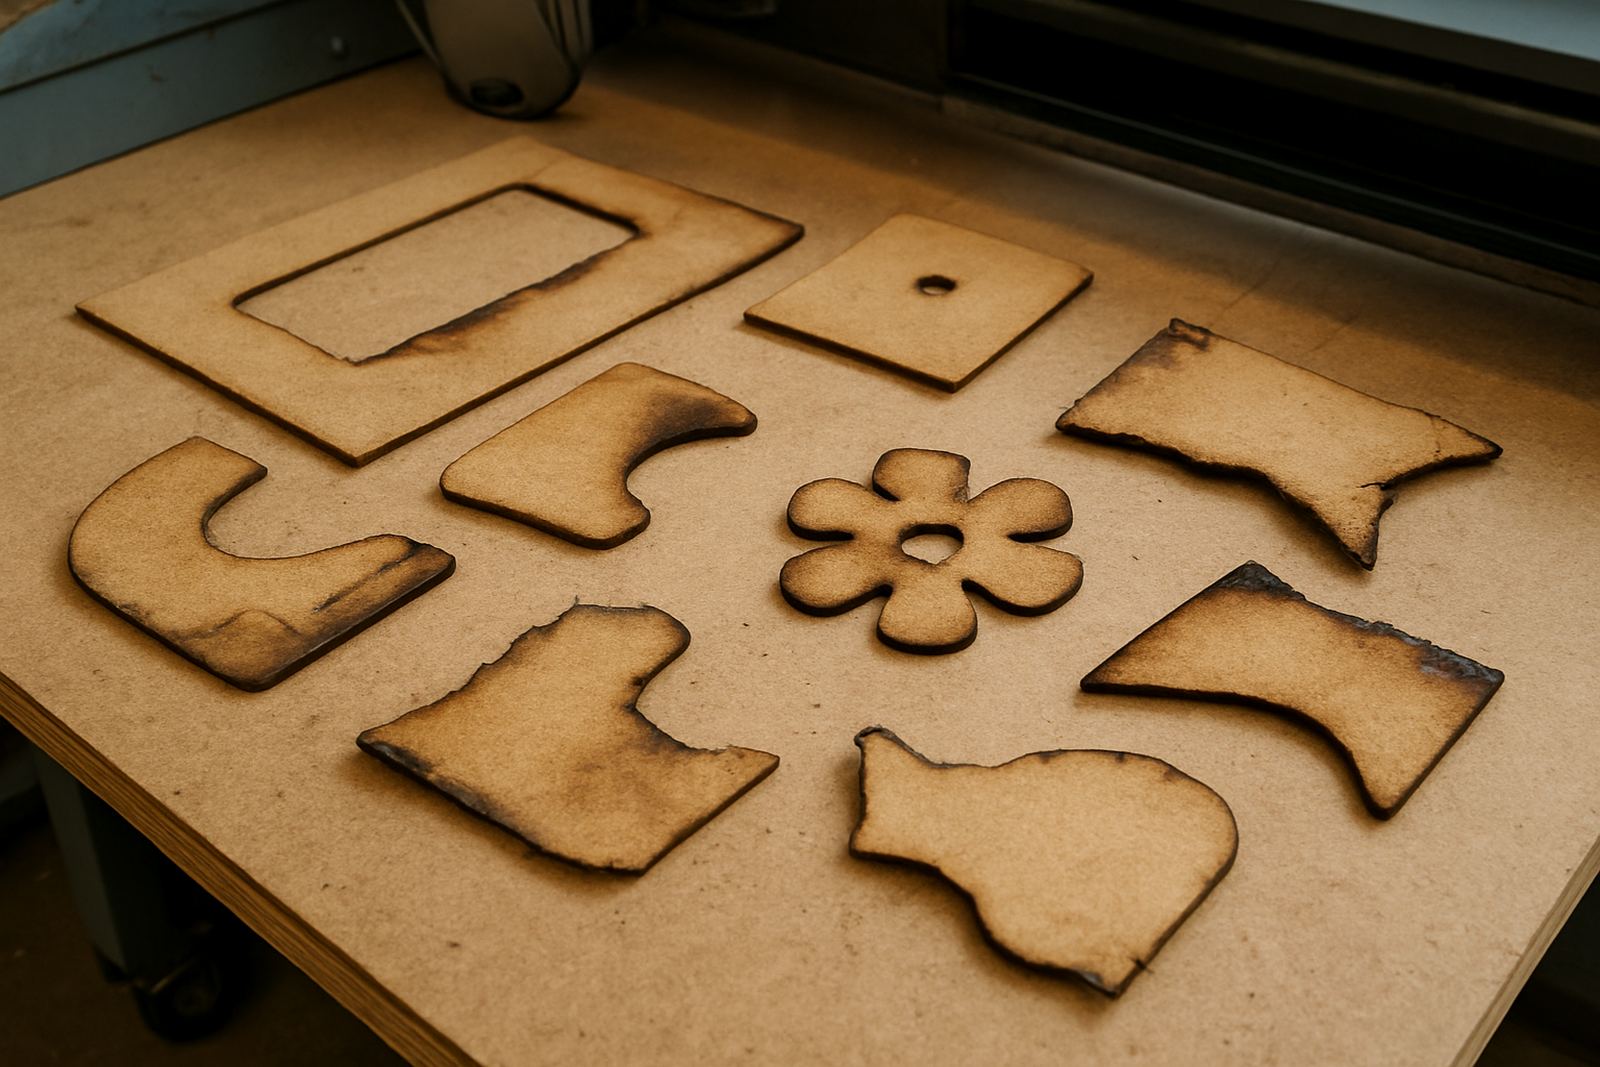
Plywood is made from layers, and that means no two boards behave exactly the same. One batch may cut with a pale edge and little staining, while another from a different supplier can leave dark marks, rough fibres or burnt glue lines even on the same settings.
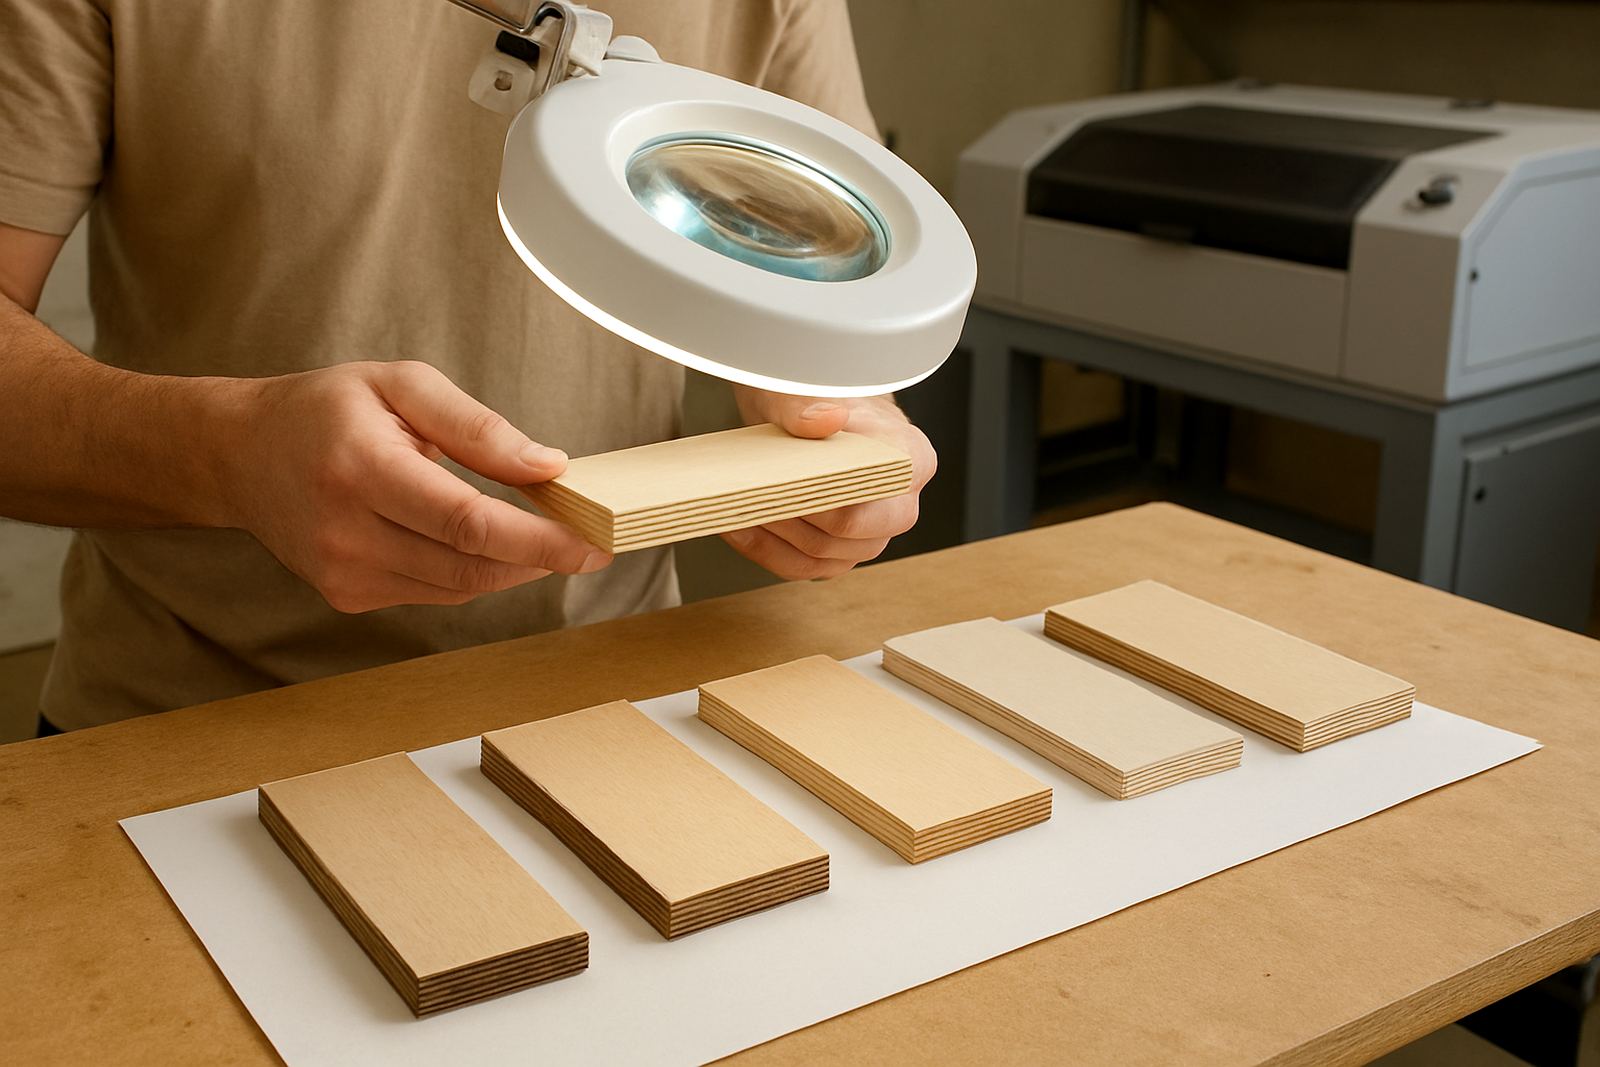
The biggest reason is material quality. Better grade ply usually has more even core layers, fewer voids and a more consistent adhesive spread. Cheaper sheets often contain hidden gaps, patchy glue and mixed timber species, which makes the laser work harder and leaves more residue on the cut edge.
- Check that the sheet is flat before loading it
- Look for edge voids, overlap marks and delamination
- Test a small corner before running a full nest
- Keep a note of which supplier gives the cleanest results
Airflow is doing more work than many operators realise
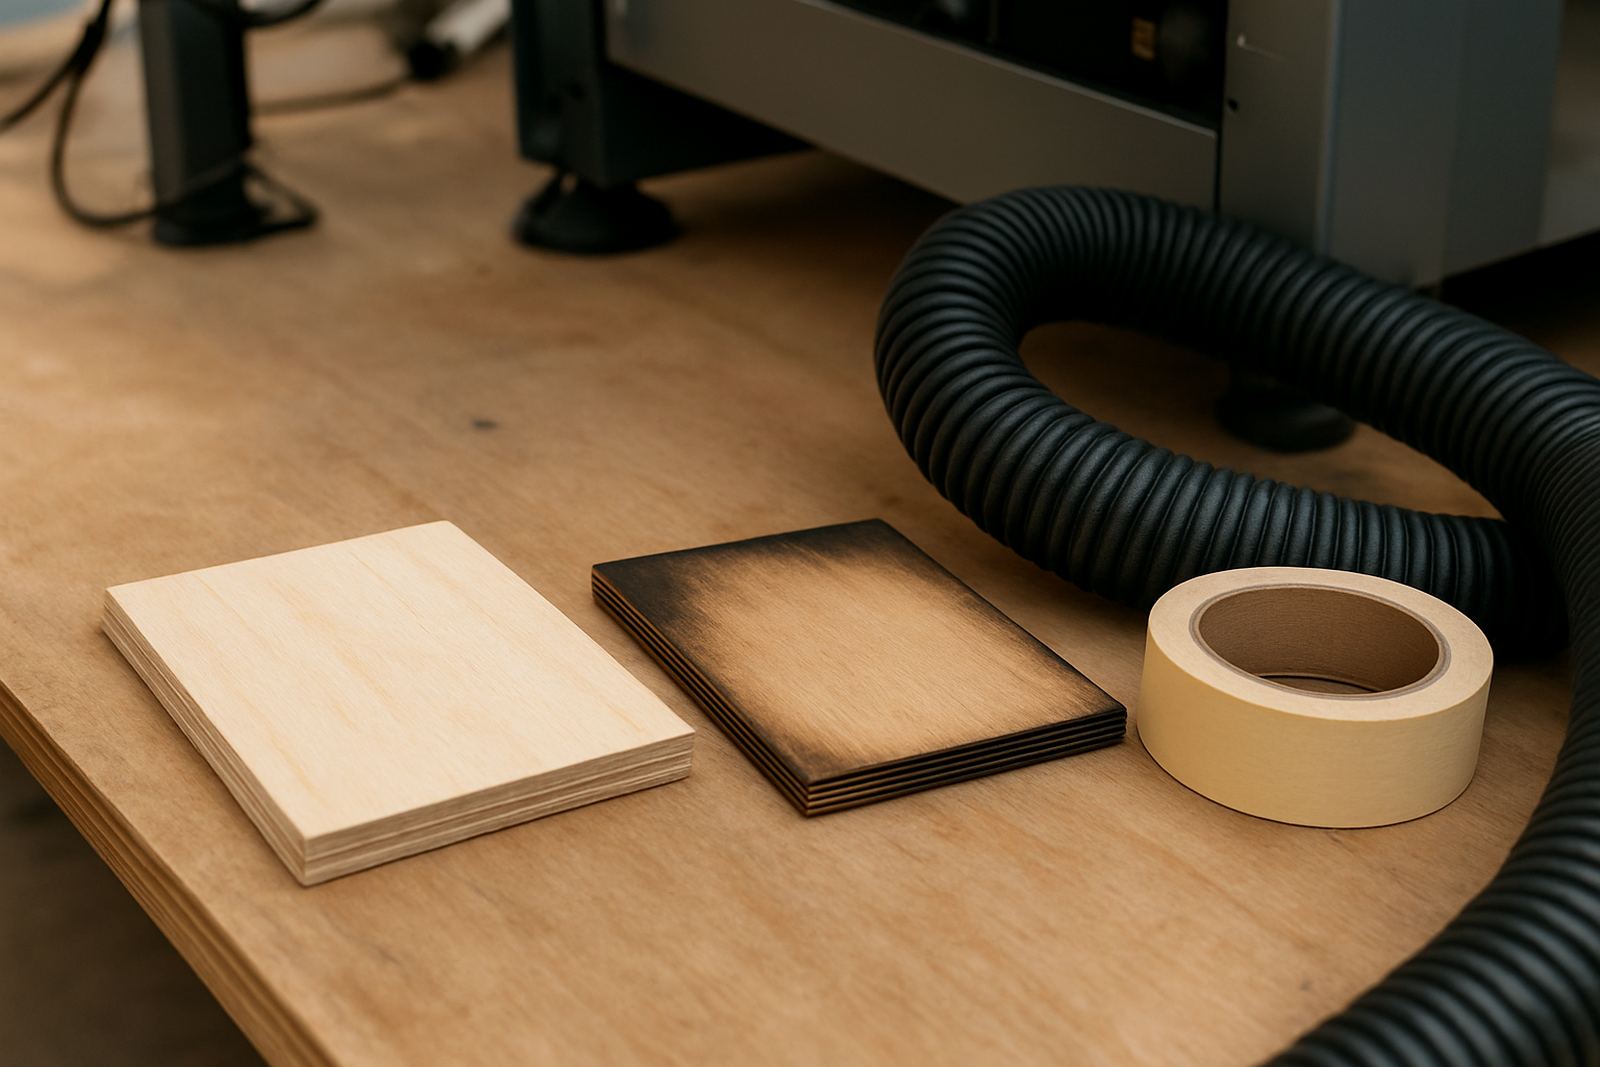
Good extraction is one of the simplest ways to improve ply cuts. When smoke is pulled away quickly, it spends less time settling back onto the edge, so the cut stays cleaner and the heat mark is lighter. Weak extraction often shows up as brown haze, sticky residue and fine soot on the face of the board.
Air assist matters as well. A steady air stream helps push smoke out of the kerf and reduces the chance of flame travel along the cut path. If the airflow is uneven, you may see one side of the cut coming out neat while the other side looks darker, which is frustrating when the job is already packed with detail.
- Clean filters and ducting regularly
- Check that hoses are not crushed or leaking
- Make sure the air stream is aimed correctly at the cutting point
- Watch for weak extraction during long jobs and sort it early
Settings that protect the edge instead of cooking it
Plywood likes a controlled pass rather than an aggressive one. Too much power, too slow a speed, or trying to cut in one heavy pass can overheat the glue lines and darken the edge. That extra heat also makes cleanup slower, especially on decorative work where the edge is visible.
For cleaner results, many operators do better by tuning the cut so the beam just gets through the sheet with enough margin for consistency, not excess heat. On thinner ply, a slightly faster pass can leave a cleaner edge than a slow one. On thicker sheets, a lower-power approach with careful focus often gives better control than forcing the cut. It helps to record your settings per sheet thickness, because once you find a good combination, you shouldnt have to guess again.
- Use the correct focus height for the sheet thickness
- Avoid unnecessary overburn by reducing dwell time
- Run a test strip when changing ply grade
- Keep the lens and mirrors clean so the beam stays sharp
How moisture and storage affect cutting in South African conditions
Ply stored in a damp yard, shipping container or garage can absorb moisture fast, especially in coastal areas like Durban or the southern parts of Cape Town. Wet or unevenly conditioned sheet material cuts poorly, with more smoke, more stain and sometimes a slight edge swell after cutting. In Johannesburg the issue is often less humidity and more dust, but the result is the same if the board has been left uncovered.
If you are cutting for shops, fittings or interior work, let the sheet acclimatise in the same room where it will be processed. Stack it flat, keep it off the floor and avoid leaning it against a wall for days on end. Even a small twist in the board can change the focus enough to spoil a clean finish.
- Store sheets flat and covered
- Avoid damp floors and direct sun
- Let material settle before cutting after transport
- Do not use warped boards for fine detail work
A local job example from Wynberg to Sandton
A client in Sandton once brought in a batch of plywood parts for point-of-sale display stands. The first run looked too dark on the edges and the fine cut-outs had a light fuzz that needed sanding. The problem was not the design. It was a combination of mixed-grade sheets, weak extraction and a cut speed that was a touch too slow for the board thickness.
After checking the material, the team changed to a cleaner sheet grade, improved airflow and adjusted the settings on a test piece first. The next run came out with neater edges and less clean-up. That sort of result saves time on assembly, and it also helps when the parts are going straight to a customer. In production work, a few minutes spent on testing can save a full hour later.
For customers who need demo cuts, installation, operator training or remote support, the practical goal is the same: get repeatable results that suit the material on the day, not just the numbers on paper.
A simple plywood cut checklist before a full run
Before starting a full batch, it helps to work through a short check. This keeps waste down and makes it easier to spot whether the issue is the sheet, the optics or the airflow. In busy shops, especially when load-shedding disrupts the day, a quick pre-run routine can save a lot of rework.
- Confirm the ply grade and thickness
- Check that the sheet lies flat on the bed
- Inspect lens, mirrors and nozzle condition
- Test extraction and air assist
- Run a small sample and inspect both face and edge
- Record the final settings for next time
Clean edges on ply are usually the result of good material handling, proper airflow and consistent setup. Get those three things right, and the finish improves quickly without chasing settings all afternoon.