Start With the Right Wood for Cleaner Cutting
Not every wood sheet behaves the same on a laser. Plywood, MDF, birch ply and solid timber all leave different levels of smoke mark, and the glue line in some boards can darken the edge more than the timber itself. If you are chasing a lighter edge, start with flatter sheets, consistent thickness and a lower resin content where possible.
In Johannesburg, we often see cleaner results on dry indoor-stored panels than on sheets that have picked up moisture from a garage or storeroom. Damp timber burns unevenly and can give you more char, even when the cut is otherwise correct.
- Store wood flat, off the floor and away from damp walls.
- Check thickness across the full sheet, not just one corner.
- Use cleaner-grain boards for visible joinery, signage and gifts.
- Test a small offcut before starting the full job.
Air Assist and Extraction Do More Than People Think
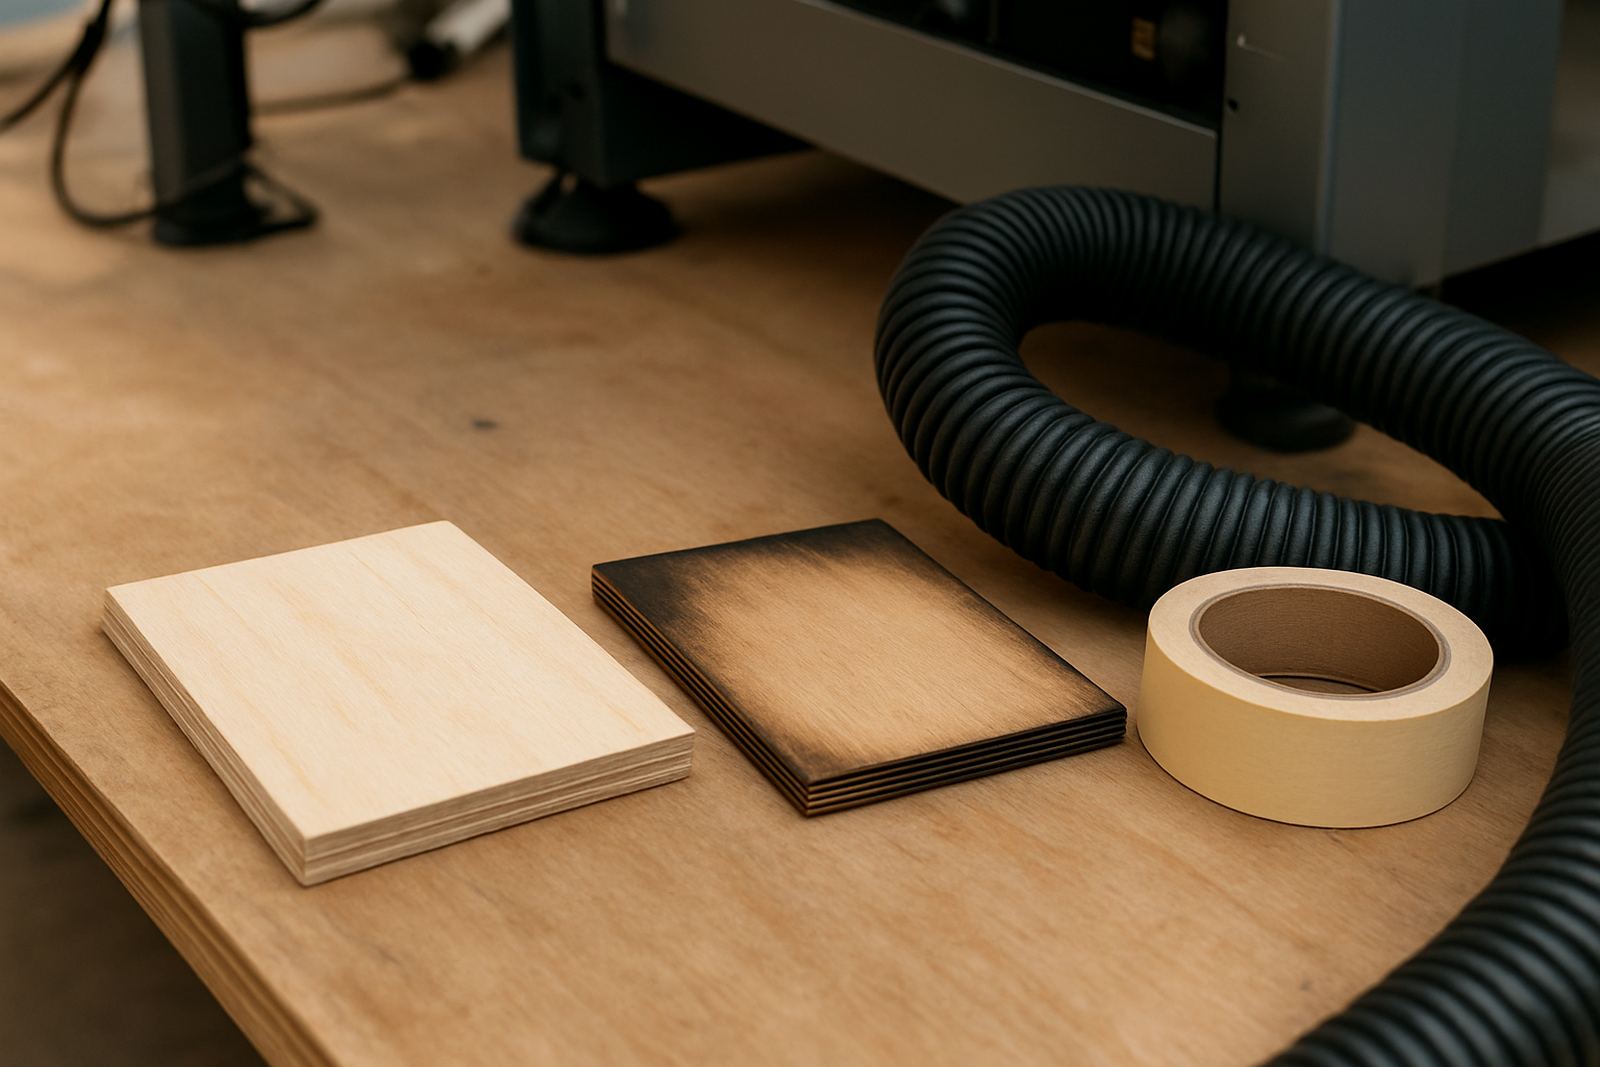
Smoke marks usually get worse when the beam is cutting through a cloud of vapour that has nowhere to go. Strong air assist helps push smoke away from the cut line, while proper extraction removes it from the cabinet before it settles back on the job. If either one is weak, the edge can go brown faster and the face can show a grey haze around the cut path.
On busy sites, we often find the issue is not the laser itself but blocked ducting, a tired fan, or an extraction hose that is too long and kinked. That is the sort of thing that creeps in after a few months and people only notice when the cut quality starts slipping.
- Keep the nozzle clear and aimed correctly at the cut zone.
- Clean filters and ducting on a set schedule, not only when smoke becomes obvious.
- Check for crushed hoses, loose joints and dust build-up in bends.
- Make sure the machine is not recirculating fumes back into the work area.
Power, Speed and Frequency Need to Match the Material
Too much power and too little speed will scorch wood quickly. Too little power can force repeat passes, which also leaves dark edges and more residue. The best setting is usually the one that cuts in a single pass with a steady edge and no heavy flare-up at corners.
For detailed work, it helps to slow the machine only as much as needed and then balance that with cleaner focus and good airflow. If the beam is slightly out of focus, the cut widens and the burn zone grows, so you end up with more smoke marks even before touching the power setting.
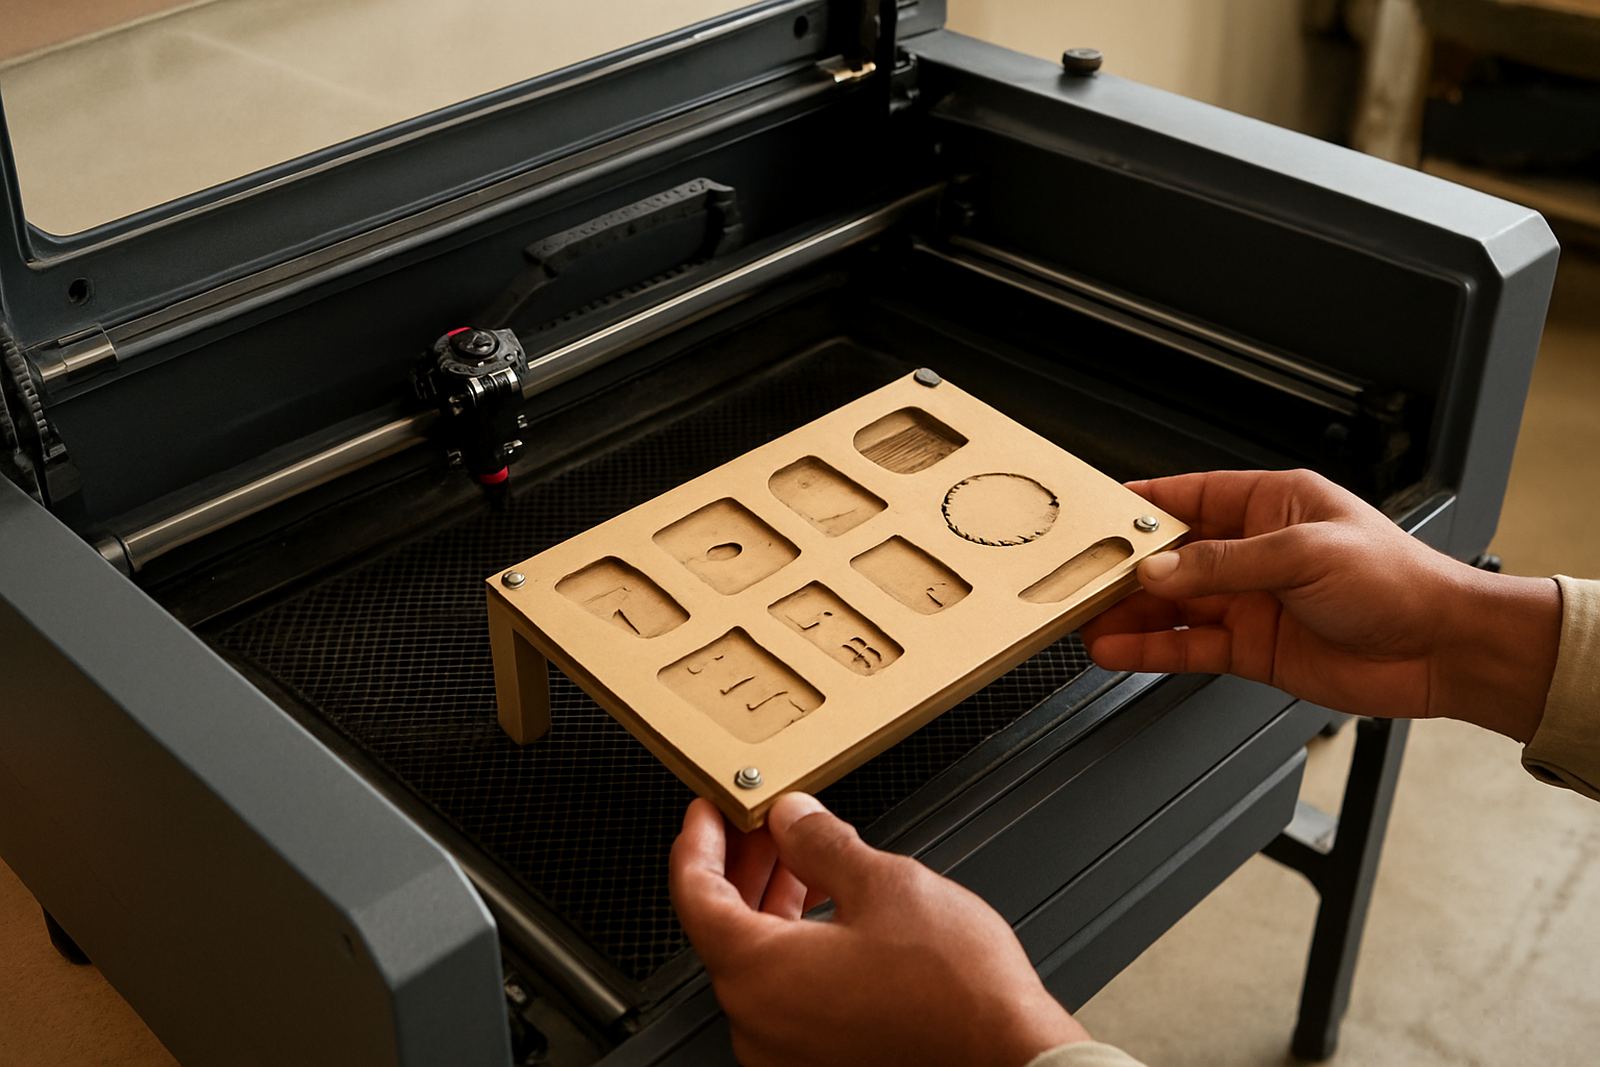
Use a small sample grid and record the results for each wood type. Once you know the best settings for 3 mm birch ply or 6 mm MDF, you save time on every repeat order.
Masking and Tape Can Protect the Face of the Board
Masking is one of the simplest ways to reduce smoke staining on visible surfaces. A light application of transfer tape or masking film can stop soot from settling directly onto the wood face, especially on pale materials used for decor, lettering and presentation pieces. Just make sure the masking is laser-safe and does not leave adhesive behind.
It also helps to press the mask down properly before cutting, especially around edges and corners where smoke can creep underneath. On a humid day in Durban, or even during a damp week in Cape Town, poorly applied masking can lift at the edges and leave uneven marks, so the prep matters.
- Apply masking smoothly, with no bubbles or loose corners.
- Use a clean roller or squeegee for larger panels.
- Remove the mask soon after cutting if the adhesive is softening from heat.
- Do a quick residue test on offcuts before using a new masking product.
Keep Optics and Focus Spot On
A dirty lens or misaligned mirrors can cause a wider, hotter beam, and that extra heat shows up as heavier smoke marks. If the beam is not centred or the focus is off by even a small amount, the cut line may char more on one side than the other. That is why regular optics cleaning and beam alignment are not just maintenance tasks, they affect the finish of the job.
After a few long cutting runs, a light layer of dust or resin can build up inside the machine. Wipe-downs and scheduled checks help keep the beam consistent, and they also protect the tubes and mirrors from unnecessary strain. It is a simple habit, but it saves rework.
A Local Job Example: Cleaner Signage in Wynberg
A signage workshop in Wynberg was cutting layered wooden name plaques for a retail client and kept getting brown halos around the edges. The operator had already tried changing speed, but the marks were still visible on the front face. After checking the machine, the main problems turned out to be weak extraction, a slightly dirty lens and wood that had been stored near a loading bay.
Once the sheets were moved indoors, the optics cleaned and the air assist checked, the cut quality improved straight away. The team then saved the best settings for that board type and added a quick pre-cut checklist. The result was cleaner edges, less sanding and faster handover times. Small changes, but they matter when you are producing repeat work.
- Keep a simple setting sheet for each wood grade.
- Note which boards need more air or less power.
- Track repeat issues so they are fixed at the machine, not in post-processing.