Alberton Brief: More Detail, Less Waiting
The client was a wood décor studio in Alberton serving homeowners, small retailers and interior installers across the East Rand. Their work included layered wall art, name boards, decorative panels and short-run custom pieces, but their existing cutting process was slowing them down. They wanted sharper detail on thin timber, neater internal corners, and a way to turn around samples in a day or two instead of waiting on outside suppliers.
The brief was straightforward but specific. They needed a CO2 laser setup that could handle plywood, MDF, veneer-backed board and acrylic inserts, with repeatable accuracy on small parts. The studio also asked for help with sample development, operator training and a practical maintenance routine that would work in an ordinary workshop, not a controlled factory. With dust, heat and power interruptions in the area, the system had to stay dependable under normal South African conditions.
- Client type: wood décor and custom joinery studio
- Town: Alberton, Gauteng
- Primary materials: plywood, MDF, veneer board, acrylic inserts
- Main aim: detailed inlays and faster sample approval
What We Delivered And Installed At The Alberton Wood Studio
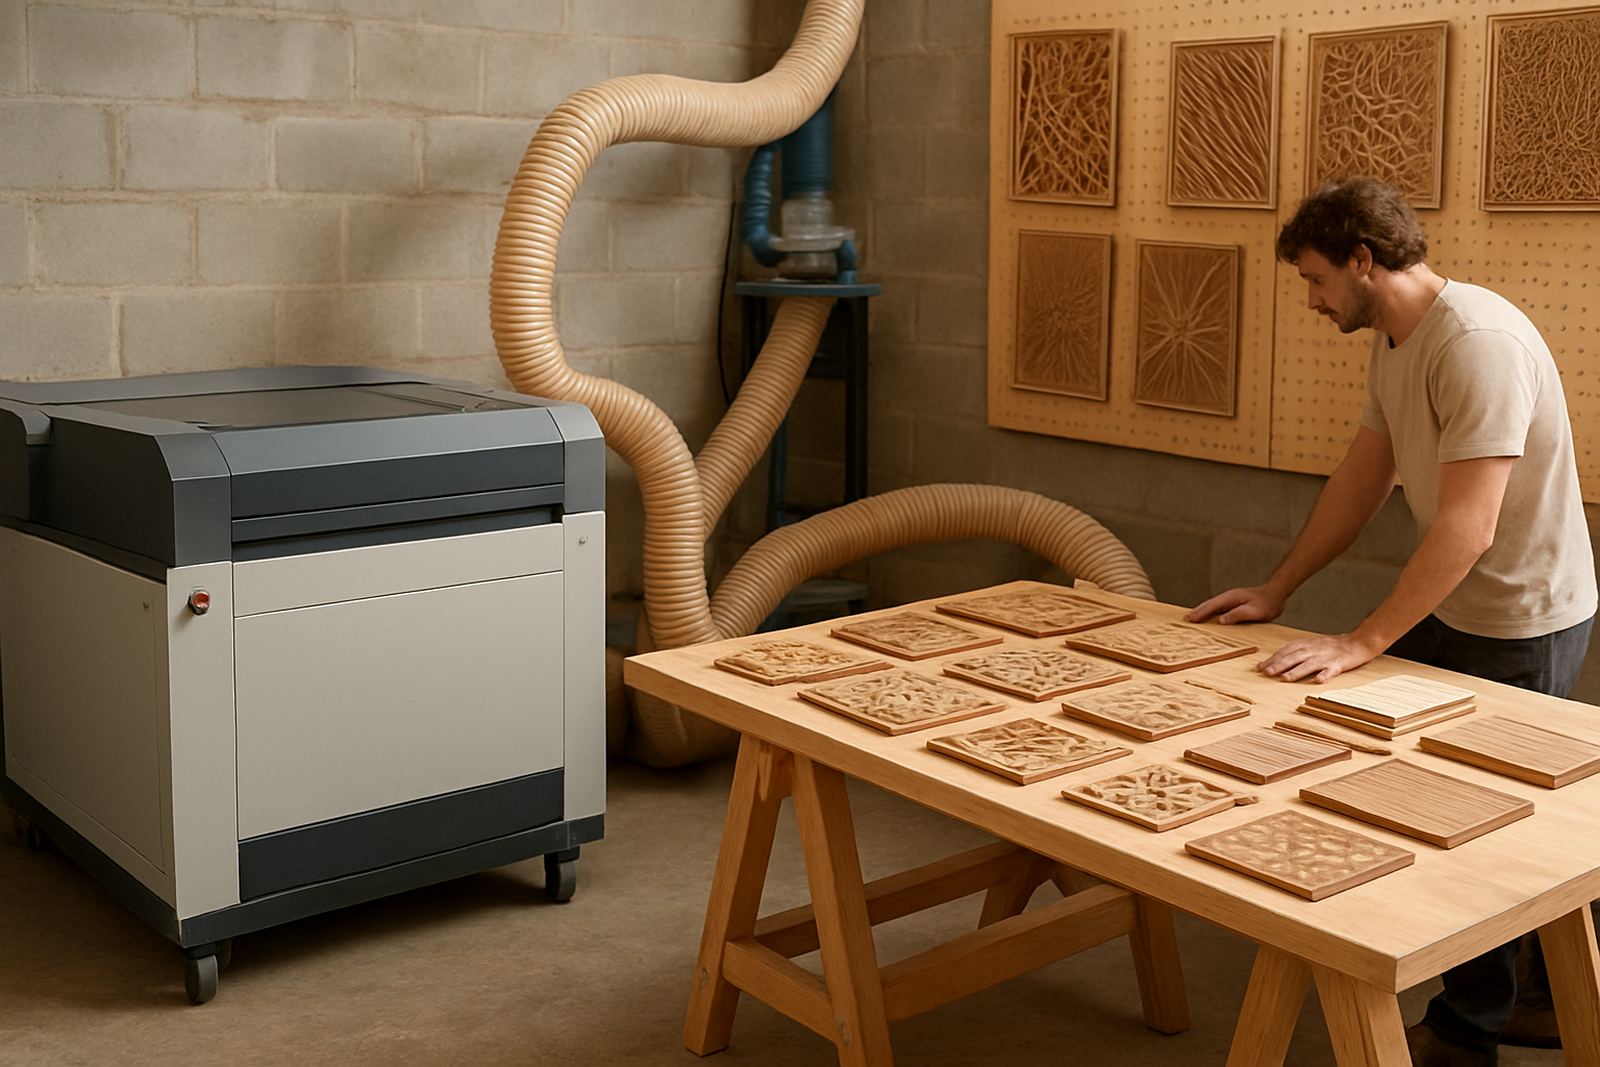
We supplied a CO2 laser cutting solution suited to fine decorative work and small batch production. The setup was sized for workshop use, with enough bed space for sample panels and production sheets, but still manageable for day to day operation. We installed the machine at the Alberton site, checked alignment, tested extraction and made sure the cooling system was ready for local summer heat. Because the studio worked in a mixed-use industrial area, we also advised on placement for airflow, dust control and safe operator access.
The installation included beam alignment, optics cleaning, cooling checks and a full test cut session. We ran through sample settings for 3 mm and 6 mm wood product, then adjusted speed and power for engraving detail and cleaner edge finish. The goal was not only to cut well, but to keep results consistent from one board to the next. This is where a lot of time gets lost if settings are not recorded properly, so we created a basic cut library the team could follow.
- Machine installation and level check on site
- Extraction service setup for smoke and dust control
- Cooling checks for workshop temperature swings
- Beam alignment and optics cleaning
- Cut test library for common wood and acrylic jobs
Sample Development For Inlays And Fine Detail
The biggest requirement was detailed inlays. The studio wanted clean fitting parts for layered décor and branded panels, with tight tolerances on lettering, circles and thin cut lines. We developed sample runs using different wood grades and changed the parameters until the parts slotted in without forcing. For decorative work, a fraction of a millimetre can matter, so we spent time on kerf allowance and fit tests rather than pushing for speed too early.
We also helped them build a better sample process. Instead of cutting full sheets each time, the team now prepares small proof pieces first, confirms the edge finish and then moves to production. That saved material and reduced rework. The client needed to handle retail and interior enquiries without delay, so the machine was set up to manage short-notice samples without throwing the rest of the schedule off. It made a real difference when a customer needed a revised panel before the weekend and the studio could turn it around in hours, not days.
- Detail inlays for signage, décor panels and layered art
- Sample proofs for client approval before full production
- Fit testing on thin timber and acrylic inserts
- Recorded settings for repeat jobs and quicker quoting
Training The Team To Keep Production Moving
Training was handled on site over two sessions, with the focus on confidence and safe operation. Refilwe worked with the team on job preparation, file checks and basic material handling, while Johan covered machine care, alignment habits and what to watch for when cut quality starts drifting. The operators did not need theory that would sit on a shelf, they needed steps they could use while a job is on the bed and customers are waiting. We kept it practical and hands-on.
The studio also wanted a plan for load-shedding and for days when the extractor or cooling circuit needed attention. We helped them build a start-up and shutdown routine so the machine could be protected during interruptions. That included lens inspection, post-run cleaning and a quick checklist before each shift. We left them with a service schedule that fits their workload, so minor issues are picked up early instead of becoming a bigger breakdown later on.
- Operator training for two staff members and a supervisor
- File prep and job setup guidance
- Basic maintenance checklist for daily use
- Load-shedding shutdown and restart routine
- Weekly inspection plan for optics, extraction and cooling
Timeline, Results And Practical Gains
The full project ran over three weeks from first workshop discussion to signed-off production samples. Week one covered site assessment, material review and machine placement. Week two covered installation, alignment and first test cuts. Week three covered training, sample refinement and handover of the settings sheet. That pace suited the client because they did not want to stop their existing work for long, but they did want results quickly enough to use on live orders.
By the end of the project, the studio had cleaner edge finish, faster sample approvals and a much better handle on short-run custom jobs. They could present neat proof pieces to customers and move from concept to production with less delay. The team also reported fewer failed cuts on detailed pieces, especially where small text and thin lines were involved. In practical terms, the machine gave them more control over output and helped them keep margin on custom work that would otherwise have been slow or messy to make.
- Project duration: 3 weeks
- Sample turnaround improved from days to same-day or next-day in many cases
- Less material waste from proof-first workflow
- Better consistency on repeat décor orders
What The Alberton Wood Studio Team Would Carry Into The Next Project
If we were doing the same kind of job again, we would keep the process exactly this practical. We would start with sample material in the actual board thickness the studio uses, not a substitute. We would also record the preferred settings for the most common décor sizes before the first full production run, because that saves time later and keeps the operators from guessing. For a wood studio, the first clean sample often tells you more than a long spec sheet.
We would also spend the same amount of time on extraction, cooling and routine care. Decorative laser work looks simple from the outside, but clean results depend on the small things: stable temperature, clean optics and a cutter that is aligned properly. That is especially true in Alberton and surrounding industrial areas where dust, power changes and busy workshop conditions can affect day to day output. The right set-up makes the difference between a pretty sample and a production tool that keeps earning its keep. The client was pleased with the final setup, and the workshop now has a proper process for detailed inlays and quick sample development.
- Use the exact working materials for test cuts from day one
- Set up a settings library for repeat work and faster quoting
- Keep maintenance routine simple enough for daily use
Key facts
| Project location | Alberton, Gauteng |
|---|---|
| Client type | Wood décor studio |
| Machine type | CO2 laser cutting solution |
| Primary materials | Plywood, MDF, veneer board, acrylic inserts |
| Project timeline | 3 weeks |
| Main outcome | Detailed inlays with faster sample turnaround |