What the Centurion team needed from day one
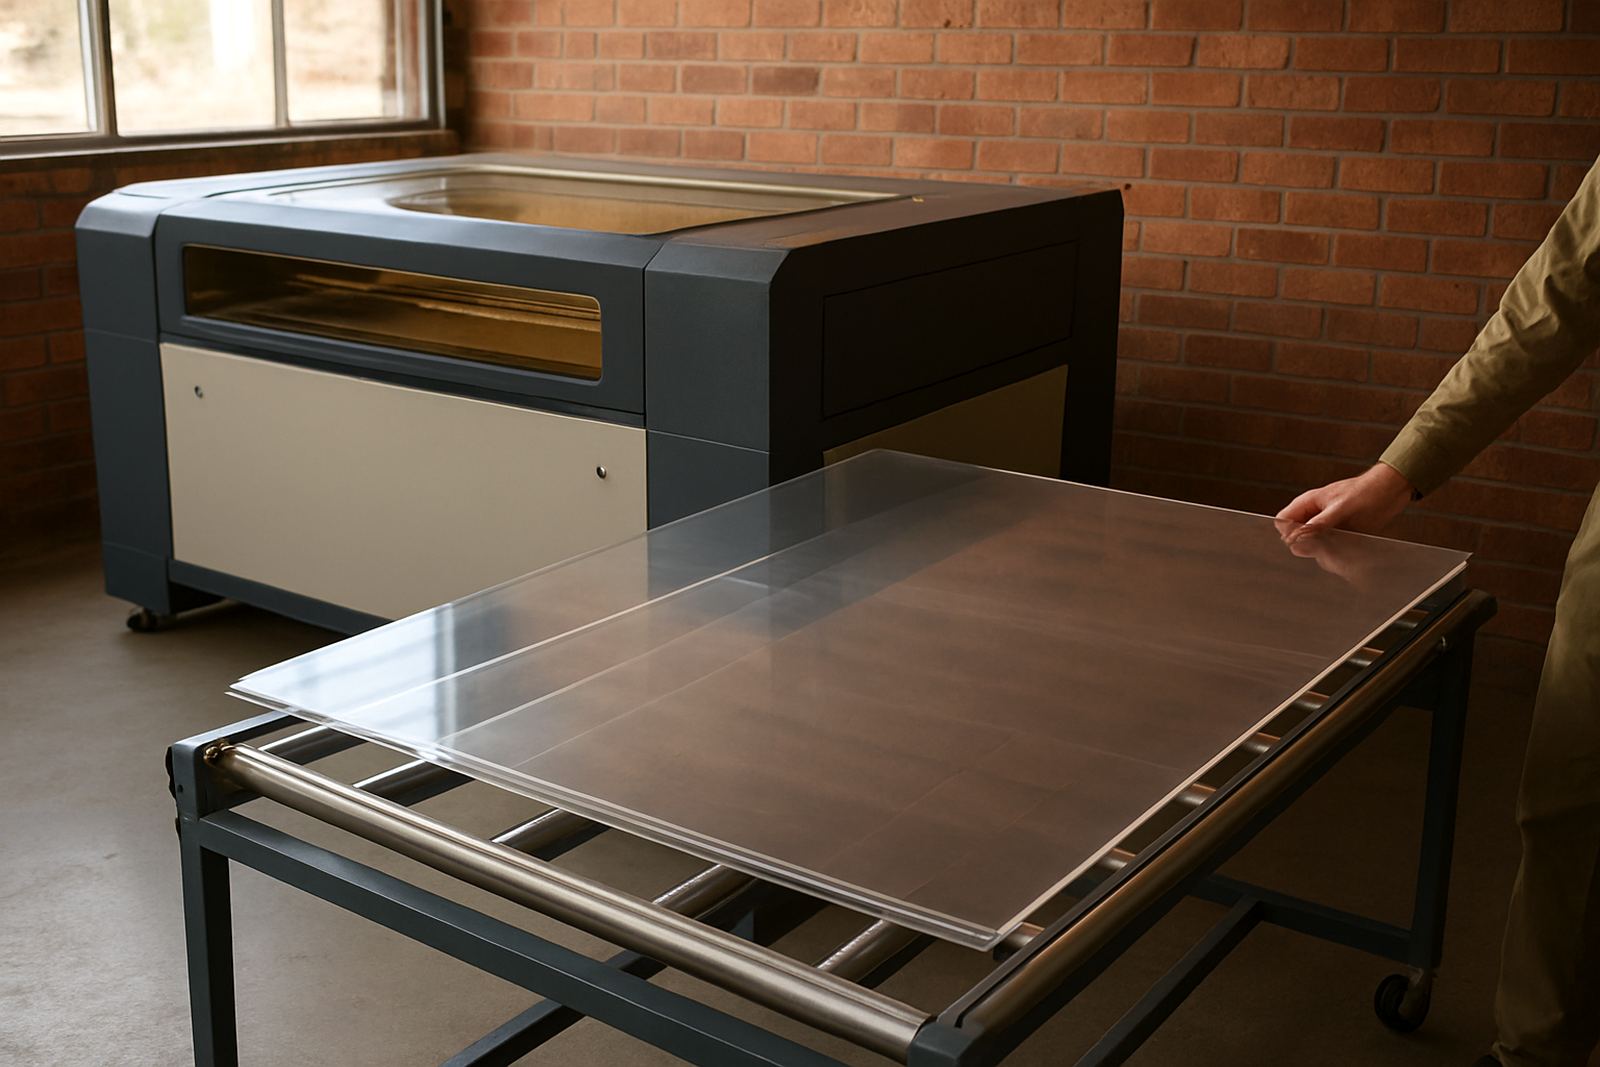
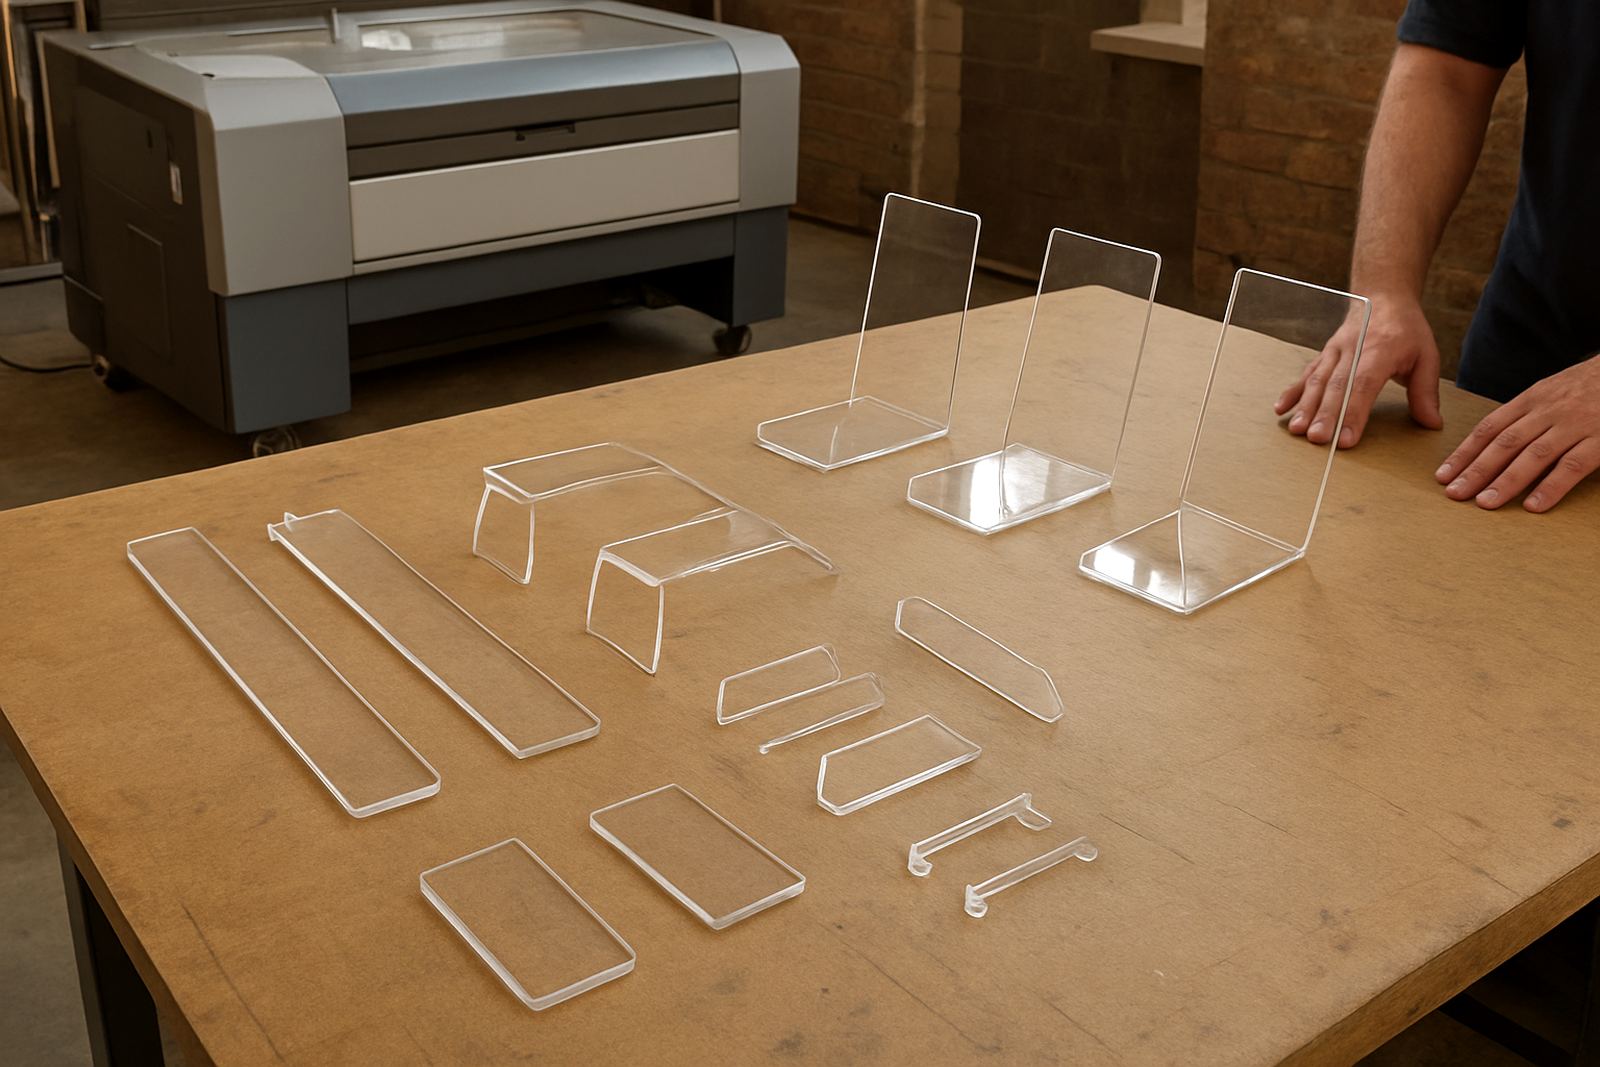
The client was a retail display fabricator in Centurion making acrylic stand components for store counters, product risers and small signage pieces. Their cutting team was spending too much time sanding edges, cleaning up corners and reworking parts that should have fitted straight off the machine. They wanted a cleaner cut on 3 mm and 6 mm acrylic, with the option to run wood inserts and thin leather detail pieces when special jobs came in.
The brief was practical: improve edge quality, shorten turnaround times and reduce waste on repeat orders. They also needed a machine that could fit into a working production space, with stable output during load-shedding and enough control for small, detailed parts. The site had normal industrial limits too, including dust management, noise control and space for extraction routing.
Production constraints we planned around
Centurion summer heat and dust meant cooling and extraction had to be considered from the start. The client wanted reliable cutting in a shared workshop where other finishing work was happening nearby, so we planned the installation around airflow, cable runs and safe operator access. Power stability was another factor, so we set up the machine to work cleanly with the site backup arrangement and checked restart procedures for interrupted shifts.
- Material range: acrylic, MDF, ply offcuts and light leather detail parts
- Typical sheet sizes: 1220 mm x 2440 mm stock handling with smaller nested parts
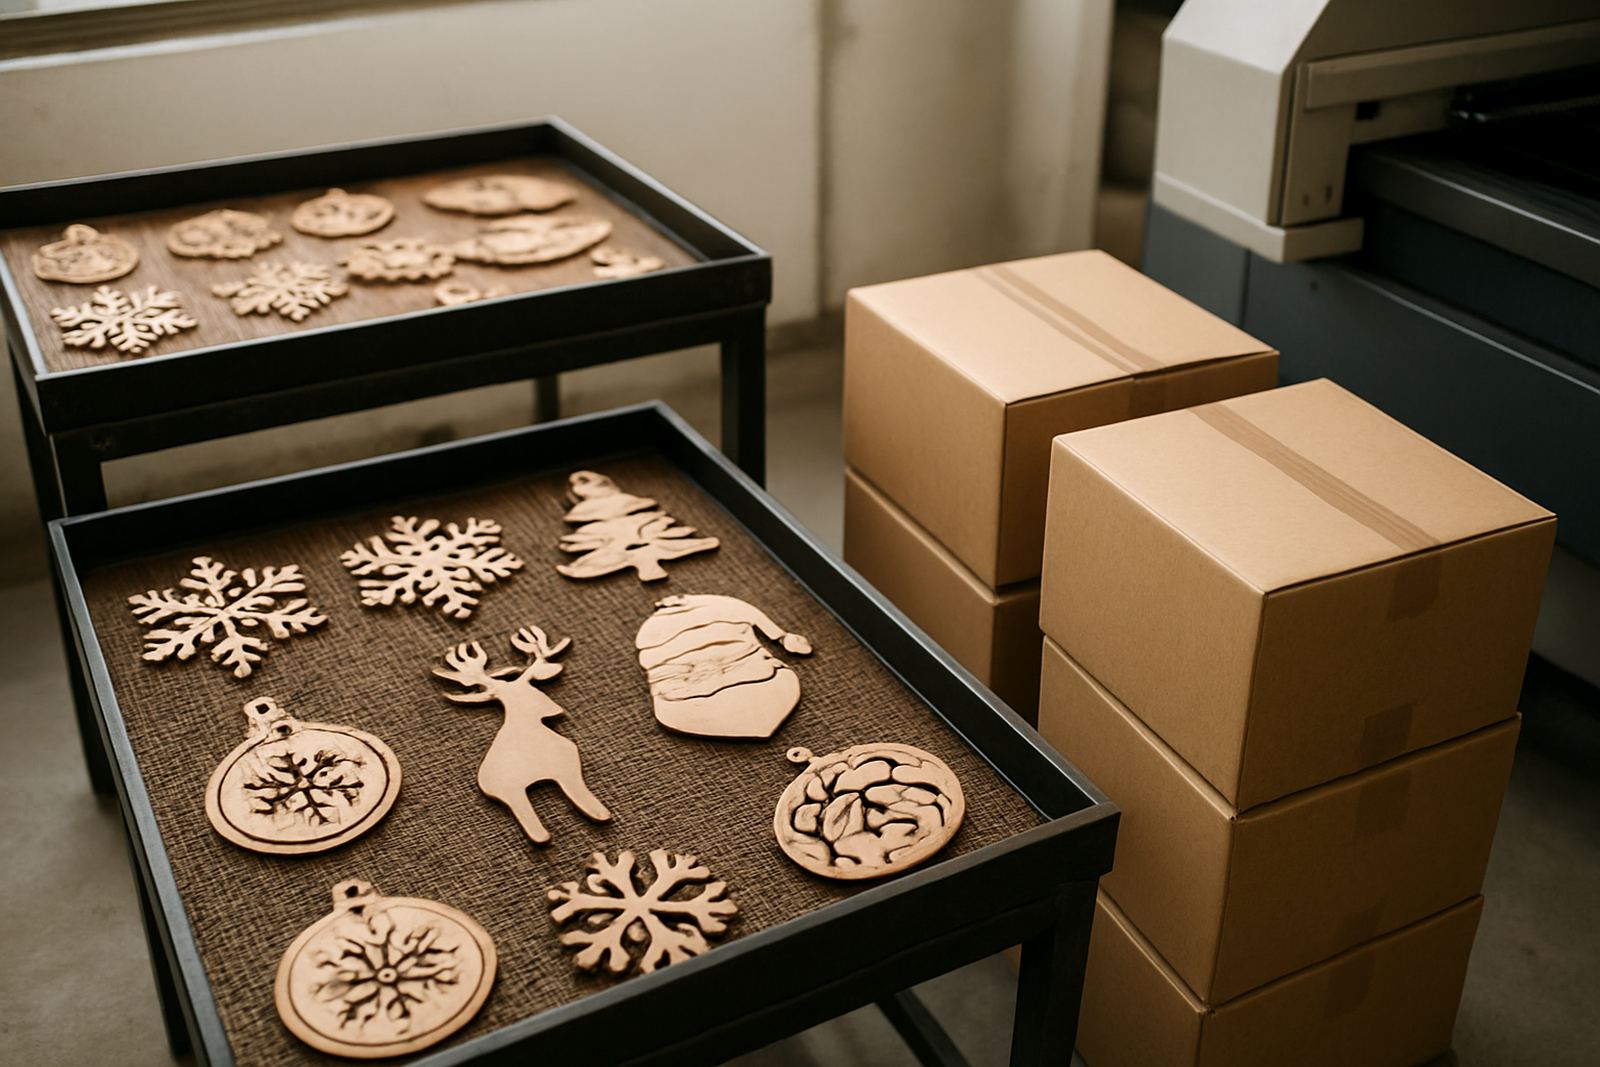
- Common thicknesses: 3 mm and 6 mm acrylic, plus thin natural materials for detailing
- Finish target: clean edge with minimal hand work and fewer burnt marks
The client also needed repeatability. If a set of stand parts passed today, it had to match next month. That meant beam alignment, optics care and operator routine mattered as much as the machine spec itself.
The machine and setup we supplied
We supplied a CO2 laser cutting system sized for workshop production, with a bed area suited to display components and a control setup that made short runs and repeat jobs easy to manage. The machine was installed in the Centurion production space, with extraction connected, cooling checked and the cutting area tested on the client’s own acrylic samples before sign-off.
The setup included practical items that matter in day to day use, not just on the day of install. We checked beam path alignment, verified focus settings for different acrylic thicknesses and confirmed that the machine could hold detail on corners and narrow tabs. The operator team also wanted easier changeover between jobs, so we set up repeatable settings for common materials and shared a simple job setup routine.
- Clean cutting on clear and coloured acrylic
- Fine detail on small retail display parts
- Consistent edge quality across repeat batches
- Simple operator workflow for daily production
Installation and training in two weeks
The project was completed over two weeks from first site check to operator handover. In week one we did the layout planning, confirmed power and extraction requirements, then positioned the machine and linked the cooling and fume control systems. We ran test cuts on the client’s most common acrylic grades, then adjusted the settings until the finish matched the standard they wanted.
In week two, Refilwe handled operator training with the production staff while Johan checked maintenance points and Tyron covered routine service steps. Training covered basic cutting jobs, material loading, lens care, safety checks and what to do when a cut starts drifting off line. The team picked up the process quickly, especially once they saw how much less edge cleanup was needed.
After handover, we stayed close for the first production runs. That included remote support on setup questions and one follow-up check to make sure the shop floor routine was working properly under normal shift pressure.
Results on the floor after changeover
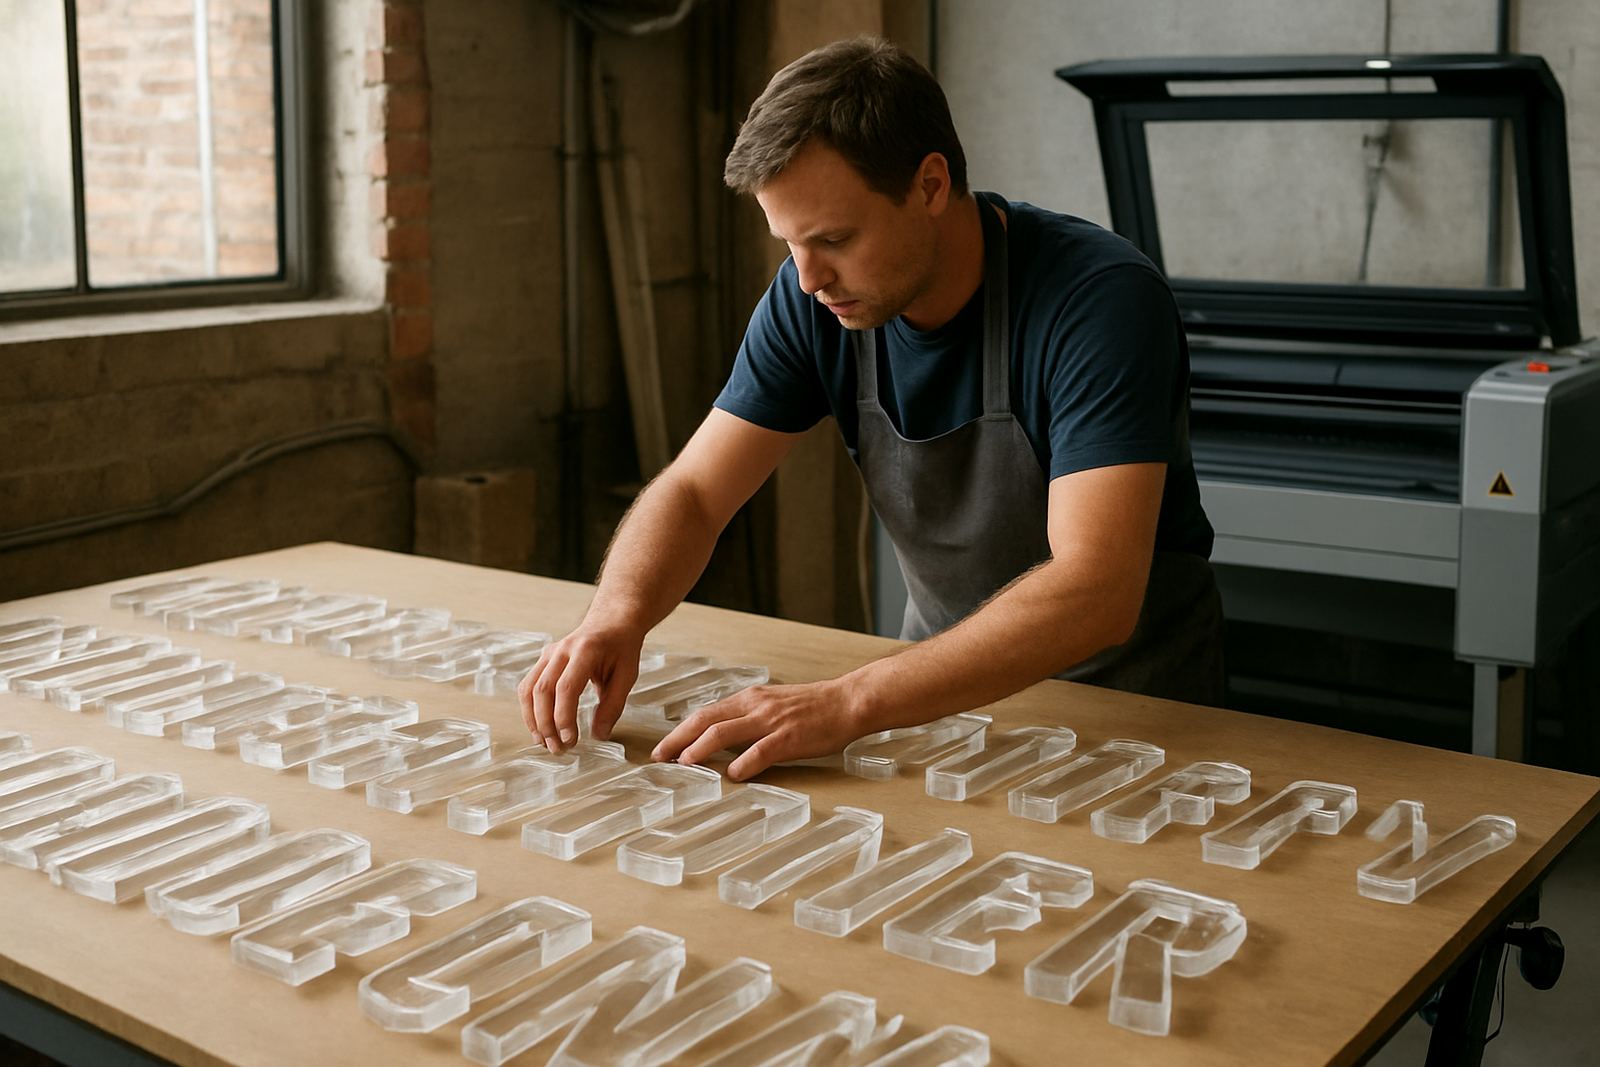
The main result was less hand-finishing on acrylic stand components. Parts came off the machine with cleaner edges and tighter internal detail, which reduced the time spent on sanding and rework. For a display fabricator, that kind of saving shows up fast because small gains are repeated across every batch.
The client also reported better consistency on repeat orders. That made quoting easier and helped the team plan production with fewer surprises. Instead of compensating for rough cuts later, they could move more parts straight to assembly and packing. The workshop gained a neater flow too, because fewer items were going back to the bench for correction.
- Less sanding and edge clean-up on acrylic pieces
- Better fit on slots, tabs and small display inserts
- More repeatable output on batch jobs
- Shorter turnaround on common retail display work
For a busy Centurion shop, those changes were worth more than a single impressive test cut. They changed the rhythm of the whole job cycle.
What we would carry through on a similar build
For another job like this, we would still start the same way: start with the client’s own materials, confirm the real production sizes and test against the actual edge finish expected by the customer. That avoids guesswork and keeps the machine matched to the work, not just to a brochure spec.
We would also repeat the training structure. A short setup lesson is useful, but the best results come when operators get clear routines for cleaning optics, checking cooling and recognising when a cut needs adjustment. In a workshop where deadlines are tight, that kind of discipline matters. It keeps the machine working properly and reduces unplanned stoppages.
For display fabrication work in Gauteng, the best outcome usually comes from a clean install, proper extraction and realistic settings for the material mix. Get those right and the machine becomes part of production, not another problem to manage.
Key facts
| Project type | Retail display fabrication for acrylic stand components |
|---|---|
| Town | Centurion, Gauteng |
| Material focus | Acrylic, with support for wood and light leather detail work |
| Machine type | CO2 laser cutting system |
| Project timeline | 2 weeks from site check to operator handover |
| Key outcome | Reduced hand-finishing and improved repeat cut consistency |