What the workshop needed in Krugersdorp
The client was a shared maker space in Krugersdorp used by hobbyists, small product makers and part time craft sellers. One week they were cutting signage blanks and jigs, the next it was custom boxes, leather tags or acrylic parts for school projects. They needed a single machine that could cover all those jobs without constant fiddling, and without needing a specialist on site every hour.
The brief was simple in wording but not in practice: give the members clean cutting, repeatable results and enough speed for group use. The room also had to stay workable during power interruptions, with sensible startup procedures for load-shedding and enough extraction to keep fumes down. In a shared space, noise, fumes and operator error can become the real problems, not the cutting itself.
- Material mix: acrylic, plywood, MDF, card, leather and some coated items
- Typical work: signs, stencils, small production runs, display parts and personalised gifts
- Users: beginners, experienced makers and rotating volunteers
- Local factors: dust, municipal noise concerns, and power interruptions that happen without much warning
Machine setup and key specs
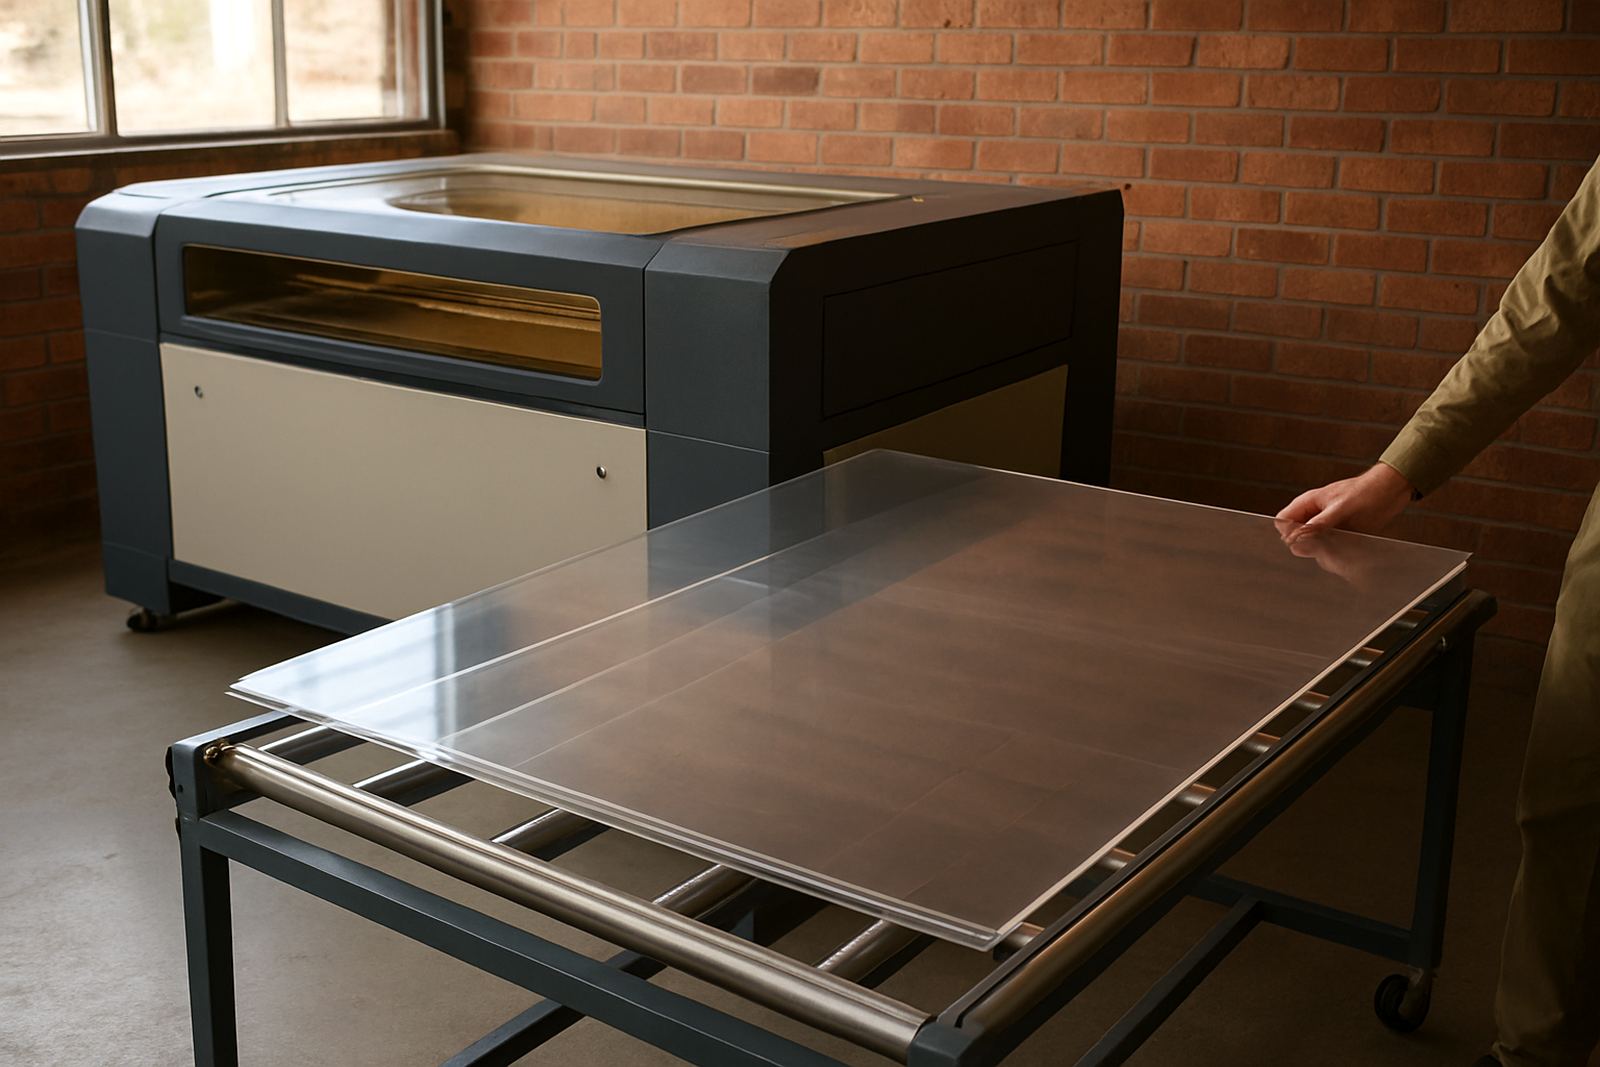
We supplied a CO2 laser system configured for mixed workshop use, with a working area suited to standard sheet sizes and repeat jobs. The machine was set up for precise edge quality on acrylic and timber, and enough control to keep fine lettering and internal cut-outs clean. For a shared environment, we focused on a clear control layout and settings that could be taught quickly, because if the machine is confusing it tends to sit idle.
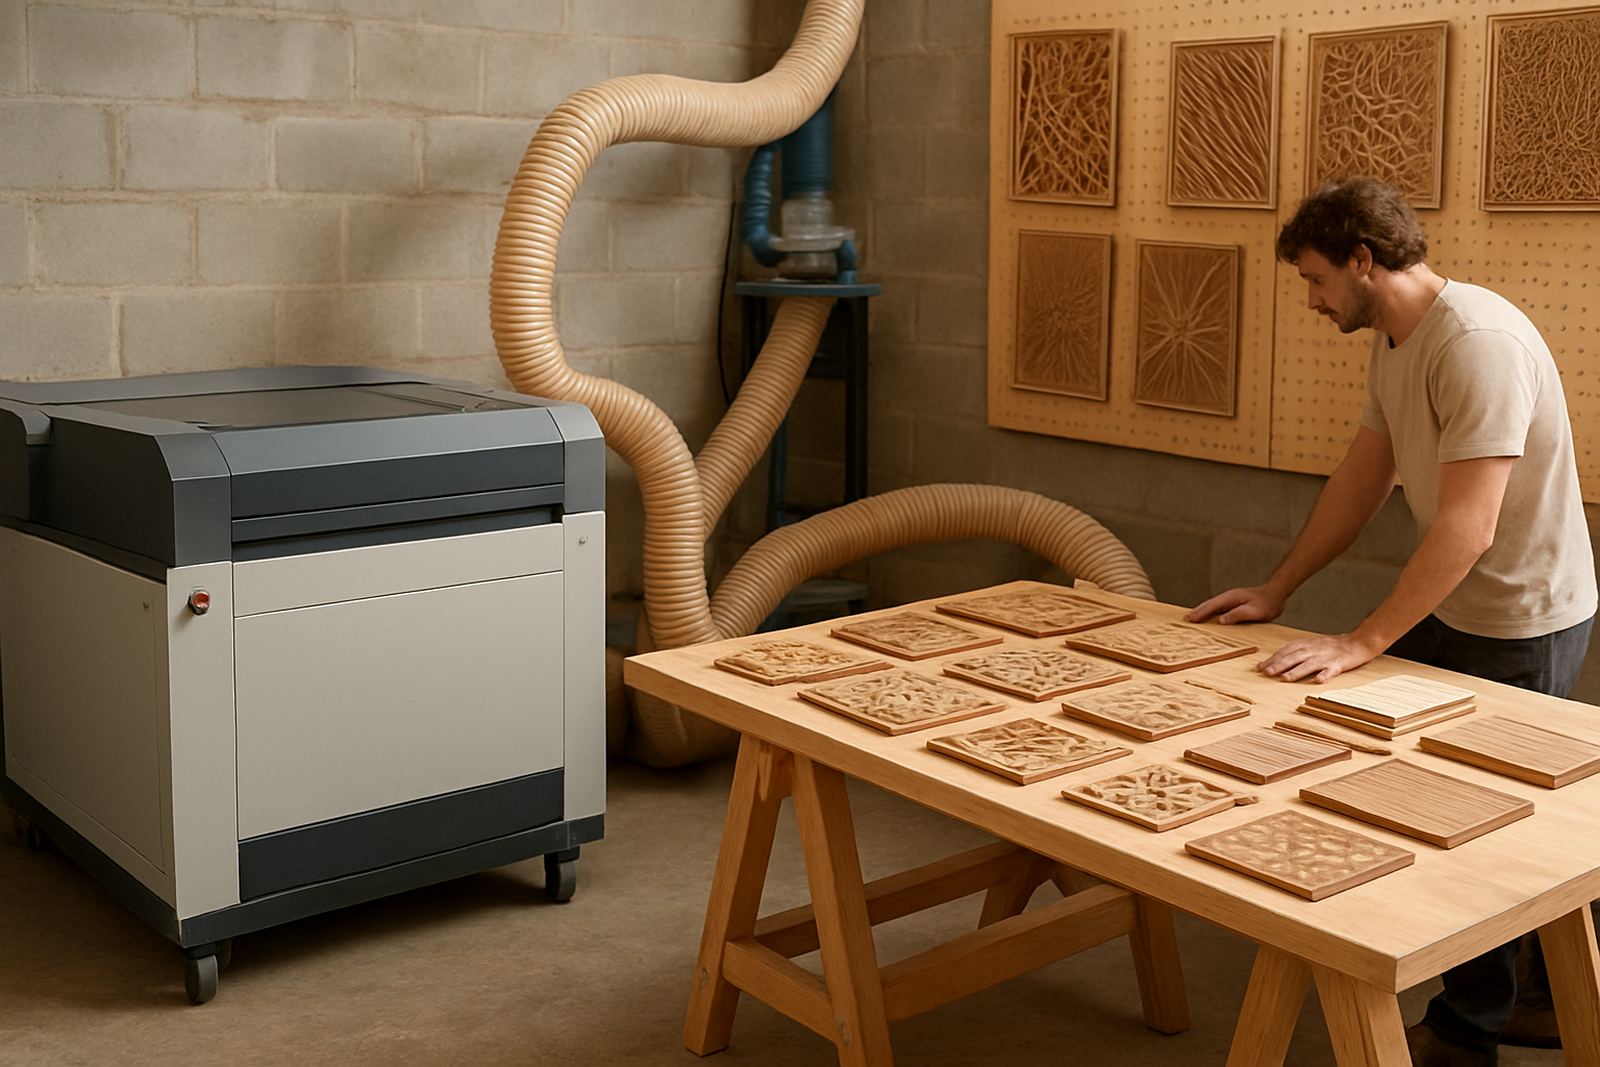
The system included assisted cooling checks, a proper extraction connection, beam alignment during commissioning and a practical clean-down routine for optics. We also added a simple job list for common materials so the team could get started without guessing every power and speed setting. On a busy floor, that saves real time and avoids burnt corners. The machine was also positioned for safe loading from both sides, which made sense for the room layout.
- Material focus: acrylic, wood and leather
- Cut quality: clean edges with fine detail retention
- Workshop fit: suitable for shared use and repeated setup changes
- Support items: cooling checks, extraction connection and beam alignment
- Operation notes: starter settings for common sheet thicknesses
- Placement: set for straightforward access in a shared room
Constraints we had to work around
The biggest issue was not the machine choice, it was the environment around it. The workshop had limited floor space, a practical but busy layout and a mix of users coming and going at different times. That meant we needed a machine position that allowed safe loading, enough room for maintenance and a sensible route for extraction ducting.
Another constraint was downtime. Shared spaces cannot afford a long learning curve or repeated breakdowns, because one failed session affects many members. We planned the commissioning so the team could work through start-up, cooling, air assist and basic troubleshooting in one go. That also helped them manage the first few weeks when everyone is learning the same system. The site had one awkward corner for routing power and extraction, so we kept the install neat and direct, not fancy.
- Limited floor space in the main workroom
- Mixed user skill levels, from first timers to experienced operators
- Need for quick start-up after outages
- Need to keep fumes and smoke under control in a shared area
Install, training and handover
We handled the install in stages over two weeks. First came site positioning and the mechanical setup, then extraction connection, cooling checks and beam alignment. After that we ran test cuts on acrylic, plywood and leather to confirm edge quality and to check that the settings matched the actual material being used. The final handover focused on practical use, not just theory.
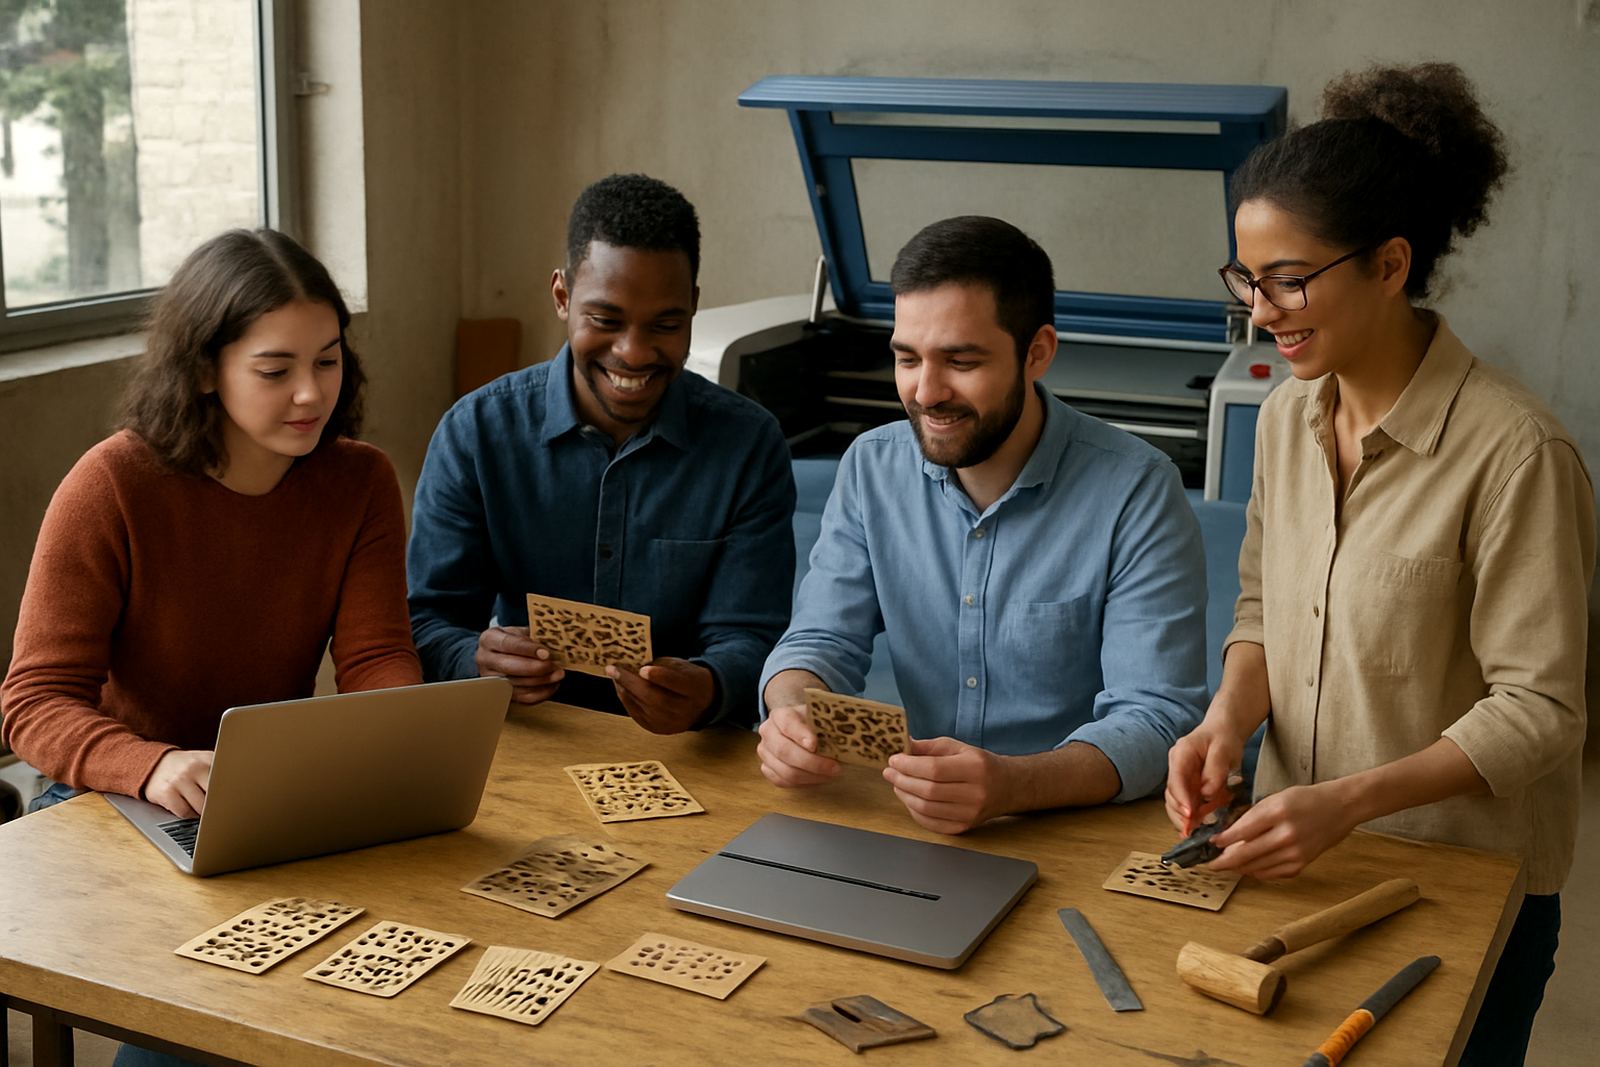
Refilwe led the training session with support from Johan on the technical side. The team worked through machine start-up, cleaning optics, checking water flow, setting focus and recognising when a job needed a slower speed or a different power setting. We also covered safe shutdown after a load-shedding event, plus what to inspect before putting the machine back into service. It was a proper hands-on session, and the members asked plenty of questions.
By the end of week two, the workshop had a working routine for daily use. That meant fewer stops and fewer overcuts on the first run, which is what matters when members are paying to use shared equipment.
What changed once the machine was running
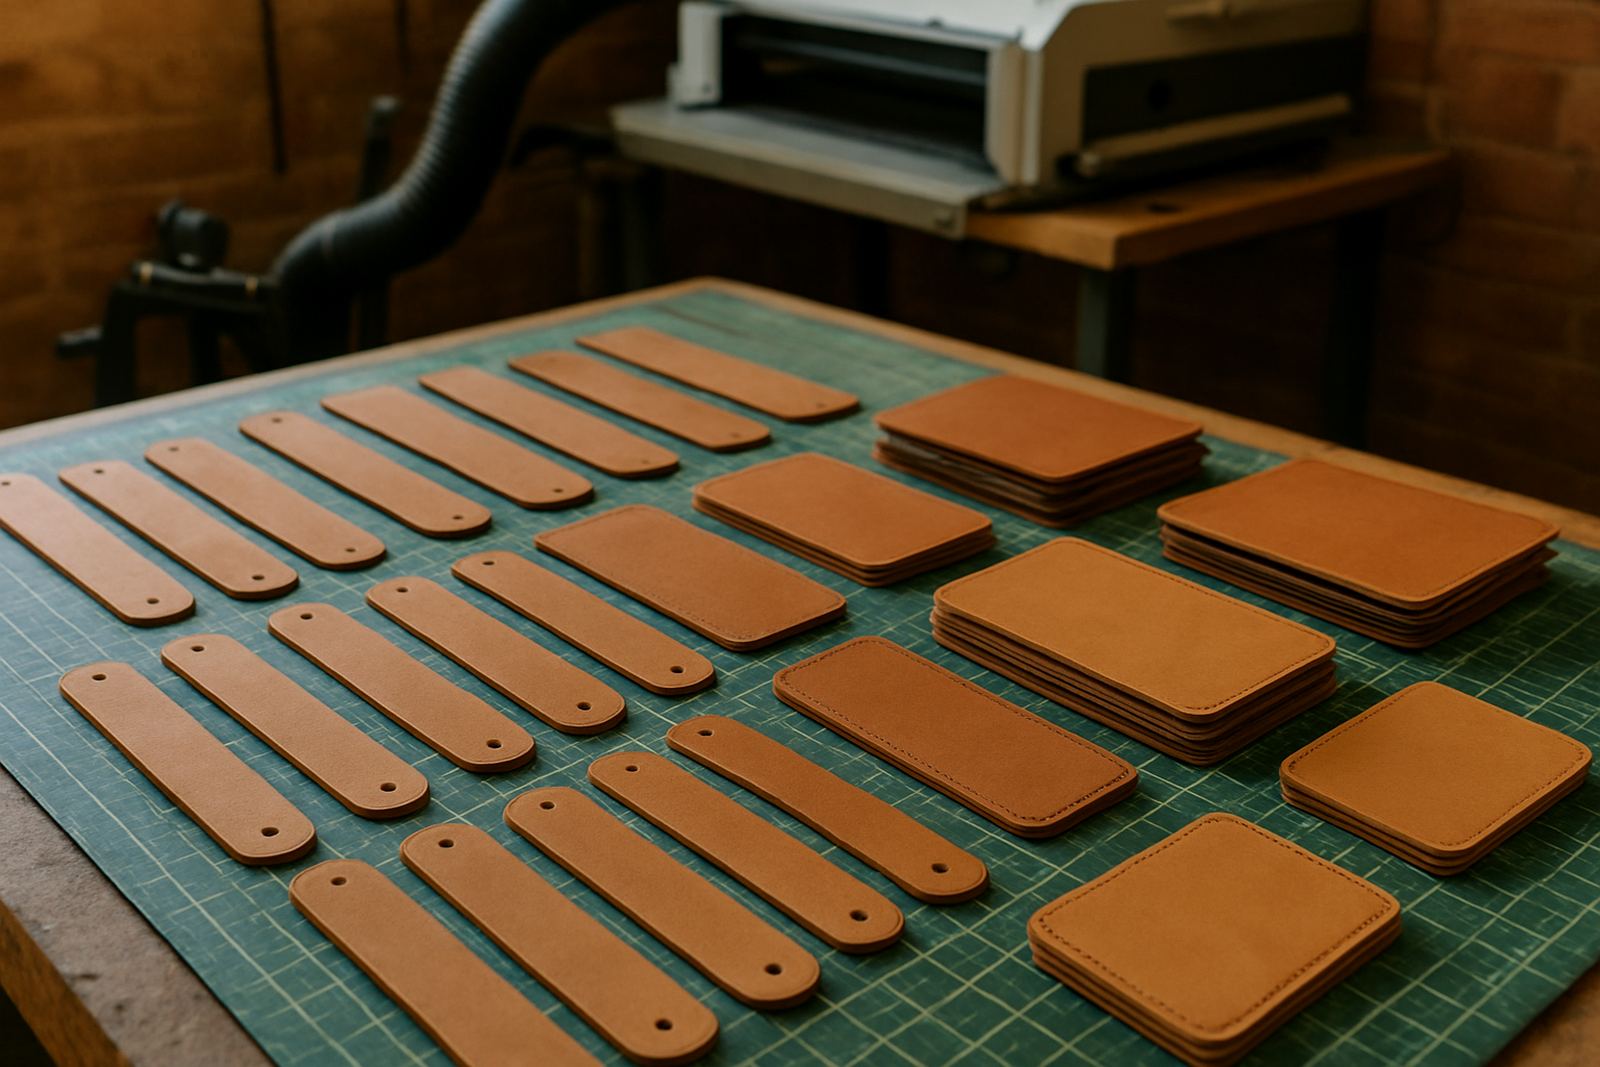
The first result was consistency. Members could cut repeat parts with the same dimensions, which is important for sets, kits and repair jobs. The second result was cleaner finishing. Acrylic edges came off neat enough to use straight after cutting, while wood parts needed far less sanding than they had before. Leather jobs also improved because the team could hold detail without tearing the material.
There was also a practical business result. The makers space could now accept more varied projects, including small-batch work for local clients in Krugersdorp, Randfontein and nearby areas. That opened more use cases for the room and made the machine easier to justify on busy weeks. A shared shop lives or dies by how many types of jobs it can take, not just how clever the equipment looks.
- Better repeatability for kits, signage and template work
- Less manual finishing on acrylic and wood parts
- More confidence from members using the machine for the first time
- Improved turnaround for short runs and urgent pieces
Support after handover and what we would repeat
After commissioning, our service team kept in touch with the workshop for check-ins and minor setting adjustments. Tyron handled the practical service side while Lethabo supported the workshop lead with supply questions and operating guidance. When the team wanted to expand their material range, we helped them judge what would work cleanly and what should stay off the bed. That sort of support matters because not every sheet marked as laser-friendly behaves the same in real use.
If we did the project again, we would keep the same order: site assessment, machine positioning, extraction planning, then hands-on training before full release. That sequence keeps the room calmer and helps the operators gain confidence faster. We would also keep the starter settings sheet on the wall from day one, because in a shared space it saves arguments and mistakes, simple as that.
For maker spaces, the best result is not just a machine that cuts well. It is a machine that fits the room, the users and the pace of daily work.
Why this project worked for a shared workshop
This Krugersdorp project worked because the machine choice matched the way the room was actually used. The team needed flexibility, clean output and a clear support path, not a complicated system that only one person could run. With proper install support, training and a practical maintenance plan, the workshop got a dependable setup it could build on over time.
For shared spaces, we always look at the full picture: users, materials, extraction, cooling, access, power and service. Get those right and the machine earns its keep. Ignore them and even a good cutter becomes a problem. Here, the workshop now has a setup that handles everyday member work, and it has enough headroom for future jobs too.
Key facts
| Project type | Shared maker space in Krugersdorp |
|---|---|
| Machine type | CO2 laser cutting system |
| Primary materials | Acrylic, wood and leather |
| Install timeline | 2 weeks from placement to handover |
| Services provided | Installation, training, beam alignment and extraction setup |
| Support area | Wynberg base with nationwide demo, install and operator training |