The brief from a busy school workshop in Soweto
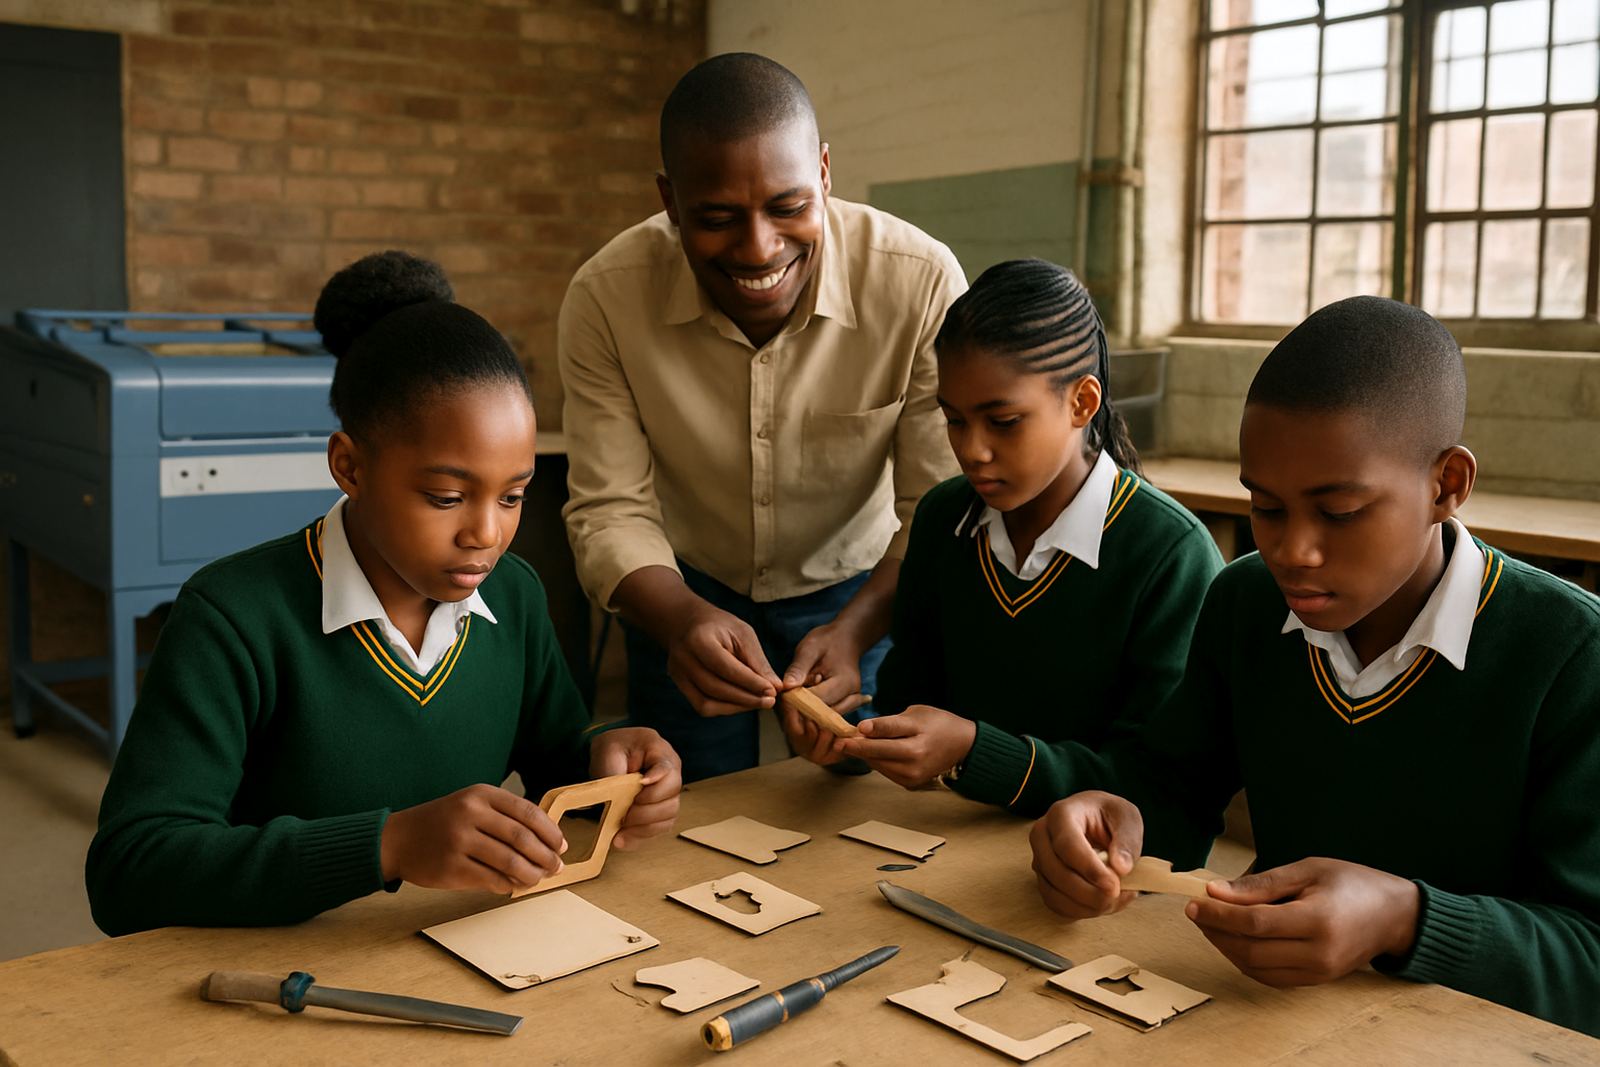
The school came to us with a practical brief: they needed a laser cutting setup that could be used for class projects, after-school clubs and small exhibition pieces, without overcomplicating the room. The workshop team wanted clean cuts on acrylic, MDF, thin plywood and leatherette, with enough repeatability for learners to produce the same parts from one week to the next.
There were two clear constraints. First was safety, because the machine had to sit inside a teaching space used by learners with different levels of experience. Second was reliability, since load-shedding and municipal supply dips are part of normal life in Soweto and the wider Johannesburg area. We also had to plan around ventilation, noise, dust control and a footprint that would not crowd the room.
What we supplied for classroom use
We specified a CO2 laser cutter with a 600 x 900 mm bed, set up for materials commonly used in school design and technology work. The machine was fitted for acrylic, wood and leather work, with a strong focus on clean edge quality and fine detail. For teaching use, we kept the controls straightforward and added clear operating steps that staff could follow from one lesson to the next.
The setup included the machine, extraction connection, cooling support, optical alignment, initial calibration and a practical handover for the teachers. We also arranged spare consumables and a basic care routine so the school could keep the machine in good order between visits.
- Cutting area: 600 x 900 mm
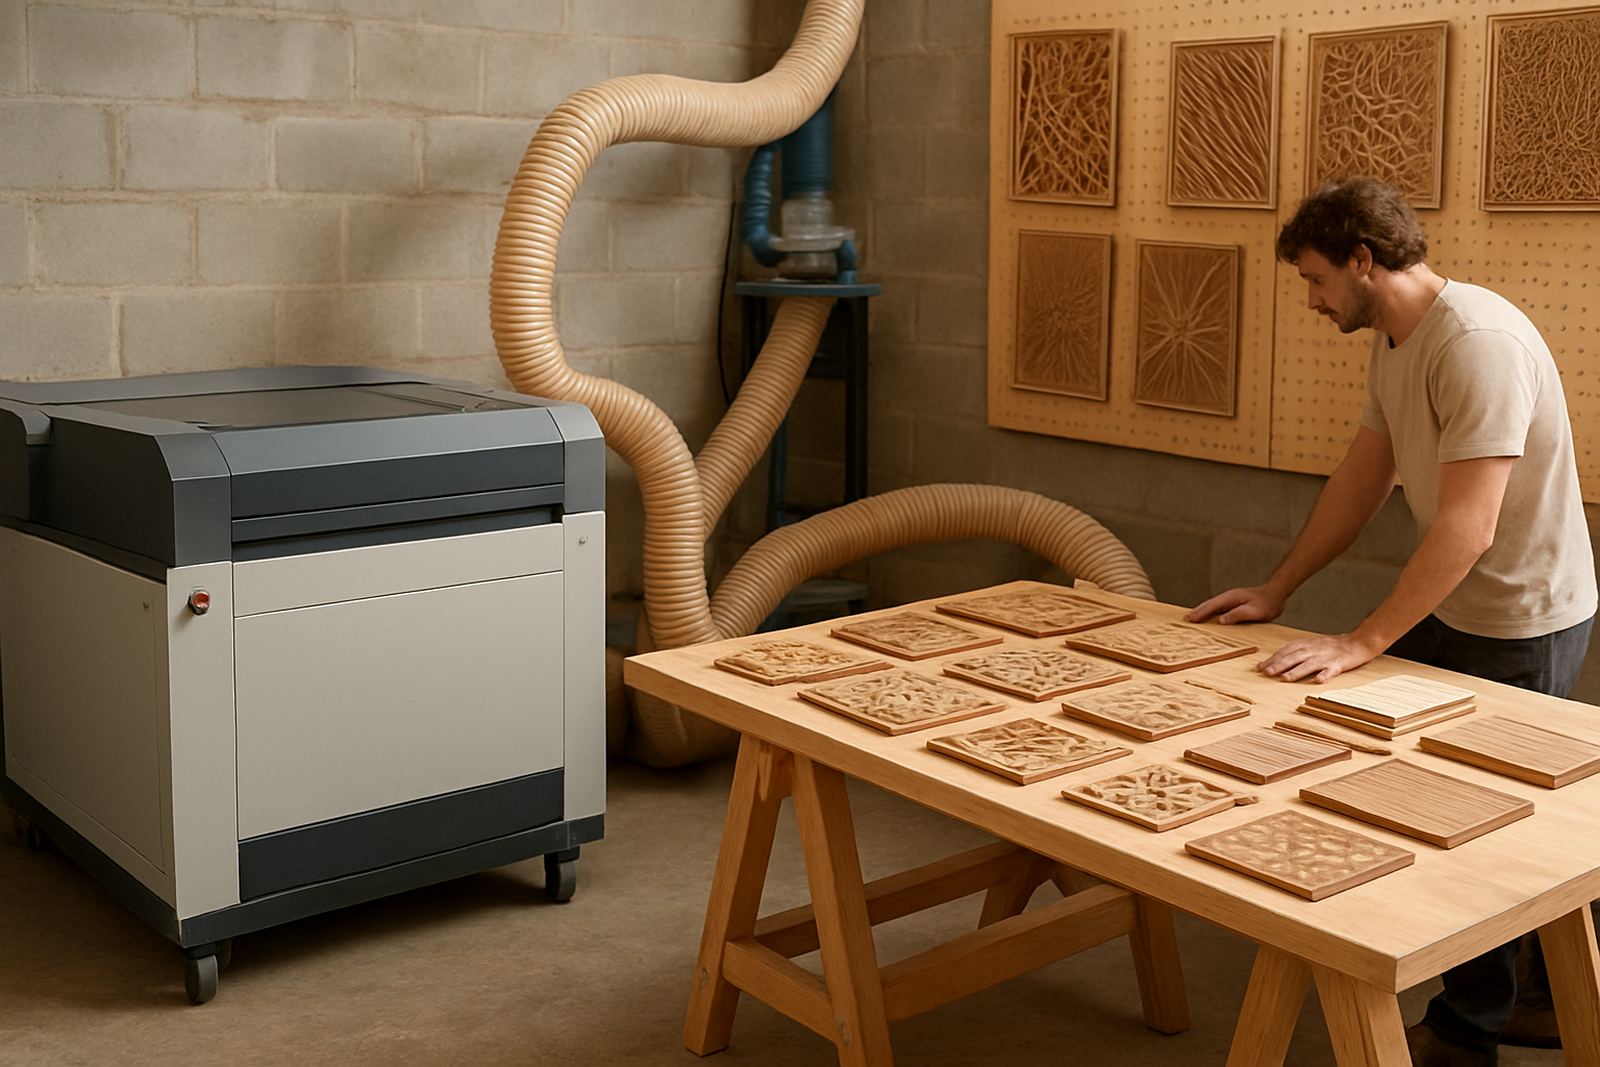
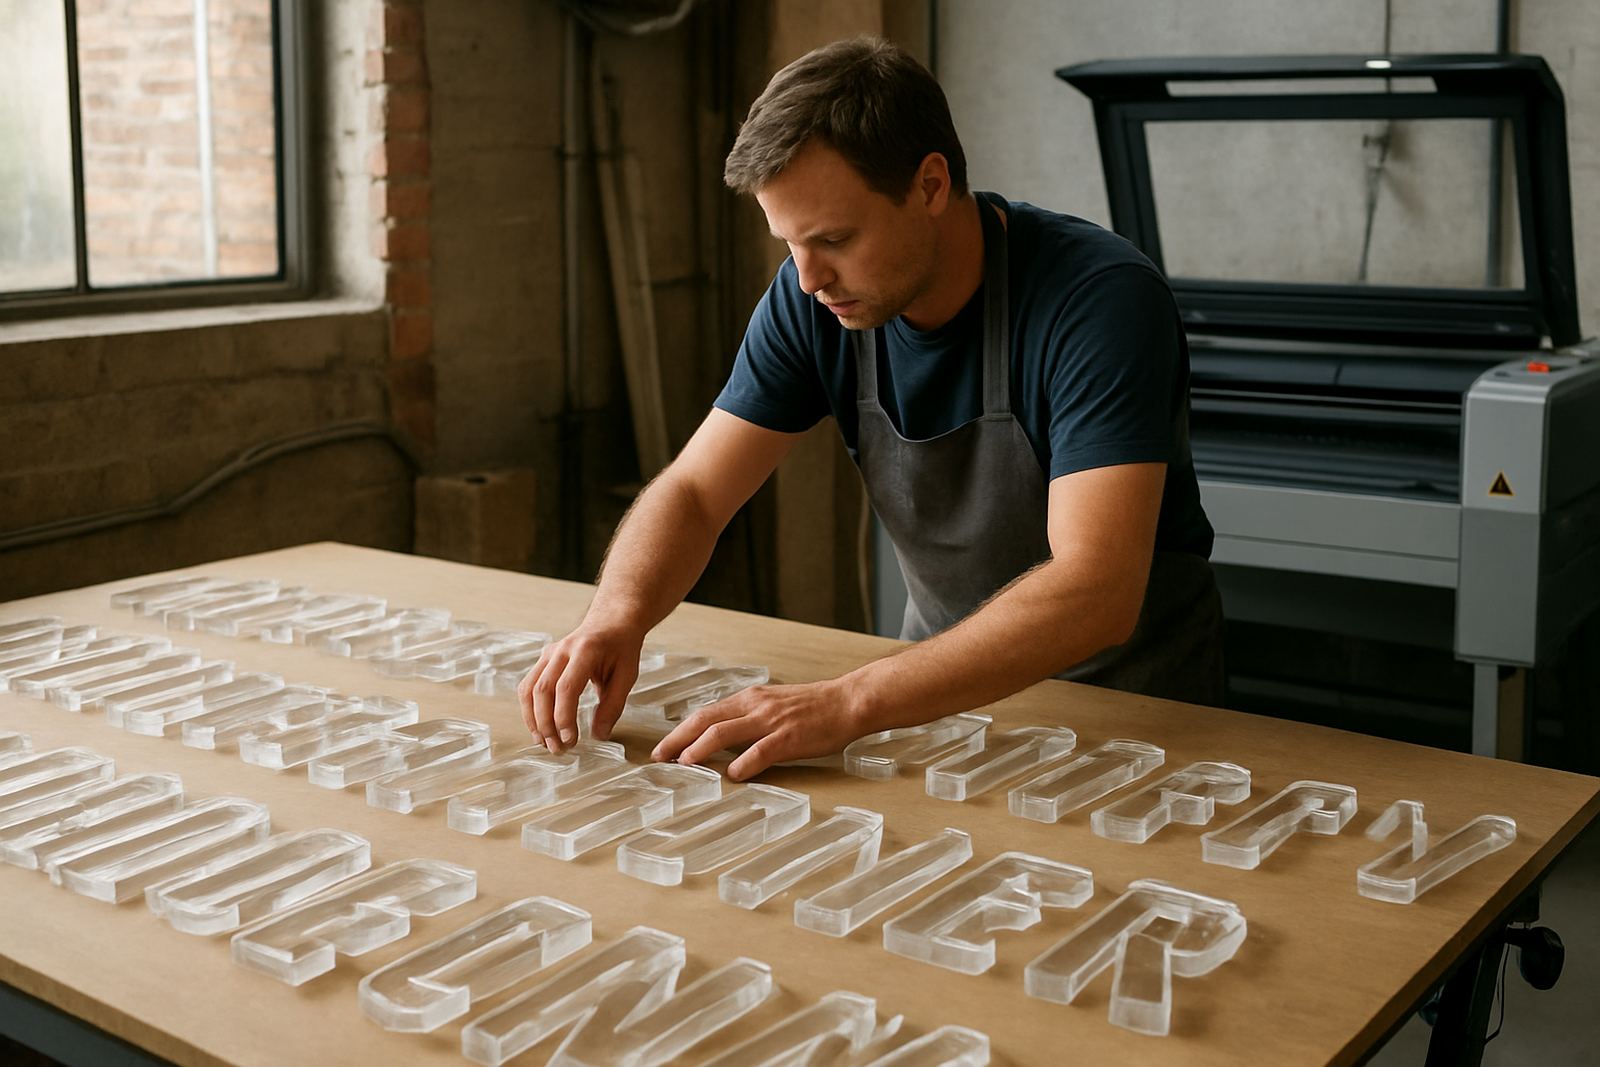
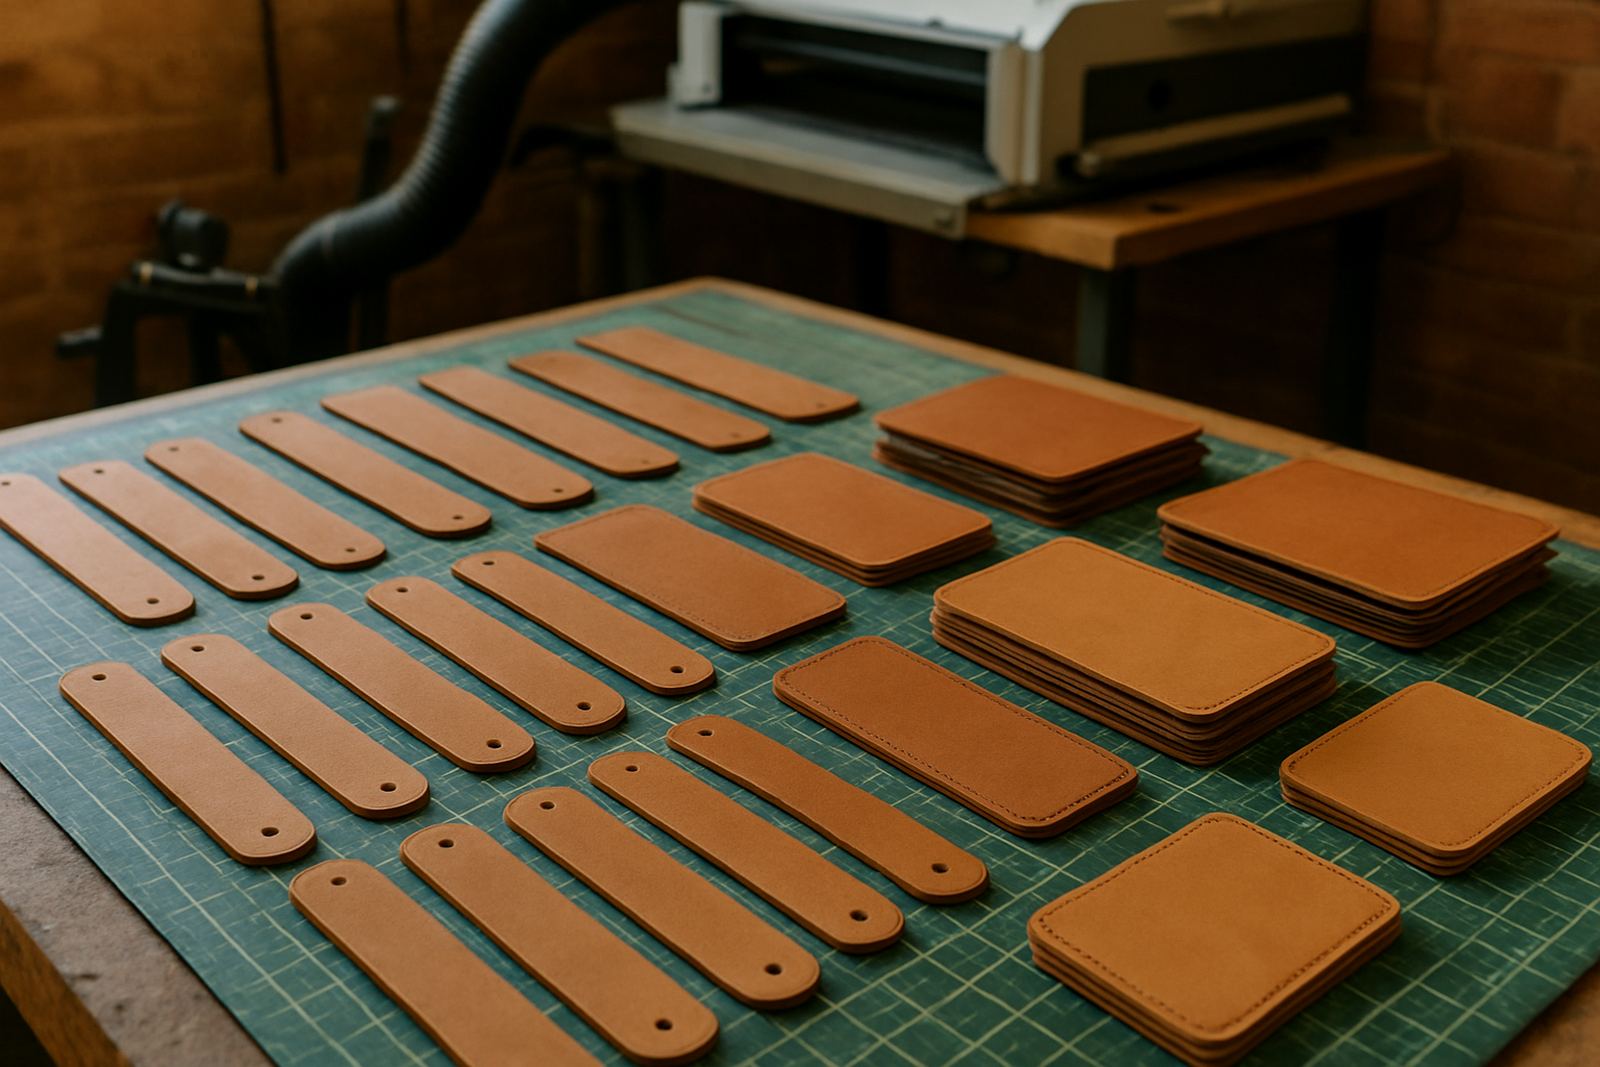
- Materials used in the lab: acrylic, MDF, plywood and leatherette
- Install type: supervised school workshop setup
- Support included: extraction, cooling checks and beam alignment
- Use case: learner projects, teacher demos and small batch class work
Installation, training and workshop rules
We completed the install in week one, then stayed on site to make sure the machine was running correctly with the school’s room layout. The extractor and cooling system were positioned so the machine could be used safely during lessons, while still allowing staff to move around the workshop without tripping over cables or hoses. The room already had a solid workbench layout, so we kept the footprint neat and left enough space for finished parts, offcuts and learner tools.
Training took place over the next week and covered job setup, material placement, focusing, speed and power basics, safe supervision and post-cut checks. We also went through what to do during a power interruption, how to shut the unit down cleanly and how to spot early warning signs on optics or cooling. The school asked for a simple process they could repeat, not a technical manual that sits in a folder. That was important, and the staff picked it up quickly.
- Training covered safe start-up and shut-down
- Operators learned basic job settings for common materials
- Teachers were shown how to supervise learner use
- We set out a cleaning and inspection routine for weekly use
How we handled power, ventilation and maintenance
School spaces need practical planning, especially when the electricity supply is not always predictable. We built the workflow around short job runs and clear stop points, so the team could pause work safely if power became unstable. That made a big difference for a workshop that needed to fit laser time between lessons and extra mural sessions.
Ventilation was treated as a core part of the project, not an add-on. The extraction service was checked during installation, and airflow was tested with common sheet materials before the school started using the machine for class work. We also set a preventive maintenance plan that included optics cleaning, cooling checks, beam alignment and a service visit schedule suited to school terms. The aim was to keep the laser dependable without asking the staff to do more than they should.
Results in the first term of use
By the end of the first term, the workshop was using the laser for signage, model parts, layered nameplates and design assessments. Learners could move from a digital sketch to a finished component much faster than before, and the teachers had a better way to show how accuracy affects the final result. Edges came out cleaner than the school had expected on their first run, particularly on acrylic and thin wood sheets.
There was also a useful side effect: the workshop became a proper point of interest for the school. Learners who had never worked with digital cutting were suddenly asking about file preparation, assembly and finishing. The staff told us it helped make design work more practical and a lot more engaging. The machine itself ran reliably, with only small setup adjustments during the first few weeks as the team got used to material behaviour and cut timing.
- Faster turnaround for class projects
- Cleaner edges on acrylic and thin timber
- More repeatable results for assessment work
- Better learner participation in technical design tasks
What we would repeat on the next school install
If we were doing the same kind of project again, we would keep the same basic approach: simple controls, strong supervision, clear maintenance habits and a training block that is short enough for a school timetable. That balance matters. A workshop machine has to work on Monday morning, not only on the day it is installed.
We would also recommend the same early planning around extraction and backup power support. In our experience, that is where many school laser projects either run well or become a source of frustration. With the right layout and a team that knows the process, the machine becomes part of the teaching rhythm rather than an extra problem. For this Soweto school, that was the goal from the start and it held up well.
Project team on the ground
The job was handled through our Johannesburg base in Wynberg, with support from our technical and training team. Mandla Sibiya coordinated the project direction, Johan van Wyk led the technical setup, and Refilwe Mokoena handled the training plan for staff. Tyron Naidoo managed follow-up service checks, while Lethabo Makhubu and Dineo Nkoana kept the school informed on supply and support timing. That mix of roles helped us keep the install moving without confusion.
The project ran over three weeks from first site visit to full handover. Week one covered assessment and install, week two covered training and test cuts, and week three was used for fine tuning, support and classroom workflow checks. The school now has a supervised laser setup that fits the room, the timetable and the level of use they need.
Key facts
| Project type | Supervised school workshop laser setup |
|---|---|
| Location | Soweto, Johannesburg |
| Machine bed size | 600 x 900 mm |
| Main materials | Acrylic, wood, MDF and leatherette |
| Timeline | 3 weeks from site visit to handover |
| Services included | Installation, training, extraction checks, beam alignment and preventive maintenance planning |