School workshop brief in Springs
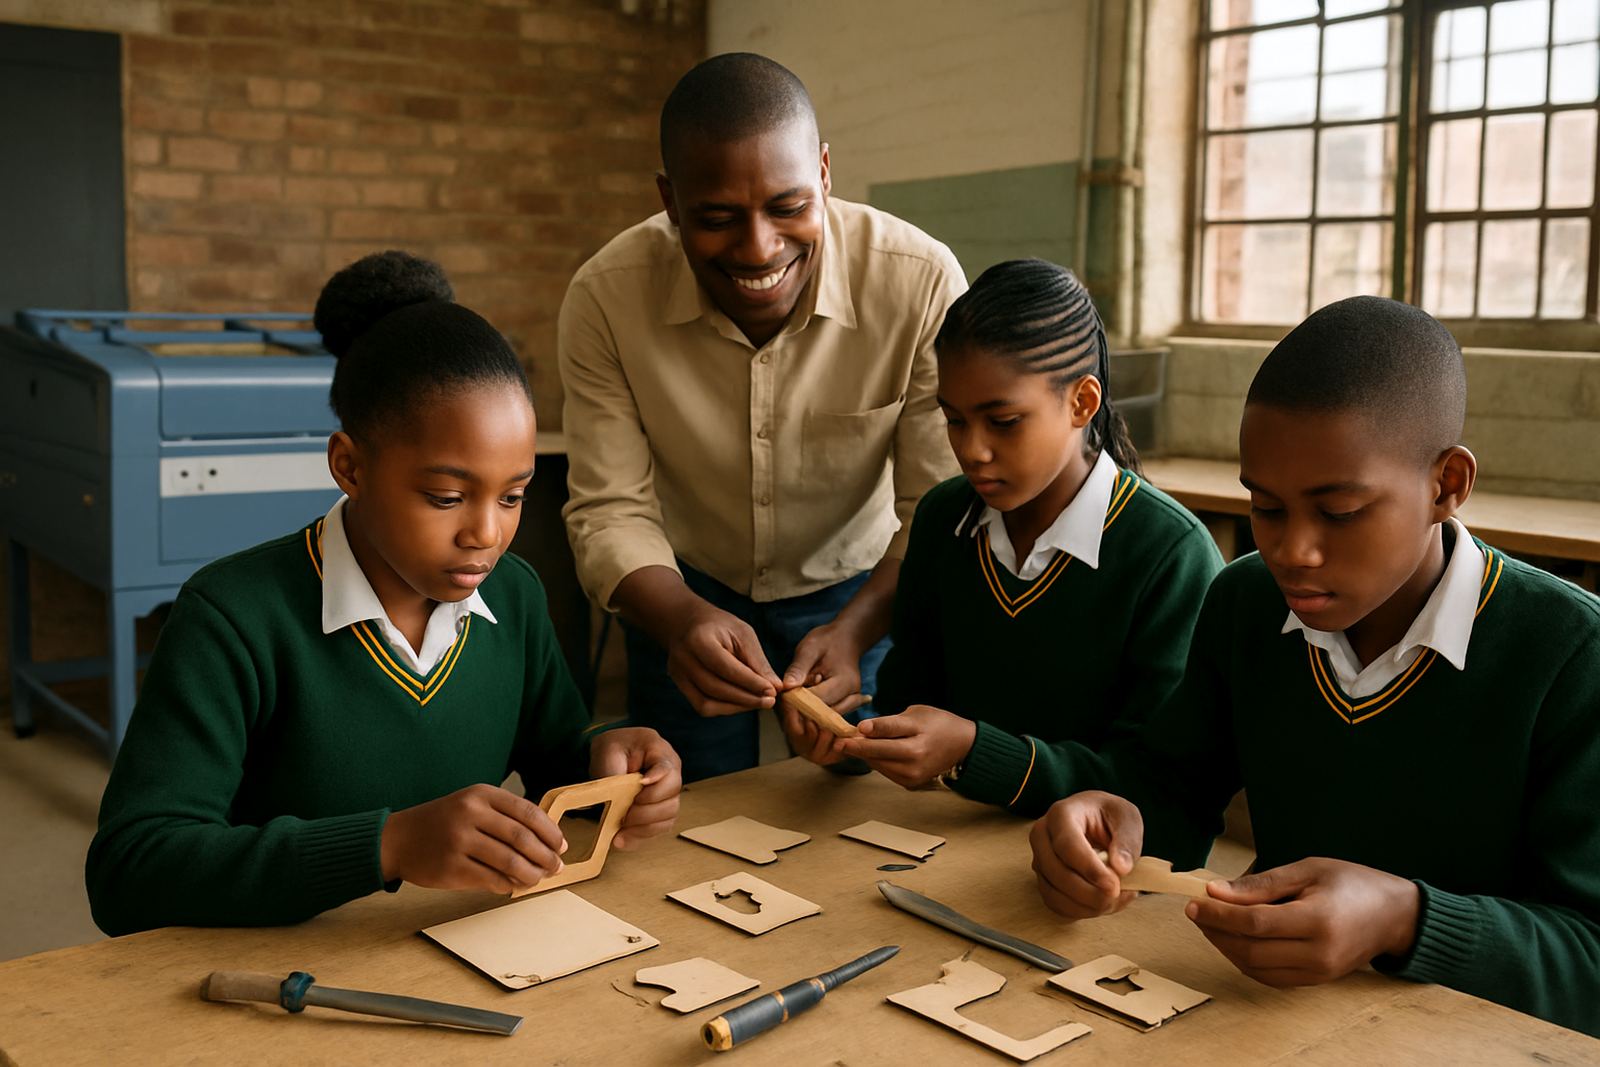
The client was a technical school in Springs working with a mixed group of learners in a workshop setting. The goal was to add practical machine skills to their existing technology lessons, so learners could see how digital files become finished parts in wood, acrylic and leather. The school wanted a system that was easy enough for guided teaching, but still accurate enough for neat demonstration pieces and small project work.
The brief was clear: keep the process simple, keep the machine safe for new users, and make sure the system could handle regular use during term time. The workshop also needed something that would fit into an existing school timetable, with short sessions and limited supervision time. That meant the machine had to be reliable, quick to learn, and straightforward to maintain between classes. We also had to account for load-shedding and the fact that school workshops do not always have perfect climate control, so setup had to be practical from day one.
What the school needed on the ground
The school was not looking for a complicated production machine. They needed a CO2 laser that could support operator basics, demonstrations and small batch cutting without constant adjustment. The main challenge was balancing safety, learning pace and daily school use. The workshop had to stay organised, with clear rules around material thickness, extraction, cooling and supervision.
We worked around a few site limits:
- Limited floor space in the workshop area
- Intermittent power interruptions, common in Gauteng
- New users with no prior machine experience
- Need for low maintenance between sessions
- Material use that had to stay practical for school budgets
Because the school sits in an area where dust and heat can build up quickly, the installation also needed proper airflow and extraction planning. A clean cut is only part of the job if the workshop is hard to keep in order, so we paid attention to cable routing, cooling checks and safe working space around the unit. One of the teachers said they wanted something learners could approach without fear, but still treat properly, and that shaped the whole handover.
CO2 laser setup supplied for teaching use
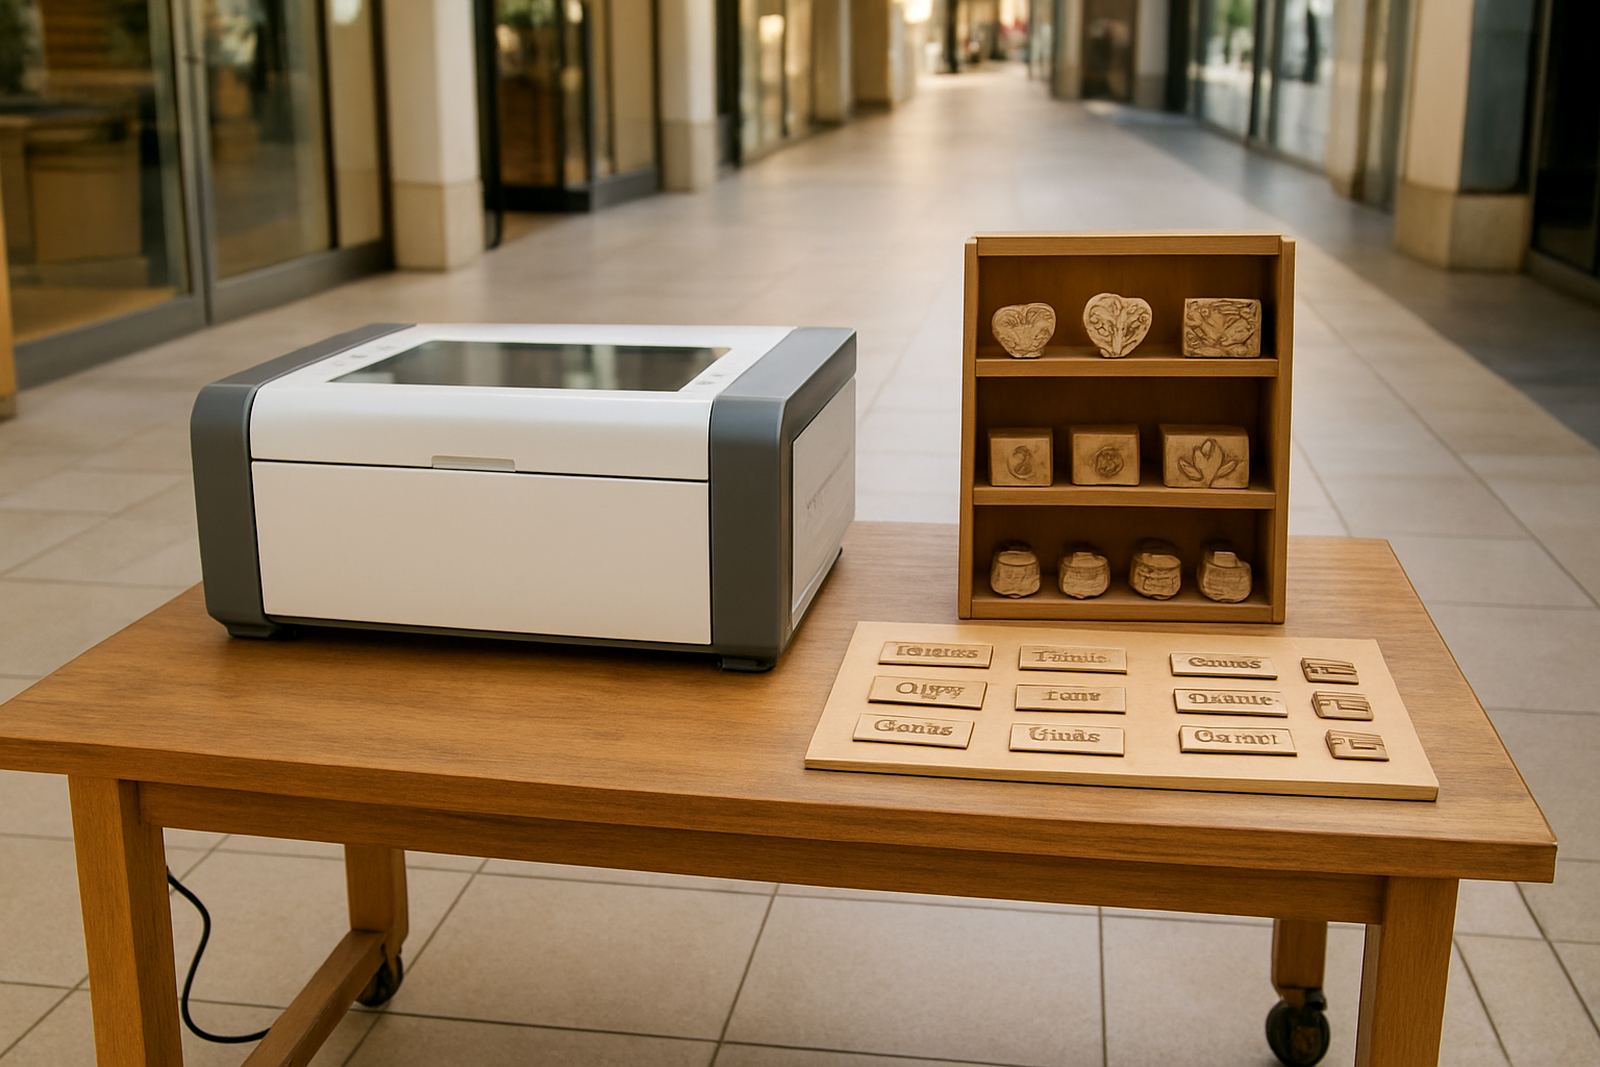
We supplied a CO2 laser cutting setup suited to training and light production work. The machine was selected for clean edge cutting on common workshop materials, with enough precision for lettering, inserts, templates and small components. It was paired with practical support items so the school could run lessons properly instead of just switching the unit on and hoping for the best.
Key setup details included:
- CO2 laser system for cutting acrylic, wood and leather
- Working area sized for classroom-friendly project pieces
- Focus and alignment checks for consistent output
- Cooling and extraction support for safe operation
- Basic operator controls suitable for supervised learning
- Training material for learners and staff
We also covered the small details that matter in a school environment. That includes keeping the optics clean, checking the water cooling routine, and making sure the extraction path is not blocked by offcuts or packing material. In a classroom workshop, a machine can be technically correct and still become difficult to use if the support steps are not explained properly. We made sure the team could carry out those steps without guesswork.
Training delivered over a short project timeline
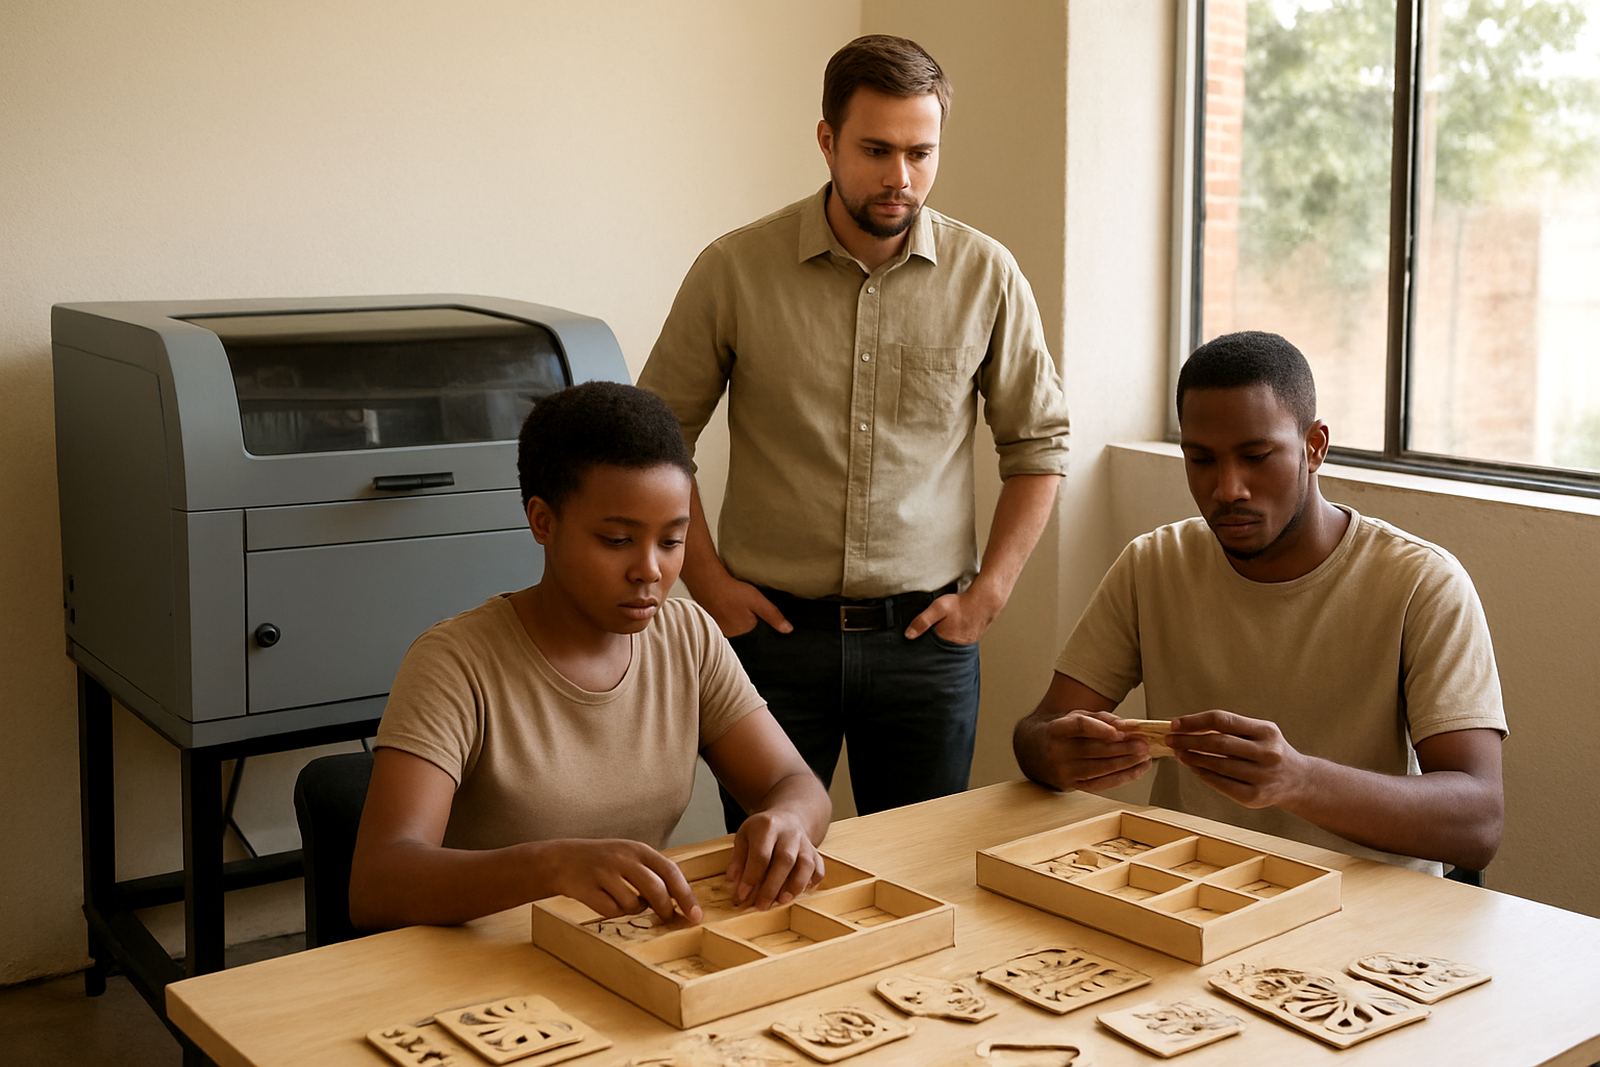
The full project ran over 3 weeks from first site walk-through to training sign-off. Week 1 was planning and measuring, with discussion around the lesson format and the material types the school wanted to use most often. Week 2 covered installation, setup and test cuts, and Week 3 was dedicated to operator training with staff and learners under supervision.
The training focused on the practical side of using a CO2 laser in a school workshop:
- Basic machine start-up and shutdown
- Material selection for safe classroom use
- Setting power and speed for sample jobs
- How to prepare artwork and simple cut files
- Cleaning the lens and mirrors, then checking beam path
- What to do if cuts go out of line or the finish changes
We kept the sessions direct and hands-on. No one in the room needed a long technical lecture. Instead, the group worked through simple jobs, repeated the steps and then practiced the same routine again until they could do it comfortably. By the end of the week, the teachers had a repeatable process they could use with different classes, and the learners had seen how accuracy, setup and patience all affect the final part.
Installation, support and school-safe handover
The installation was handled with the school schedule in mind, so disruption to teaching time was kept low. We completed machine placement, initial checks, extraction setup and beam alignment, then moved into a controlled test run. The handover included practical guidance on daily cleaning, cooling checks and how to keep the workshop running during periods of unstable power.
We also discussed routine support points that matter in a school setting:
- Preventive maintenance during holidays or quieter weeks
- Optics cleaning before performance drops
- Extraction service to keep smoke and residue under control
- Breakdown response if a fault interrupts lessons
- Remote support for quick checks before calling for site visit
For a school, the best result is not just a working machine, but a machine that can be trusted by the teaching staff. That means clear labels, proper storage of consumables and a simple process for reporting issues. We set the system up so the team would not be stuck guessing which step comes next. That kind of clarity saves time and prevents small mistakes from turning into bigger problems.
Results for learners and teachers
The workshop gave the school a practical tool for teaching digital fabrication in a way learners could understand immediately. After training, staff were able to run basic cuts, check material settings and supervise small jobs without needing outside help for every stage. The learners gained exposure to real workshop discipline, including setup, safety, file preparation and finishing.
The school saw three clear outcomes:
- More practical participation during technology sessions
- Cleaner, more accurate sample parts for class use
- Better confidence from staff handling the machine themselves
There was also a broader benefit. Once the school had a working process, it became easier to plan future lessons around real output rather than theory alone. Students could compare settings, inspect edge quality and understand why one material cuts cleanly while another needs adjustment. That kind of teaching sticks. It gives learners something they can actually hold in their hands, not just notes on a page.
What we would carry forward for another school workshop
If we repeated this project, we would keep the same approach: short planning, practical installation and training tied directly to the school timetable. That method works because it respects how schools operate. There is no point overcomplicating a workshop machine if the staff only need a reliable way to teach fundamentals and produce simple parts.
We would also keep the emphasis on everyday support, especially in areas where power interruptions and dust are part of normal working conditions. A school workshop needs equipment that can be maintained by ordinary staff with clear instructions, not just by specialist technicians. For that reason, we would always recommend a setup that includes preventive maintenance planning, a clean extraction path and enough training time for the people who will use the machine most often. In Springs, that approach gave the school a practical workshop tool they could use straight away, with confidence.
Key facts
| Project | Springs School Workshop |
|---|---|
| Client type | Technical school workshop |
| Town | Springs, Gauteng |
| Timeline | 3 weeks |
| Materials used | Acrylic, wood, leather |
| Service scope | Installation, training, alignment, support |