Start With the Right Acrylic Sheet
Good cutting begins before the machine is switched on. Cast acrylic usually gives cleaner edges and a better flame polished finish than extruded sheet, while extruded can be fine for simple shapes if your settings are well dialled in. Keep sheet thickness consistent across the job, because a 3 mm sheet that varies by even a small amount can change the cut edge and the fit of assembled parts.
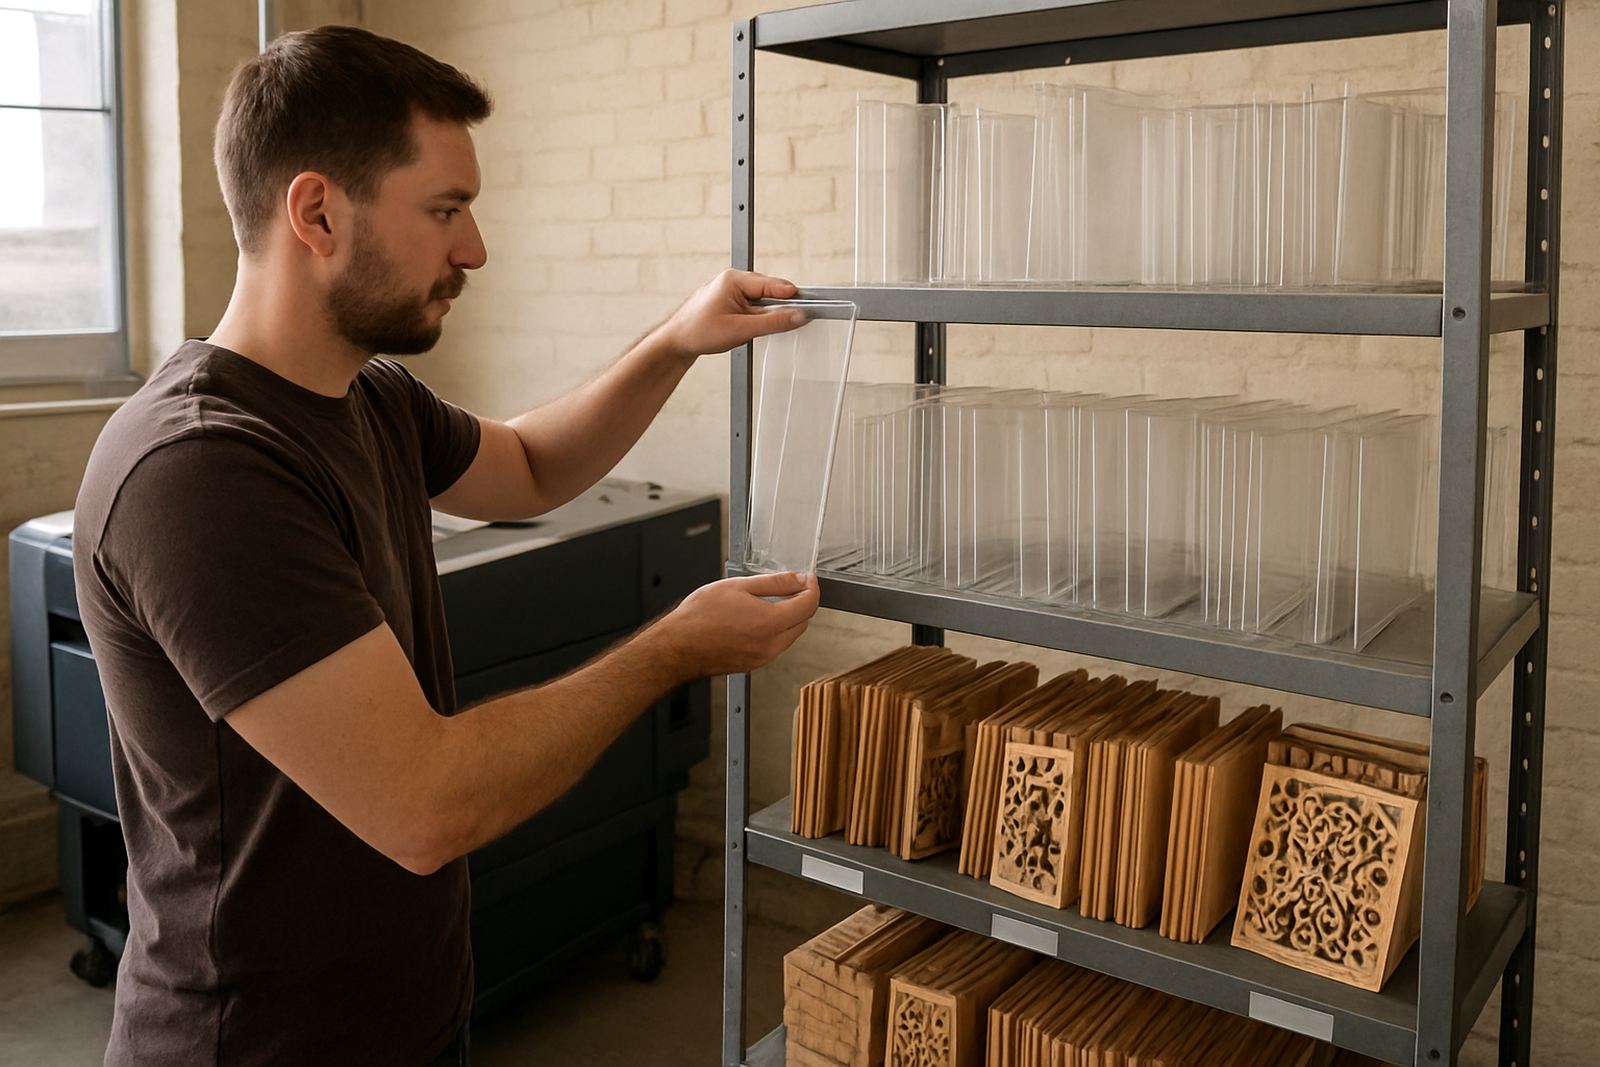
For workshop use in Johannesburg, Durban or the coast, store sheets flat and away from dust. Humid air can leave moisture on the surface and that often shows up as marks during cutting or engraving. If the material has been in a cold storeroom overnight, let it reach room temperature first. It helps more than many operators think.
- Check sheet type before loading: cast or extruded
- Confirm thickness with a gauge, not only the label
- Wipe dust off with a soft lint-free cloth
- Remove protective film only where needed for the job
- Keep sheets flat to avoid bowing and lift at the corners
Set Up the Machine Before You Cut
Clean optics, correct focus and steady airflow make a bigger difference than pushing power higher. Start with a clean lens and mirrors, then confirm the bed is level and the exhaust is pulling properly. If the beam is slightly out of alignment, acrylic cuts may look okay on one side and rough on the other, which wastes time later in the finishing room.
Focus should be checked for each material thickness, especially when moving between 2 mm, 3 mm and 5 mm acrylic. A shallow focus mistake can leave a frosted edge or a narrow ridge along the top of the cut. In many production shops, that is the difference between a part that slots in nicely and one that needs rework. Keep a simple settings note near the machine and update it when a clean result is found.
- Clean lens, mirrors and bed before long runs
- Check focus on a test piece before a full sheet
- Confirm exhaust and air assist are both working
- Verify alignment after moving the machine or head
- Use the same settings note for every shift
Dial In Speed, Power and Air Assist
Acrylic likes a cut that is controlled rather than aggressive. Too much power can melt the edge, while too little speed may cause heat build-up and a sticky cut line. The best settings depend on machine wattage, lens condition and sheet thickness, so use small test squares or simple circles first. If the edge is sticky to touch, reduce heat input and check the airflow. If there is visible frost or chatter marks, adjust speed and focus before changing everything at once.
Air assist must be strong enough to clear vapour from the cut. Without it, the edge can redeposit soot and give you an uneven finish. On heavier sheets, especially 5 mm and above, cutting slower with good airflow is often better than forcing a fast pass. For shops doing repeat work, keep a record of what works for signage, display stands, machine guards and craft parts so the operator does not start from scratch each morning.
- Use test cuts before every new material batch
- Change one setting at a time so faults are easy to trace
- Keep airflow steady through the full cut path
- Watch for melt marks, frosted edges and sticky residue
- Save good settings by material thickness and job type
Avoid the Common Problems That Waste Sheets
Most acrylic mistakes come from a few repeat issues. Dirty optics, poor bed support and damp material can all show up as rough edges or incomplete cuts. If you are nesting parts too tightly, heat from one cut can affect the next and leave a slight warp. Leave enough spacing for heat to escape, especially on long runs or jobs with many small parts. A little extra space often saves the whole sheet.
Watch out for protective film that has started to lift at the edges. It can catch smoke and leave patchy marks. Also make sure offcuts are removed as you go, because small pieces left under the sheet can create an uneven surface and spoil the cut line. In busy workrooms, a quick check between jobs is better than trying to rescue a full sheet later.
- Do not nest parts too close together
- Remove loose offcuts before starting the next sheet
- Replace damaged or lifting masking film
- Keep the bed clear and level
- Store sheet stock away from dust and moisture
Finishing, Cleaning and Handling After the Cut
A clean cut should still be handled carefully. Let the parts cool before peeling film or stacking them. If the edges are still warm, fingerprints can mark the surface and small pieces may warp slightly. For transparent acrylic, use a soft cloth and a mild cleaner that will not leave streaks. Avoid harsh solvents unless they are suitable for the specific sheet grade, because some products can cause fine cracks later.
If a job needs an extra polished look, consider whether the cut edge is already good enough or if a separate finishing step is worth the time. Many sign shops and makers only need light cleaning after a well set cut. Good handling also matters during transport to clients in Pretoria, Sandton or further afield. Pack parts flat, separate layers with clean paper and avoid tight straps that can mark the surface.
- Allow parts to cool before peeling film
- Clean with a soft cloth and suitable cleaner
- Stack flat with protective paper between layers
- Avoid harsh chemicals unless approved for the sheet
- Check fit before sending parts out for delivery
A Simple Workflow for Repeat Jobs
A steady acrylic workflow keeps the machine productive and reduces operator stress. Begin with a material check, then run a small test, then confirm the final settings before launching the full job. Record the outcome straight away, including sheet type, thickness, focus height, speed, power and air assist. That record becomes valuable when the same customer returns with another batch. It also helps when load-shedding interrupts a job and the machine needs to be restarted later the same day.
For teams that cut acrylic every week, training is just as important as settings. An operator who understands focus, airflow and bed care will pick up faults sooner and keep production moving. If the machine needs installation, preventive maintenance, beam alignment or remote support, keep a service schedule in place so small issues do not turn into a full breakdown. That saves time and keeps the cutting line moving, even when orders pile up.
- Check material and thickness before each run
- Test, then confirm settings before full production
- Record results for future repeat work
- Keep a restart note for power interruptions
- Follow a regular service plan and optics cleaning schedule