Start With Products That Repeat Well
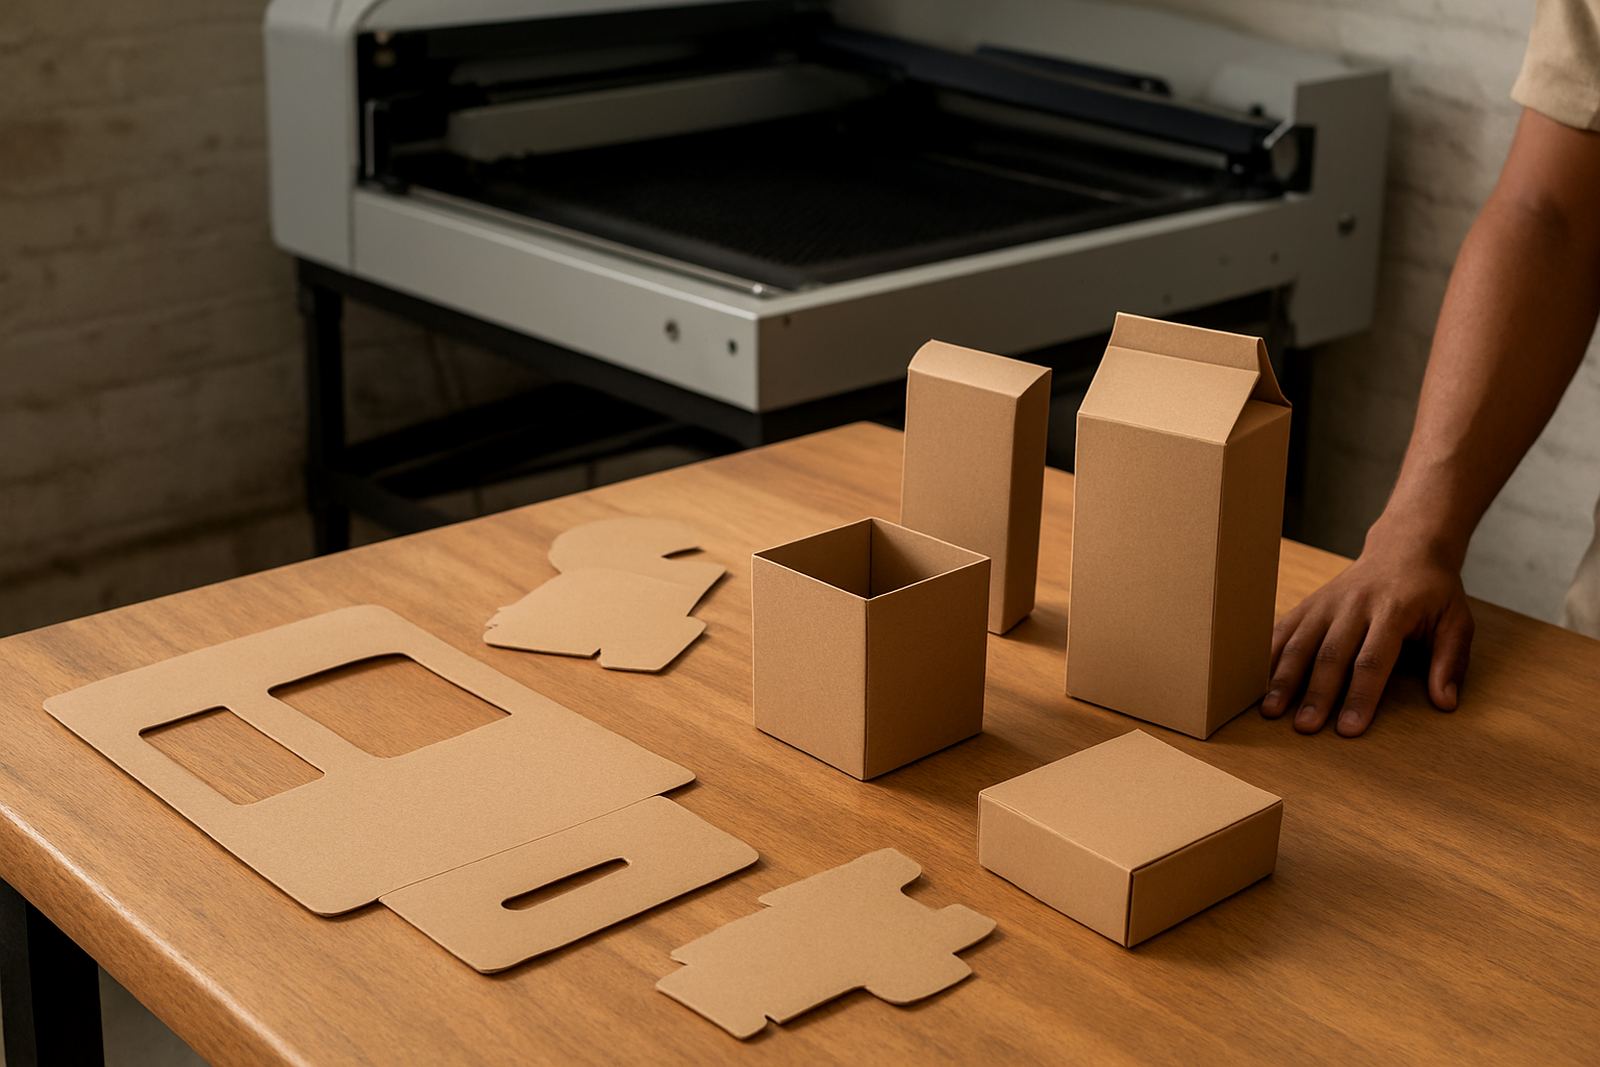
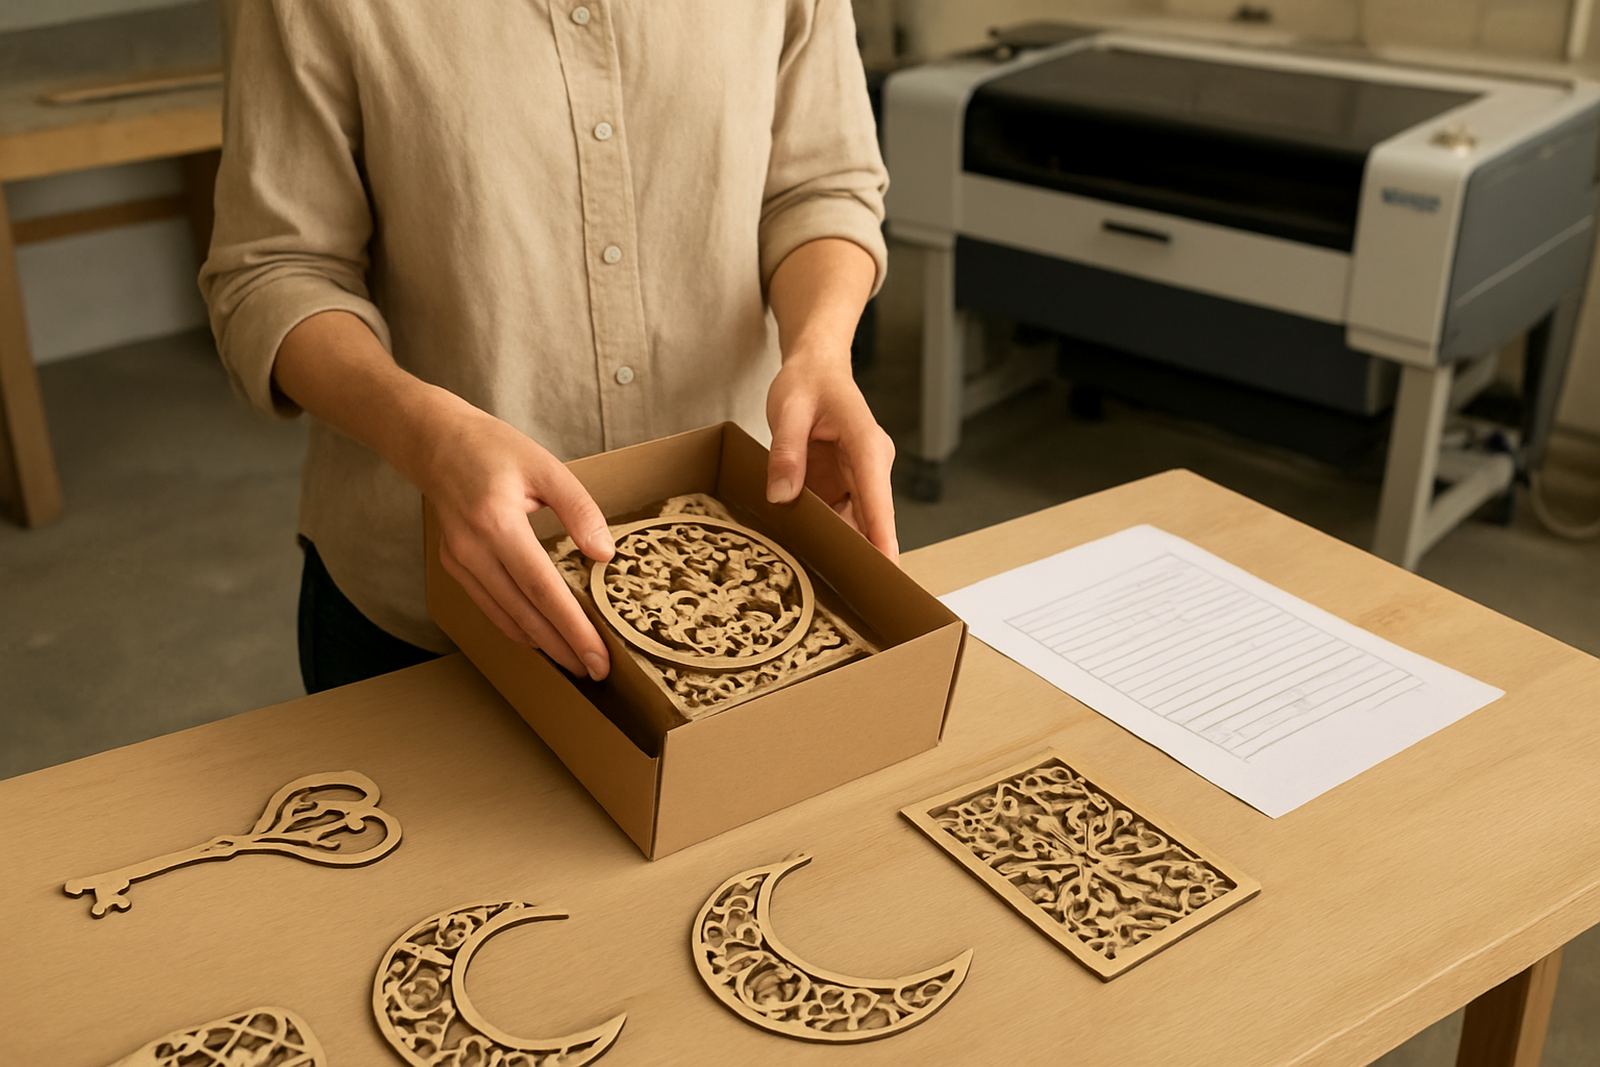
Before you commit to a laser workflow, choose products that can be made often with the same settings and the same finish. Signs, cake toppers, keyrings, labels, leather tags and gift inserts are good examples because small changes in size or font can still sit inside the same production setup. If each order needs a fresh drawing and a different material thickness, your turnaround will slow down fast.
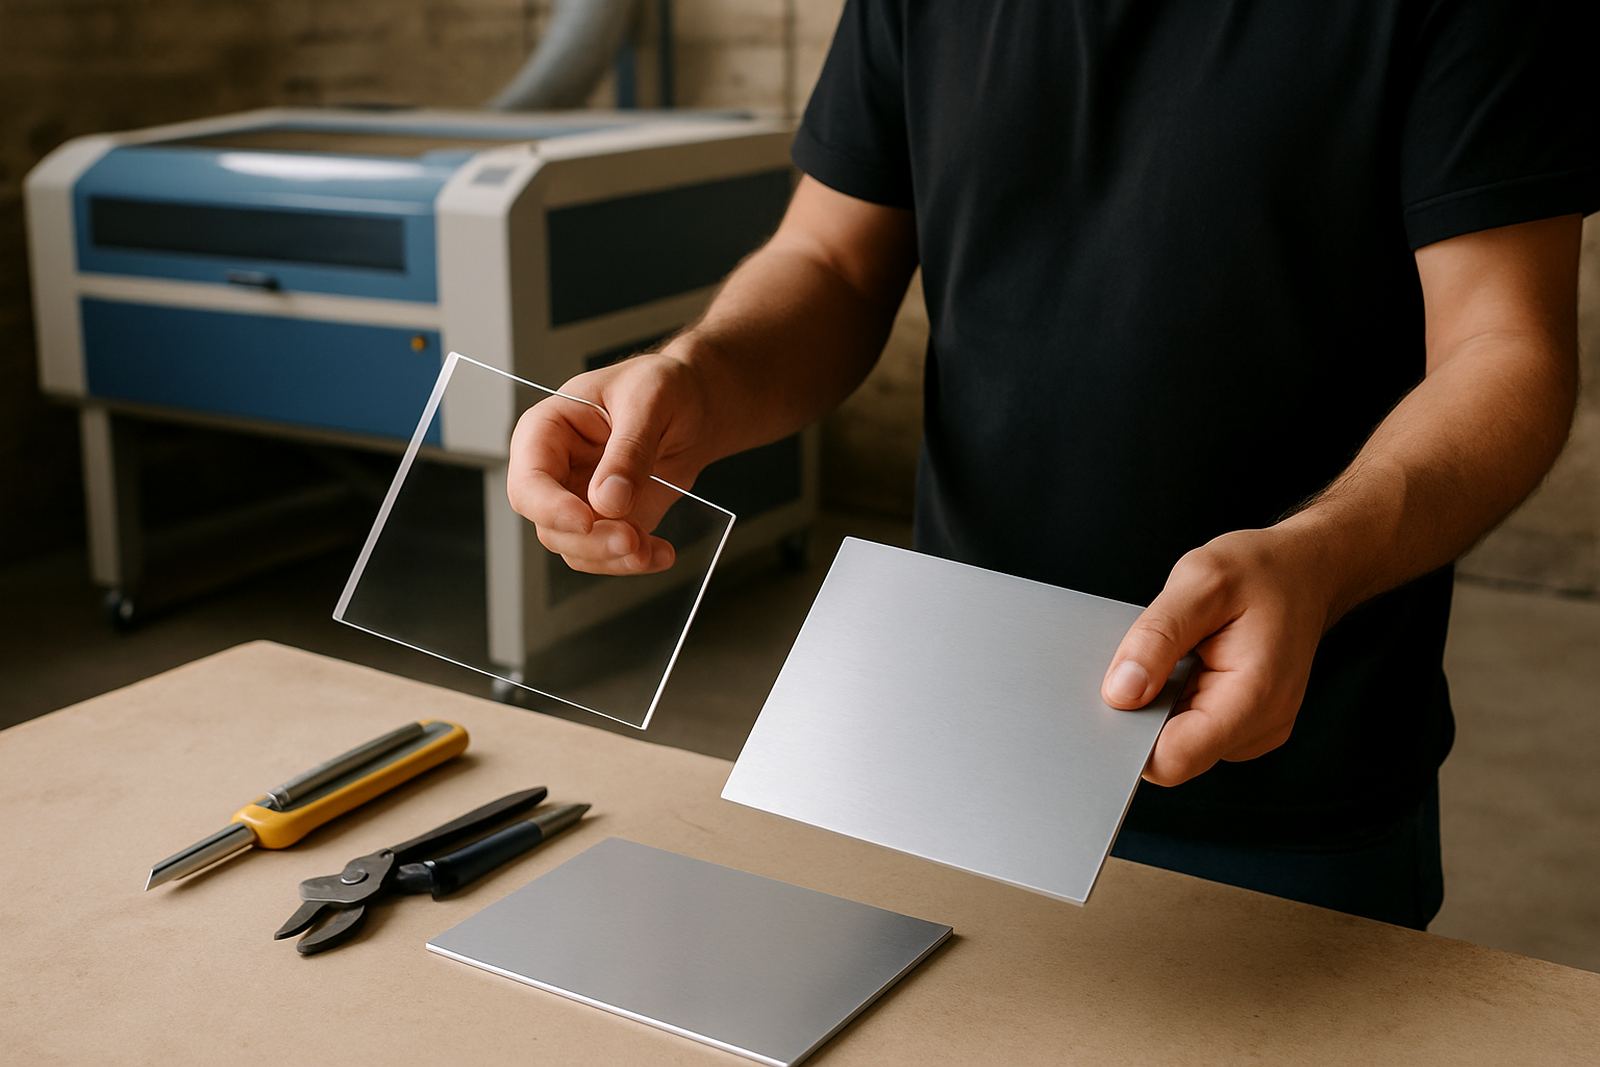
Map your best sellers first. Look at what customers reorder, what fits into a standard sheet, and what can be nested with little waste. A simple range of 3 mm acrylic, 4 mm plywood and light leather can cover a lot of custom work. Keep your product line tight at the start, then add more only when the first items are already paying their way.
- List your top 10 repeat items
- Group them by material and thickness
- Mark which items need engraving, cutting, or both
- Check which products pack flat and ship easily
Set Up Jobs for Batch Cutting, Not One-Off Guesswork
Batch production is where a laser cutter saves time. The trick is to standardise artwork, sheet size and cutting order so each run behaves the same way. Keep your design files named clearly, with one saved version for each product size. If a customer asks for a change, save a new file rather than overwriting the old one. That makes repeat work faster and cuts down on mistakes.
Use material sheets that fit your most common order sizes. For example, if you work with A3 or 600 x 900 mm sheets, arrange layouts so the operator can load, cut and unload without changing the setup after every job. Group similar jobs together too, since acrylic, wood and leather do not always behave the same under heat. A good cutting order saves time and can reduce edge marking.
- Keep one master file per product size
- Use a fixed naming system for colours, thickness and finish
- Group jobs by material type before you start
- Test the layout on a full sheet before production
Choose Materials That Suit South African Conditions
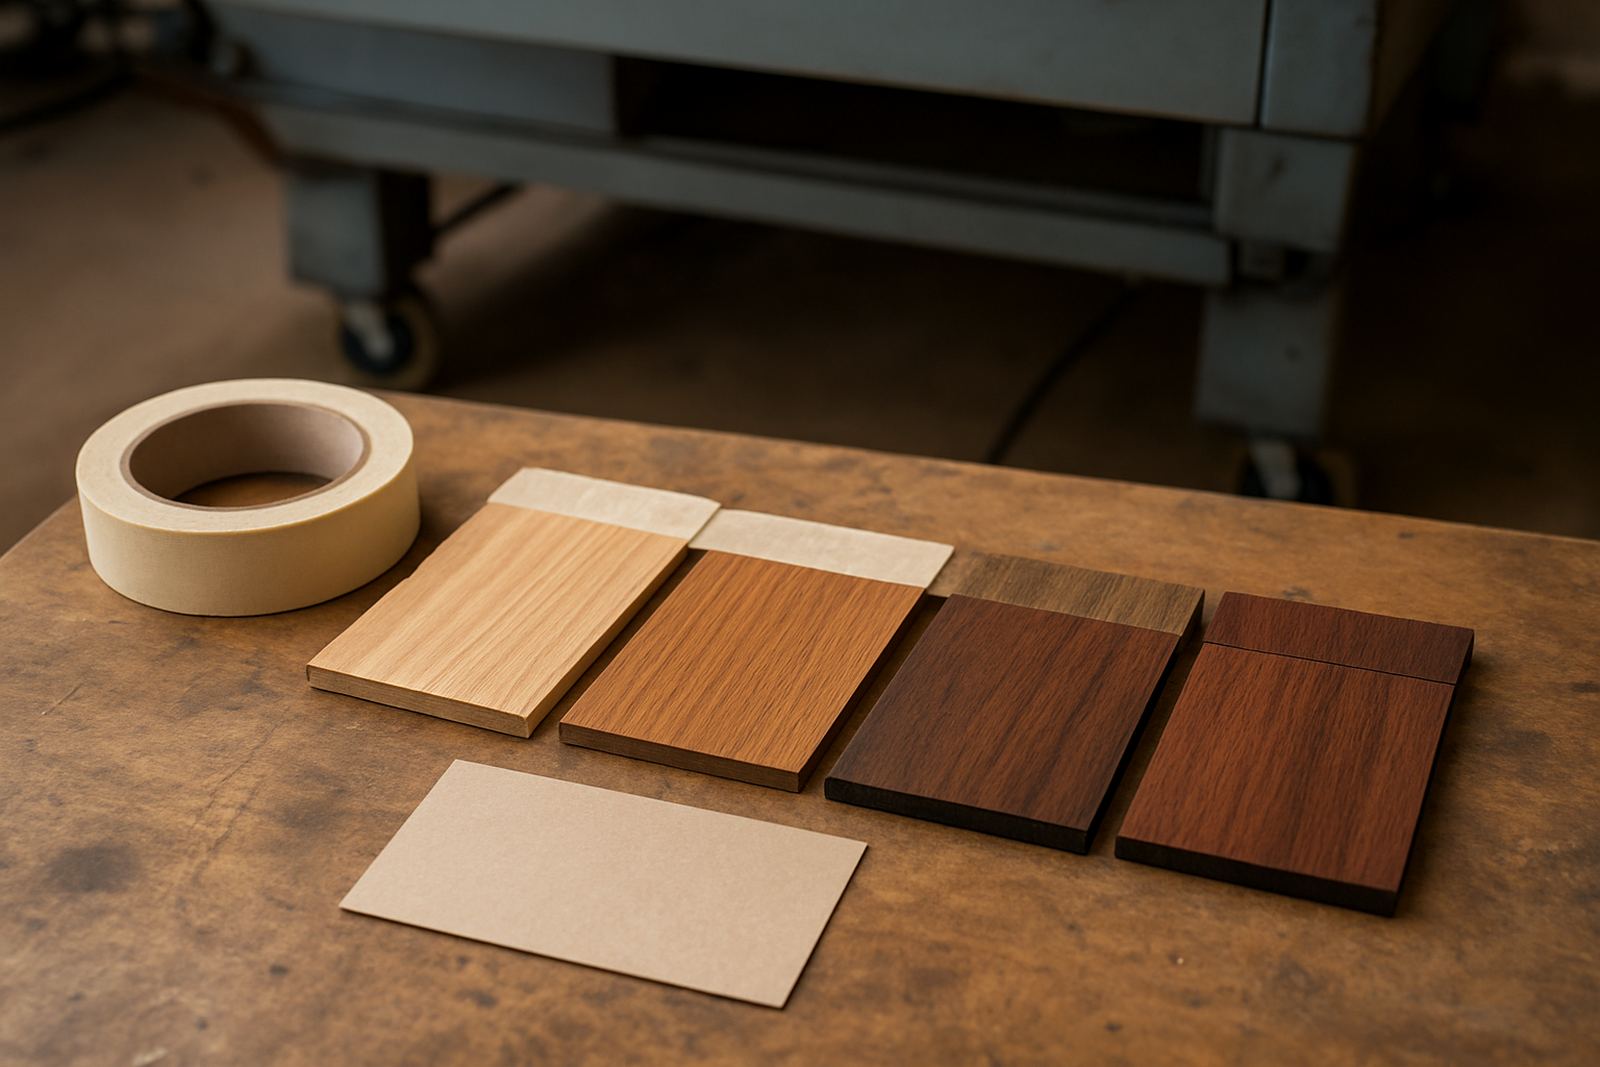
Local conditions matter more than many sellers expect. In Johannesburg, dry winter air can help some materials stay stable, while coastal humidity in Durban or Cape Town can affect leather, paper products and some timber stock. Store materials flat and off the floor, away from damp walls and direct sun. If your stock absorbs moisture, your cuts can drift or your edges can darken unevenly.
Ask suppliers for consistent thickness and keep a small test offcut from each batch. Even a difference of 0,2 mm can affect fit on tabs, lids or layered pieces. For acrylic, check that protective film is intact before cutting. For wood, watch out for knots and glue lines. For leather, test for finish and smell, because some treated hides behave differently and may need better extraction. A quick sample run can save a full sheet and a lot of frustration.
Plan for Power Cuts, Extraction and Workshop Safety
Once you move into repeat production, your workshop must handle interruptions. Load shedding can stop a run halfway through, so build your schedule around power windows and keep a written restart procedure. Save job settings, note the last completed piece and leave enough time to clear the bed before the next shift. If your area has voltage dips, use the correct protection and avoid starting long cuts when supply is unstable.
Extraction is not optional. Smoke, fine dust and fumes can affect the finish and the operator, especially with wood and leather. Check ducting, filters and airflow regularly, and do not run a machine with blocked extraction. Keep a clear bench for material prep, store solvents away from heat and make sure operators know where the fire extinguisher is. In some municipal areas, extraction and workshop layout may need to meet local rules, so it helps to check before a full install.
- Write a restart checklist for power interruptions
- Clean the bed and mirrors or lenses on a set schedule
- Test extraction before every production day
- Keep fire safety gear easy to reach
Train Staff So Quality Stays Steady
Repeat production only works when the operator knows the machine and the product standard. Even a good cutter can produce poor stock if speed, focus or alignment changes from one shift to the next. Train staff to inspect the first piece, compare it with the sample, and stop the run if the finish is off. It is easier to correct a batch after two items than after two hundred.
A simple training routine should cover focus, beam alignment, cleaning, material loading, file checking and fault reporting. Add a short sign-off sheet so each operator can show they understand the process. That sheet should include the date, the machine used and the product range covered. If you are scaling into multiple shifts or sharing work across a few staff members, one training method keeps the quality the same from Monday to Friday, even when orders come in from different towns.
Use Maintenance To Protect Your Margins
A laser cutter that is cleaned and checked often will usually cut more accurately and waste less material. Preventive care matters more once you are taking repeat orders, because a small fault can ripple through a whole production run. Worn optics, dirty mirrors, loose belts or poor beam alignment can show up as rough edges, slow cutting or burned corners. Those errors cost time and material.
Set a maintenance calendar with weekly, monthly and annual checks. Clean optics on schedule, inspect cooling water, check hoses and look at the extraction path for buildup. Keep spare parts that are used often, such as belts, lenses and basic service items, so a small issue does not halt the week. If a machine has been moved from one site to another, ask for a fresh alignment and test cut before full use. The aim is simple: less downtime, more clean parts, fewer surprises.
- Record every service and fault in one log
- Track the cost of scrap by product type
- Keep one box of common spares on hand
- Review cutting speed and quality after any repair
Build A Sales Routine Around Fast Reorders
Once your workshop is settled, the next step is making repeat orders easy for customers. Keep a clear product list with material, size, finish and turnaround time. That helps buyers place the same order again without long back-and-forth messages. If you sell to gift shops, event planners or small labels, give them a simple re-order sheet and ask them to confirm quantities early, especially before month end or holiday peaks.
Use your production notes to set realistic lead times. A batch of 50 acrylic tags may be simple, while a mixed order of engraved wood and leather can take longer if the files need adjustment. It helps to be honest about what can be done same day and what needs a few working days. When customers know the process, they are more likely to order again and keep the work coming. That steady rhythm is what turns a craft side line into a proper production flow.