Choosing the Right Leather for Laser Cutting
Not every hide behaves the same way under a laser. Vegetable tanned leather is usually the easiest to work with because it cuts cleaner and is more predictable, while chrome tanned leather can give off harsher fumes and may leave a darker edge or uneven finish. Before you start a production run, test a small offcut from the same batch, thickness and finish.
For craft work, belts, tags, wallet parts and decorative panels, keep your material flat and dry. Leather that has picked up moisture from coastal humidity or a damp workshop can cut inconsistently and may warp after cutting. In Johannesburg winter dryness is less of a problem, but in Durban and Cape Town storage matters a lot more.
- Check the tannage type before cutting
- Measure thickness in millimetres, not guesswork
- Keep hides clean and free of heavy oils or polish
- Store leather flat with weight on top if needed
Laying Out Patterns to Save Material
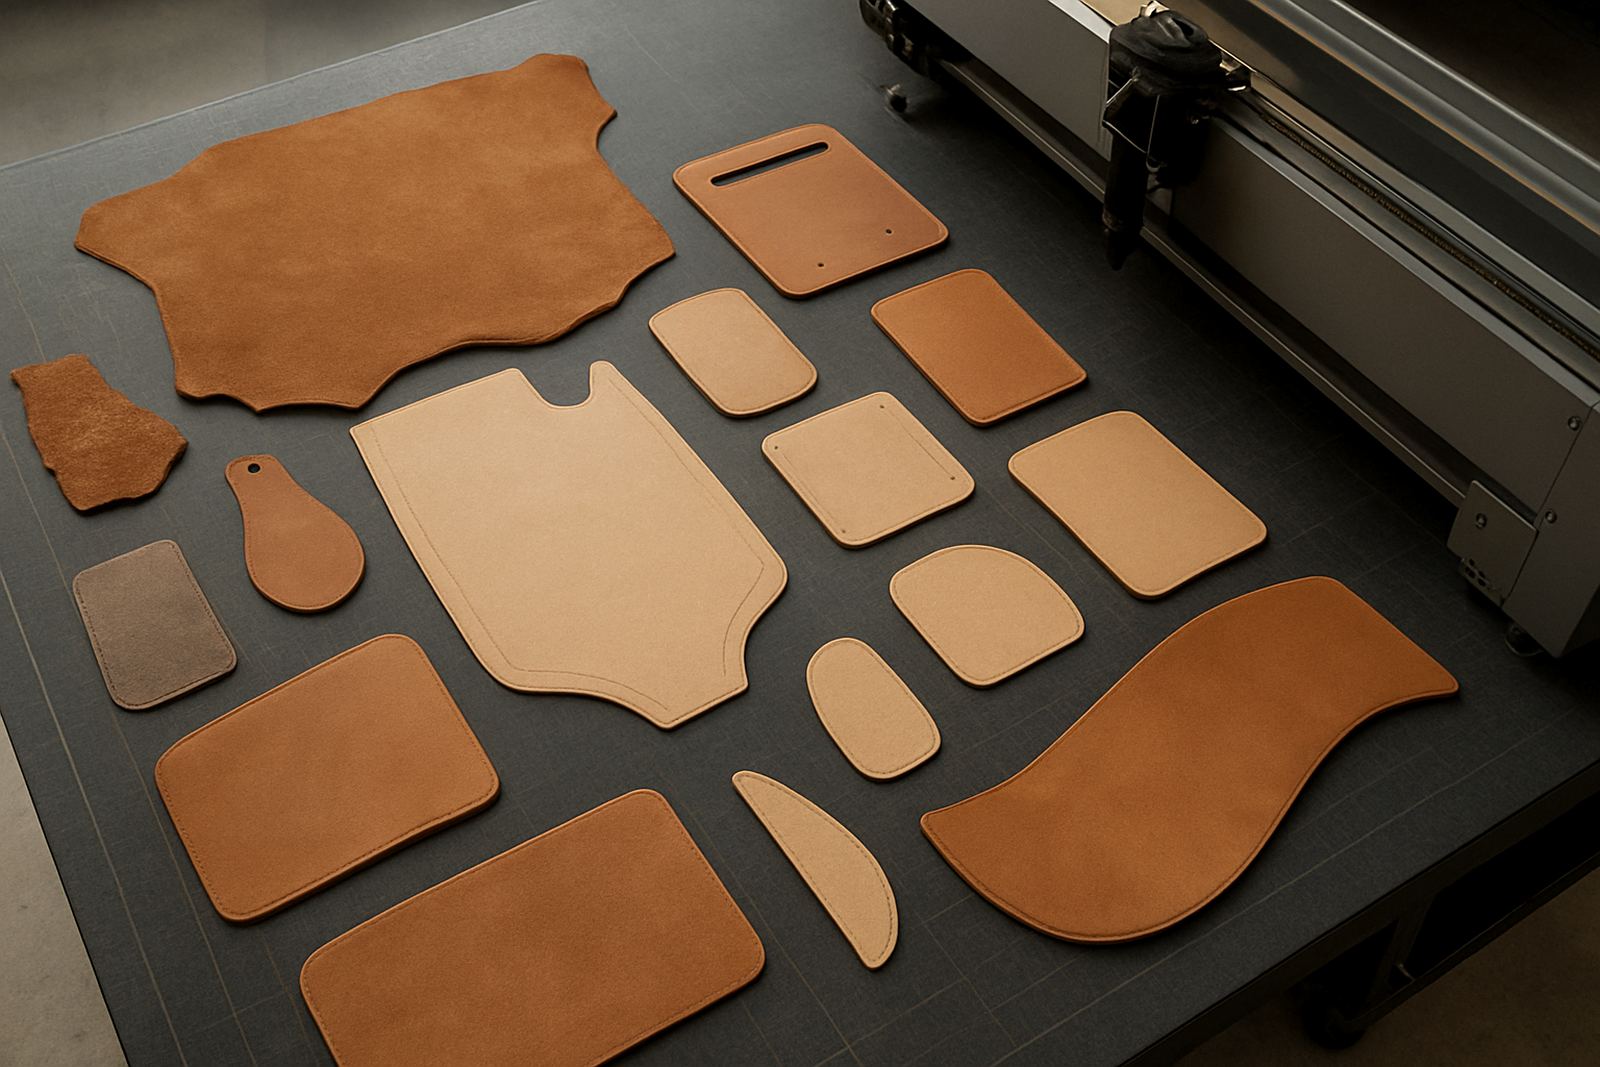
Good layout saves money because leather hides are not square and not every section is usable. Mark the grain direction, stretch areas and scars before placing your parts. For repeat jobs, build a cutting map that shows where small pieces, long straps and curved sections should sit on the hide. That makes quoting easier and cuts down on offcuts.
When nesting parts, leave enough space for handling and for small shape changes that happen during cutting. If the job includes matching left and right pieces, place them together on the same section of hide so colour and texture match better. This is especially useful for premium goods where the finish needs to look consistent across the full set.
- Work from the best section of the hide first
- Keep directional parts aligned the same way
- Mark scars, holes and stretch zones before nesting
- Use offcuts for smaller tabs, labels and test shapes
Settings That Help Produce Cleaner Edges
The right settings depend on thickness, hide type and the finish you want. A slower speed with controlled power often gives a cleaner edge on thicker leather, while fine detail work may need lower power and more focused airflow. Too much power can char the edge and leave a hard crust, while too little can leave fibres uncut and drag the piece out of shape.
Always do a test matrix on a corner of the hide or a spare sample. Record the settings for each material batch so future orders are quicker to set up. Keep the lens clean and the beam aligned, because dirty optics or poor alignment can widen the cut line and spoil delicate lettering or tight corners. For repeated production, this is where good operator discipline pays off.
- Run a small test before every new batch
- Start with moderate power and adjust in small steps
- Watch for excessive smoke staining at the cut edge
- Record the final settings for repeat work
Managing Smoke, Smell and Fume Control
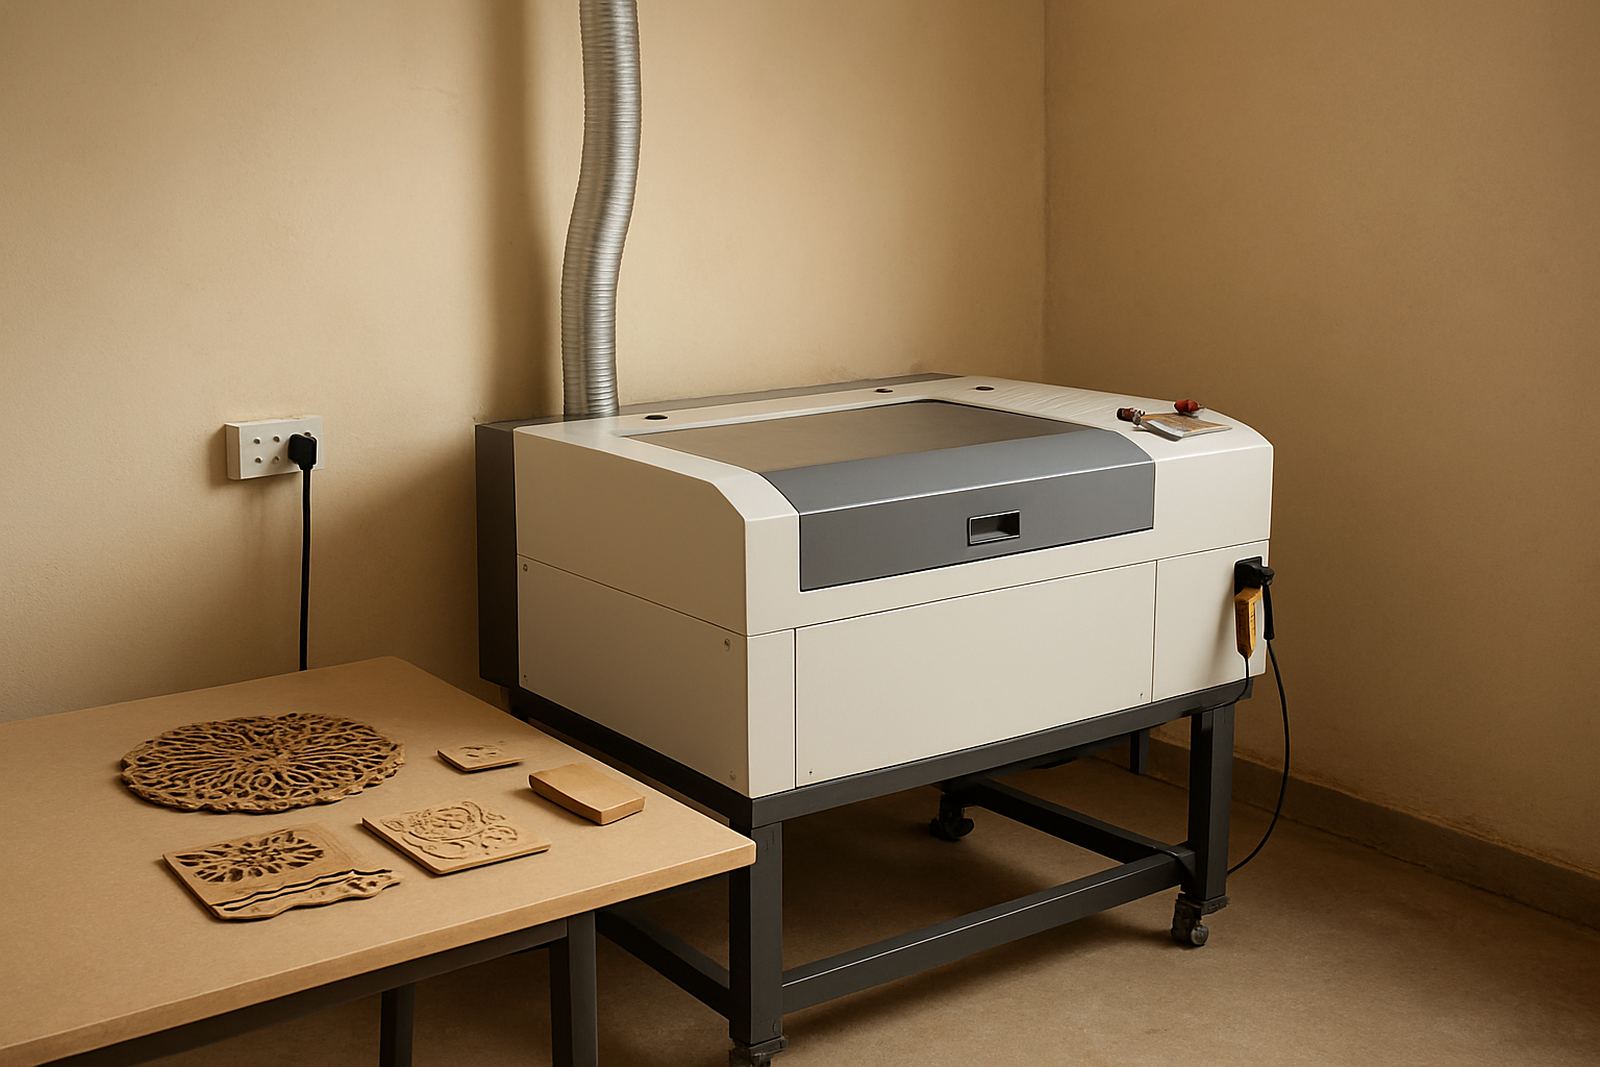
Leather cutting must be treated as a fume management job, not only a cutting job. A proper extraction system helps pull smoke away from the cut and reduces residue on the material and inside the machine. In busy workshops, blocked ducting or weak airflow can quickly become a problem, especially during load-shedding when extraction and cooling systems may be on backup power.
Do not cut in a closed room with poor ventilation. If the extraction path is too long or has too many bends, the machine can start pulling smoke back across the work area. That affects the finish and can also make the workshop unpleasant for operators. Regular cleaning of filters, ducting and the bed keeps airflow steadier and helps the machine last longer.
- Check extraction before every production shift
- Empty and clean filters on a planned schedule
- Keep ducting as short and direct as possible
- Use stable power for fans and cooling where you can
Post-Cut Finishing and Quality Checks
After cutting, inspect each piece before it goes to assembly. Look for even edge colour, full cut-through on tight corners and any smoke marks on the face of the leather. Light brushing can remove loose soot from some hides, but be careful not to mark the grain. If the edge is too dark, reduce power or improve airflow on the next run.
For production work, sort parts immediately into approved, rework and scrap stacks. This keeps the job moving and prevents mix-ups. If the parts will be stitched or riveted later, check hole size and spacing now, because a slight error at the cutting stage can become a big issue during assembly.
- Check every batch before packing it for the next step
- Keep approved parts separate from test pieces
- Inspect holes, slots and small inner cuts closely
- Record any marks or defects for the next run
A Practical Checklist for New Leather Jobs
Use a short checklist every time you take on a new leather job. It helps whether you are running custom craft orders, small retail batches or workshop production. In Gauteng, where many jobs need quick turnarounds, a simple setup routine prevents wasted material and keeps the operator focused.
If you are setting up a new machine or expanding from occasional work into regular production, proper training makes a big difference. Our team in Wynberg, Johannesburg supports demo cuts, installs and operator training nationwide, with help for maintenance, beam alignment, extraction service and remote support when needed. That way your machine is ready for the kind of repeat leather work that needs consistency and control.
- Confirm leather type, thickness and finish
- Plan the nesting layout before cutting
- Run a test cut and inspect the edge
- Check extraction, cooling and alignment
- Store the final settings with the job notes
When to Call for Setup or Training Support
If your cuts are burning too much, your edges are uneven, or the machine keeps needing the same adjustments, it is time to look at the setup rather than pushing harder. A poor beam path, dirty optics, weak extraction or the wrong cutting speed can all show up as bad leather results. Fixing the cause usually saves more time than re-running jobs.
We support leather cutting setups across Johannesburg, Pretoria, Midrand, Sandton, the East Rand, the West Rand, Durban and Cape Town. That includes machine installation, preventive maintenance, breakdown response, spares supply, optics cleaning, cooling checks and annual service plans. For operators who need more confidence on the machine, training is available on site or in a demo room session.
Good leather work depends on steady settings and repeatable habits. Once the process is dialled in, you get cleaner edges, better pattern use and less waste on every order.