Check the room before the machine arrives
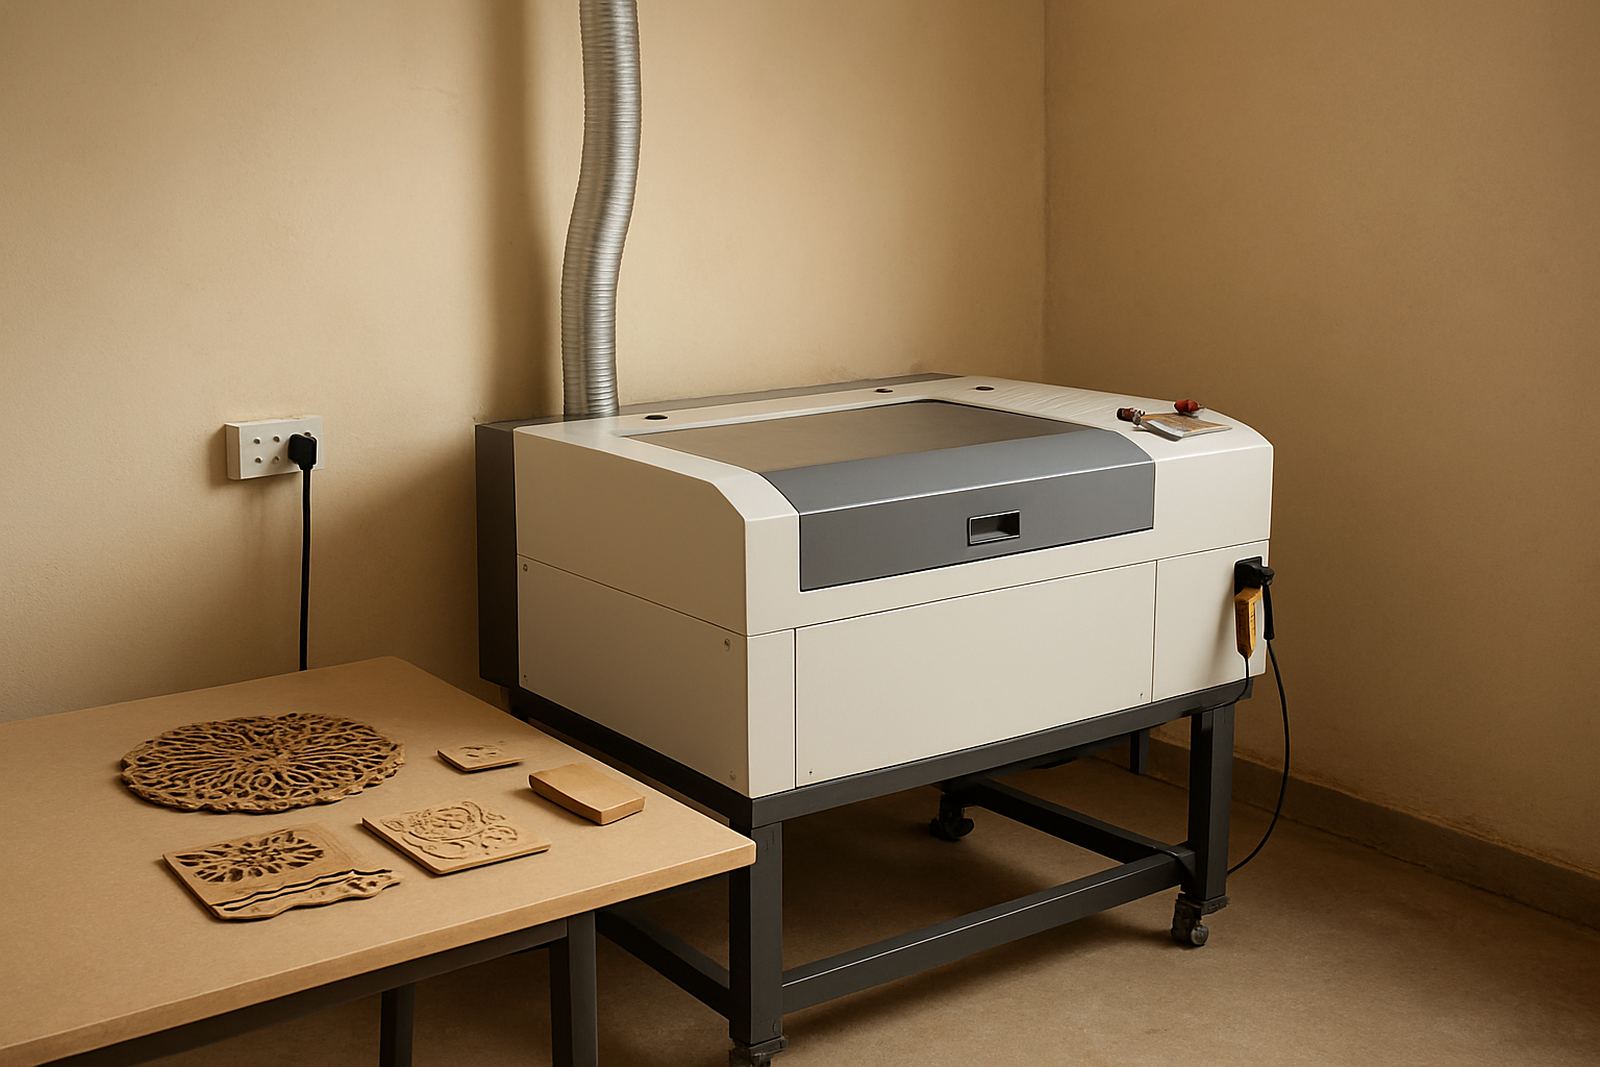
Start with the room itself. A CO2 laser needs a clean, dry area with enough space for the machine, its chiller or cooling unit, extraction ducting, material storage and safe operator movement. In Wynberg, Sandton, Pretoria or on a Cape Town support site, the same rule applies: do not squeeze the unit into a corner and hope for the best. Leave clear space at the front for loading, at the back for service access, and along the side where the air flow and cabling run.
Measure the doorways, passages and gate openings before delivery day. If the machine must pass through stairs, lifts or tight factory aisles, tell us early so we can plan the move. Check floor level too. A flat concrete floor is ideal. If the floor has a slope, cracked sections or loose paving, sort that out first. A machine that sits unevenly can cause alignment issues and nuisance vibration, especially on lighter structures and when the unit runs for long production hours.
- Measure all door widths, passage widths and ceiling height
- Clear a route from the entrance to the final position
- Make sure the floor is level, dry and clean
- Allow space for maintenance access on all working sides
Confirm the power supply and isolation point
Power is one of the first things to get right. A CO2 laser must have a stable supply with proper isolation and protection. Do not share the circuit with heavy compressors, large heaters or other high-load equipment. A machine that sees voltage dips, tripping or poor earthing will cause frustrating stoppages, and in load-shedding areas the risk is even higher if the backup arrangement was never properly planned.
Have a qualified electrician confirm the incoming supply before installation. The electrician should inspect cable size, breaker rating, earthing, socket placement and the location of the isolator. If you plan to use a generator or inverter backup, confirm the output quality and capacity first. Some sites can run a machine with a suitable backup system, but it must be matched to the actual load and start-up current. Do not guess. A small under-sized system can cause more damage than no backup at all.
- Provide a dedicated power circuit for the laser system
- Install a clearly marked isolation switch near the machine
- Check earthing and surge protection
- Confirm backup power capacity before relying on it
Set up extraction and fume handling properly
Laser cutting produces smoke, heat and fine particles. Good extraction keeps the cutting area safer, protects lenses and improves cut quality. The extraction system should remove fumes from the cutting bed and discharge them in a way that suits the site and local rules. If the ducting is too long, too narrow or has too many bends, the system loses pull and smoke hangs around the machine. That is bad for the operator and bad for the cut edge.
Plan the extraction route before the machine is placed. Decide where the duct will go, whether it will pass through a wall or roof, and where the fan or filter unit will sit. Keep the route as short and straight as possible. If the machine will cut acrylic, wood or leather regularly, the extraction setup must cope with the expected fumes and waste. On busy production sites, filters and duct sections should be easy to access for cleaning and replacement.
- Choose the duct route before delivery
- Keep bends and long runs to a minimum
- Allow access for filter and fan maintenance
- Confirm where discharged air may legally exit the building
Plan cooling, water quality and room temperature
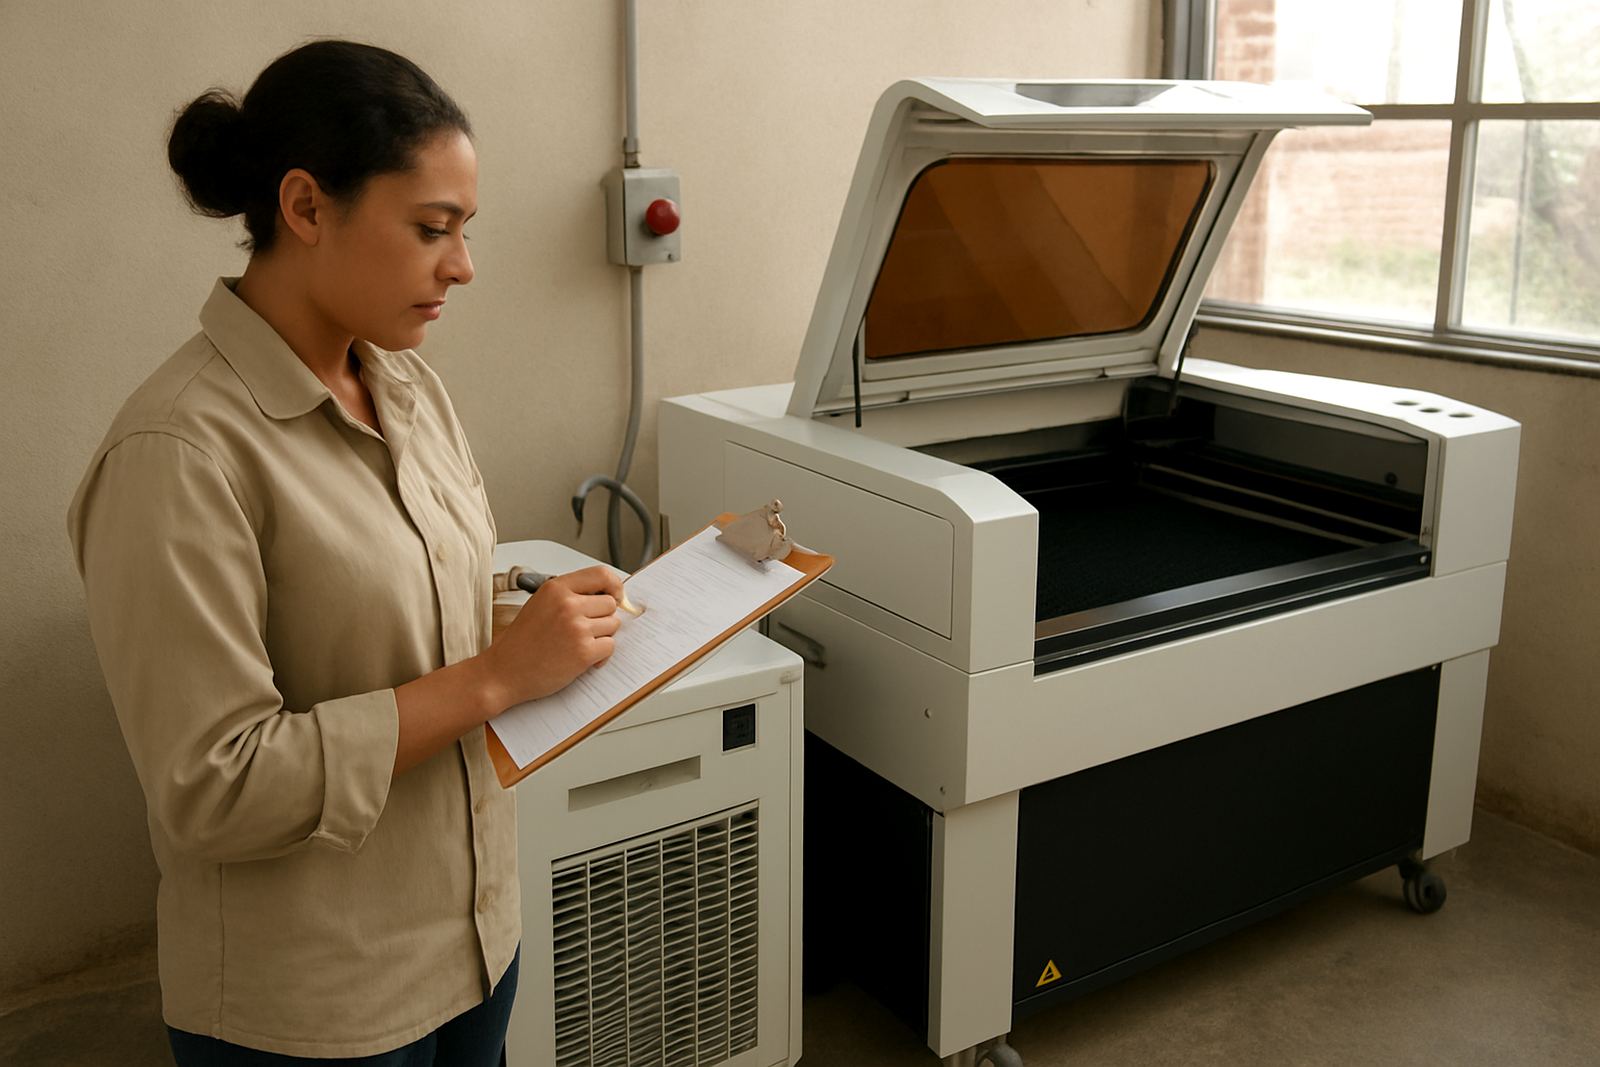
Stable cooling protects the laser tube and keeps production steady. Most systems need a proper cooling unit with enough capacity for the machine size and the local conditions. In hot summer months, a small room with poor air flow can push the cooling system harder than expected. That matters in places like Midrand and the East Rand where workshops can heat up quickly during the day. Give the cooling unit enough space to breathe and avoid placing it next to direct sunlight or other heat sources.
Water quality also matters. Use clean water with the correct additive where required, and keep the system topped up according to the operating instructions supplied at install. Dirty water, algae and scale can damage the tube and restrict flow. If your site has hard water, ask for a proper water treatment plan rather than using whatever is in the tap. It is a small thing but it saves major downtime later on.
- Position the cooling unit where air can circulate freely
- Keep the room shaded and as cool as practical
- Use clean water and check it regularly
- Inspect hoses, clamps and level indicators before operation
Prepare material flow, operator space and safety controls
Planning the room matters just as much as choosing the laser. You also need a sensible flow for material in and finished parts out. Store sheets flat and label offcuts clearly so operators do not waste time searching for stock. Keep cutting materials near the machine but away from the active work area. That prevents trip hazards and stops scrap from gathering around the bed. If you will cut daily, give the operator a clear path from storage to machine to packing table.
Make sure the operator has enough room to work without turning sideways or stepping over cables. A cramped setup leads to mistakes. Good lighting matters too, especially for small detail work and first-piece checks. Fit basic safety controls such as a fire extinguisher suitable for the area, clear signage and a sensible housekeeping routine. If the site has multiple staff, decide who may start the machine, who may clear faults and who may call for technical support.
- Keep materials flat, labelled and dry
- Remove loose offcuts and packing waste daily
- Provide good lighting and safe walking space
- Place safety equipment where it is easy to reach
Use the delivery day checklist and aftercare plan
Before delivery, run a final checklist. Confirm the route is clear, the power point is live, extraction parts are on site, the cooling unit is ready and the machine position has been marked out. Keep access open for the installer and the training coordinator, and make sure the right staff are available for handover. If the unit needs to be moved again later for a relocation or workshop change, keep that future access in mind now.
After installation, follow the first week routine carefully. Check the filters, cooling level, exhaust path, lens cleanliness and cable condition each day. Do not wait for a fault light before looking at the basics. A short daily inspection can prevent breakdowns and protect your production schedule, especially if you are running custom jobs, repairs or tight turnaround work. If you need support, use the enquiry form on our contact page and give the job details, the site location and the machine issue as clearly as possible.
- Confirm delivery route and final machine position
- Have the electrician and site contact available on the day
- Keep the first week checks on a written sheet
- Record any issues early so they can be handled quickly