Built for supervised school use
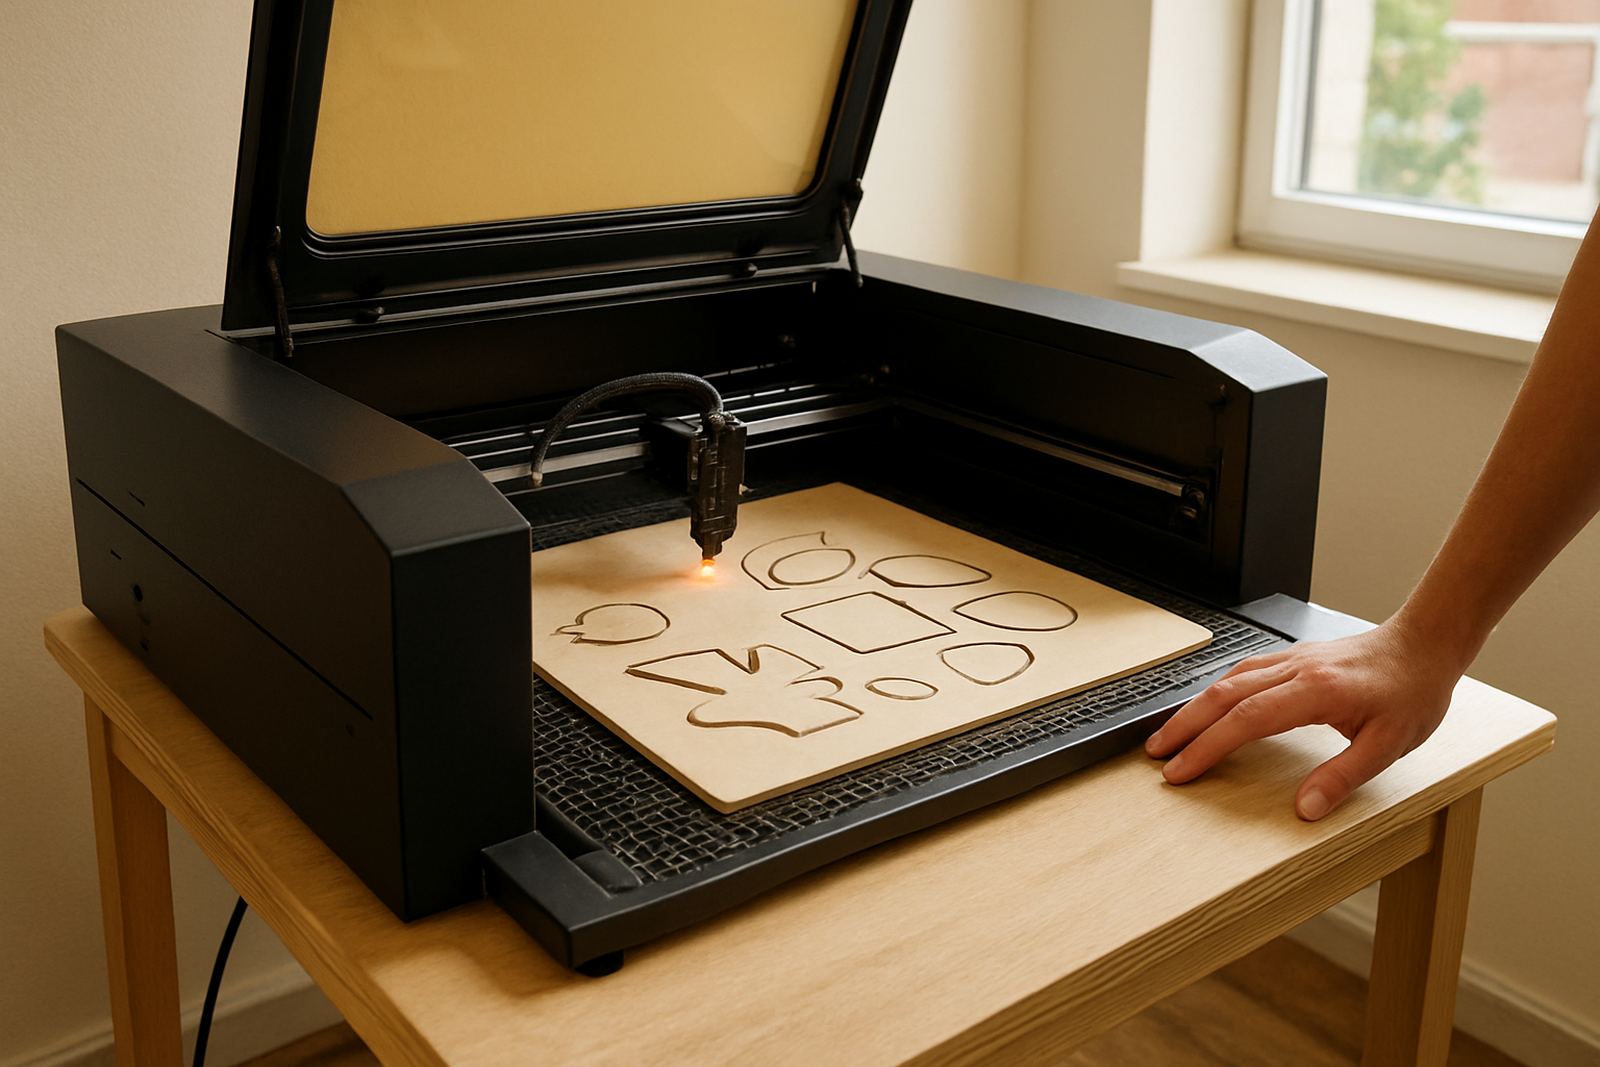
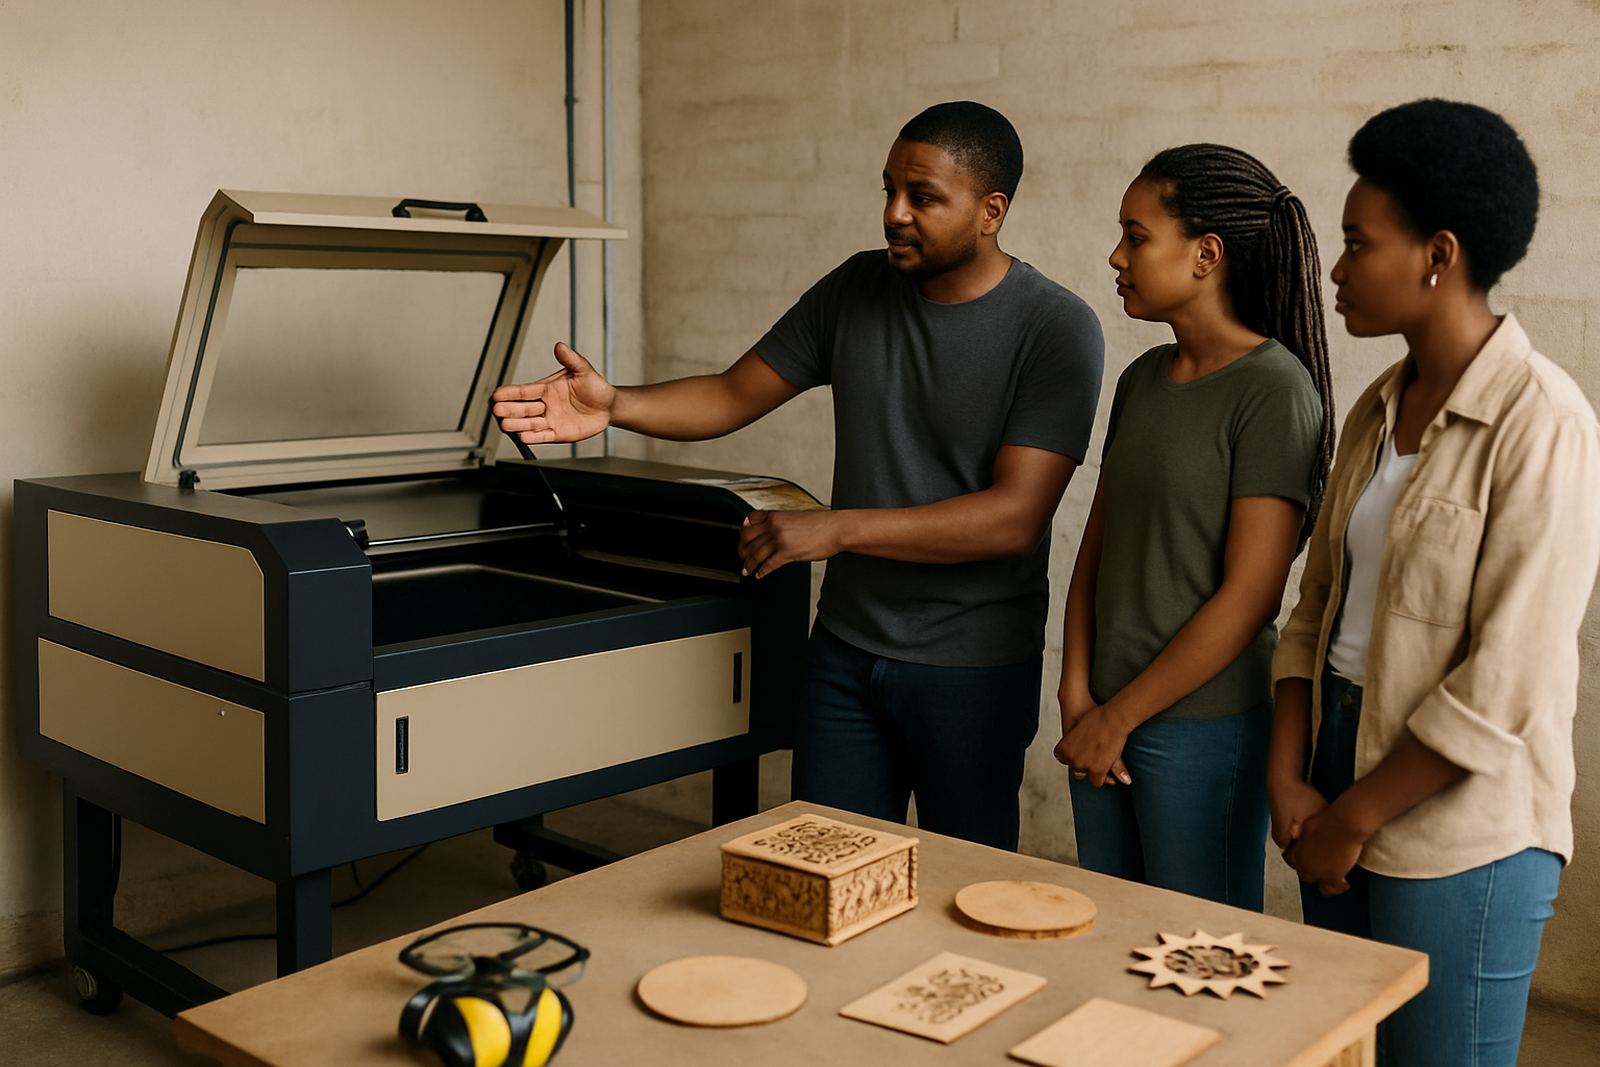
The School Lab Laser is set up for controlled educational work where learners need a proper machine, not a toy. It is suited to schools, colleges, maker spaces and training centres that want to show how laser cutting works on real materials, while keeping operation safe and structured. For practical lessons, it handles acrylic, plywood, MDF, basswood, leather, paperboard and similar non-metal materials with clean edges and repeatable results.
This machine is best used under supervision by a teacher, lab technician or trained operator. It suits curriculum projects, engineering design classes, art and design, robotics support work, and small production runs for signage, display items and classroom samples. In a school setting, it also helps with planning, because learners can see how settings, material choice and airflow affect the final cut. That makes it a useful teaching tool as much as a production machine.
We set up school units to be practical for local conditions in South Africa, including load-shedding planning, dust control and basic maintenance routines. If the machine is going into a busy lab, it should be placed where learners can queue safely, and where extraction and cooling can be checked without causing bottlenecks.
Sizes and options that suit different labs
School labs do not all have the same floor space, so the School Lab Laser can be specified in more than one working size. Common bed sizes include 600 x 400 mm for smaller rooms, 900 x 600 mm for mid-size labs, and 1300 x 900 mm where larger sheets and class demonstrations are needed. The right choice depends on the size of the room, the sheet materials you plan to use, and how many learners will work around the machine at once.
Options can include a honeycomb bed, a blade or knife bed for certain sheet work, an adjustable focus head, a viewing window for demonstrations, and a red dot pointer for positioning. A rotary attachment can be added if the school wants to show cylindrical engraving, although that is usually more of a bonus than a first requirement. For many labs, the important choice is not just the bed size but the balance between speed, footprint and extraction.
- Compact size for smaller classrooms or shared labs
- Mid-size bed for general curriculum projects
- Larger bed for display work and sheet optimisation
- Optional rotary unit for bottles, tubes and cylinders
- Choice of laser tube power based on material thickness
The machine can also be specified with features that help new operators, such as clear controls, job memory and simple airflow checks. For schools that run practicals through the week, that saves time and reduces mistakes, especially when more than one staff member needs to use the same machine.
What it cuts and where it fits
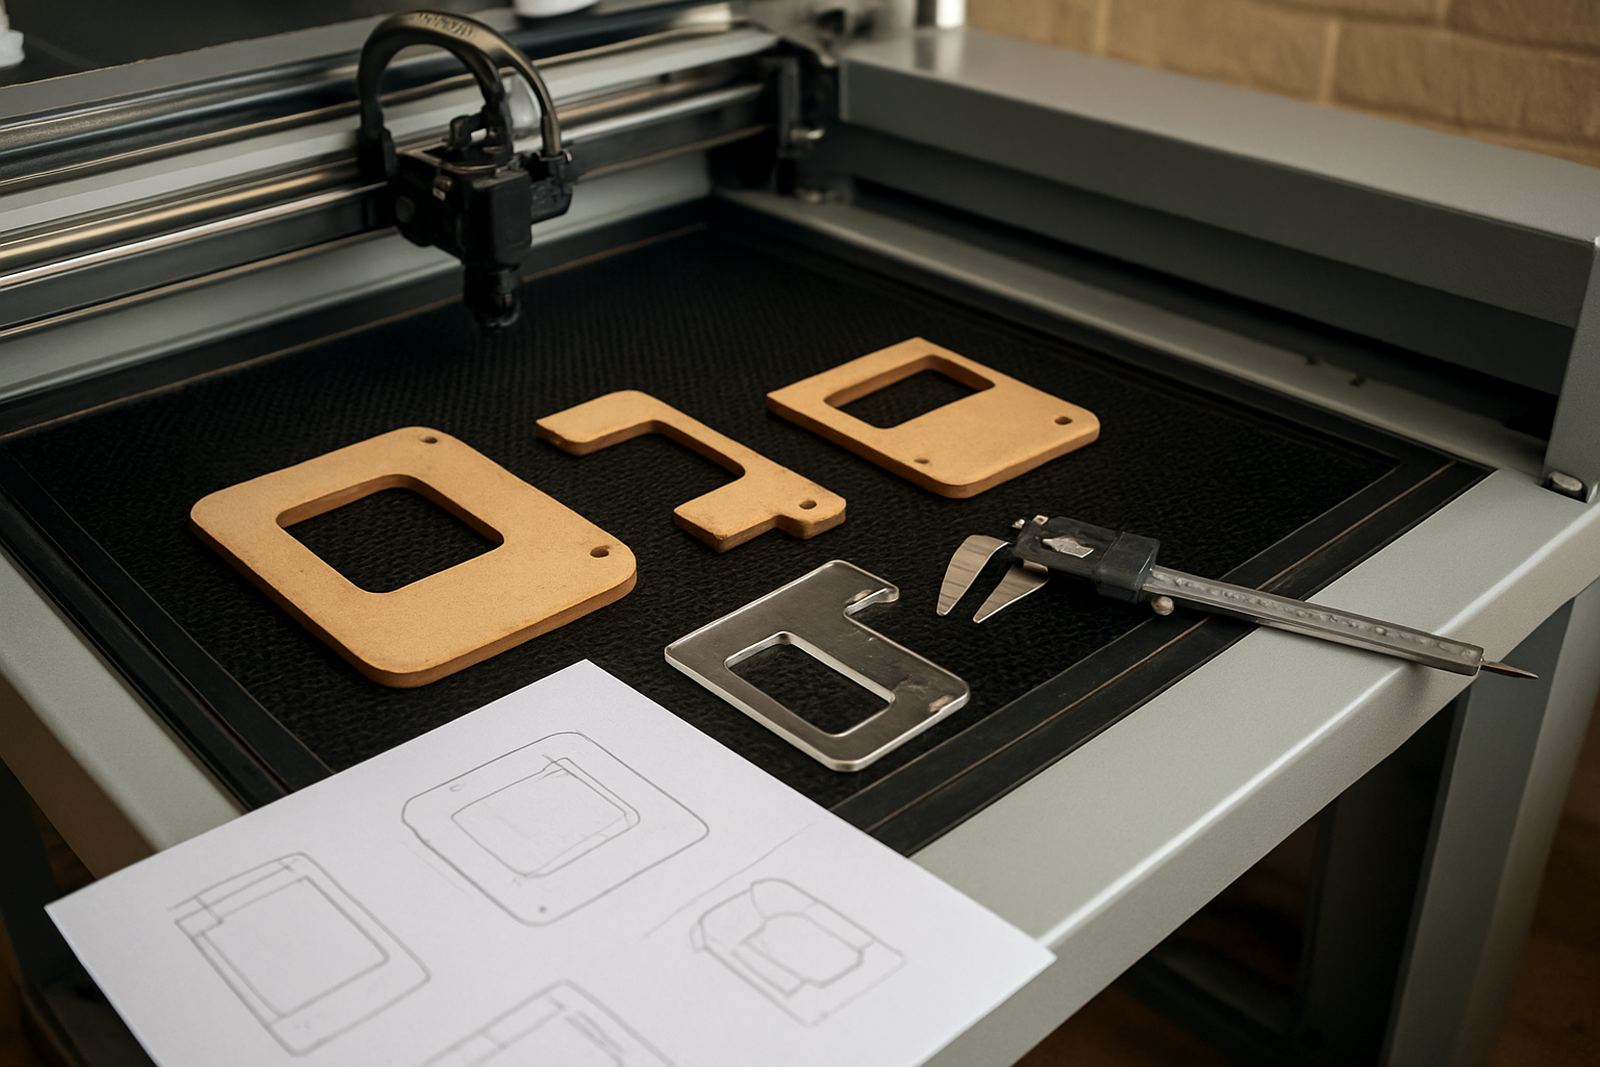
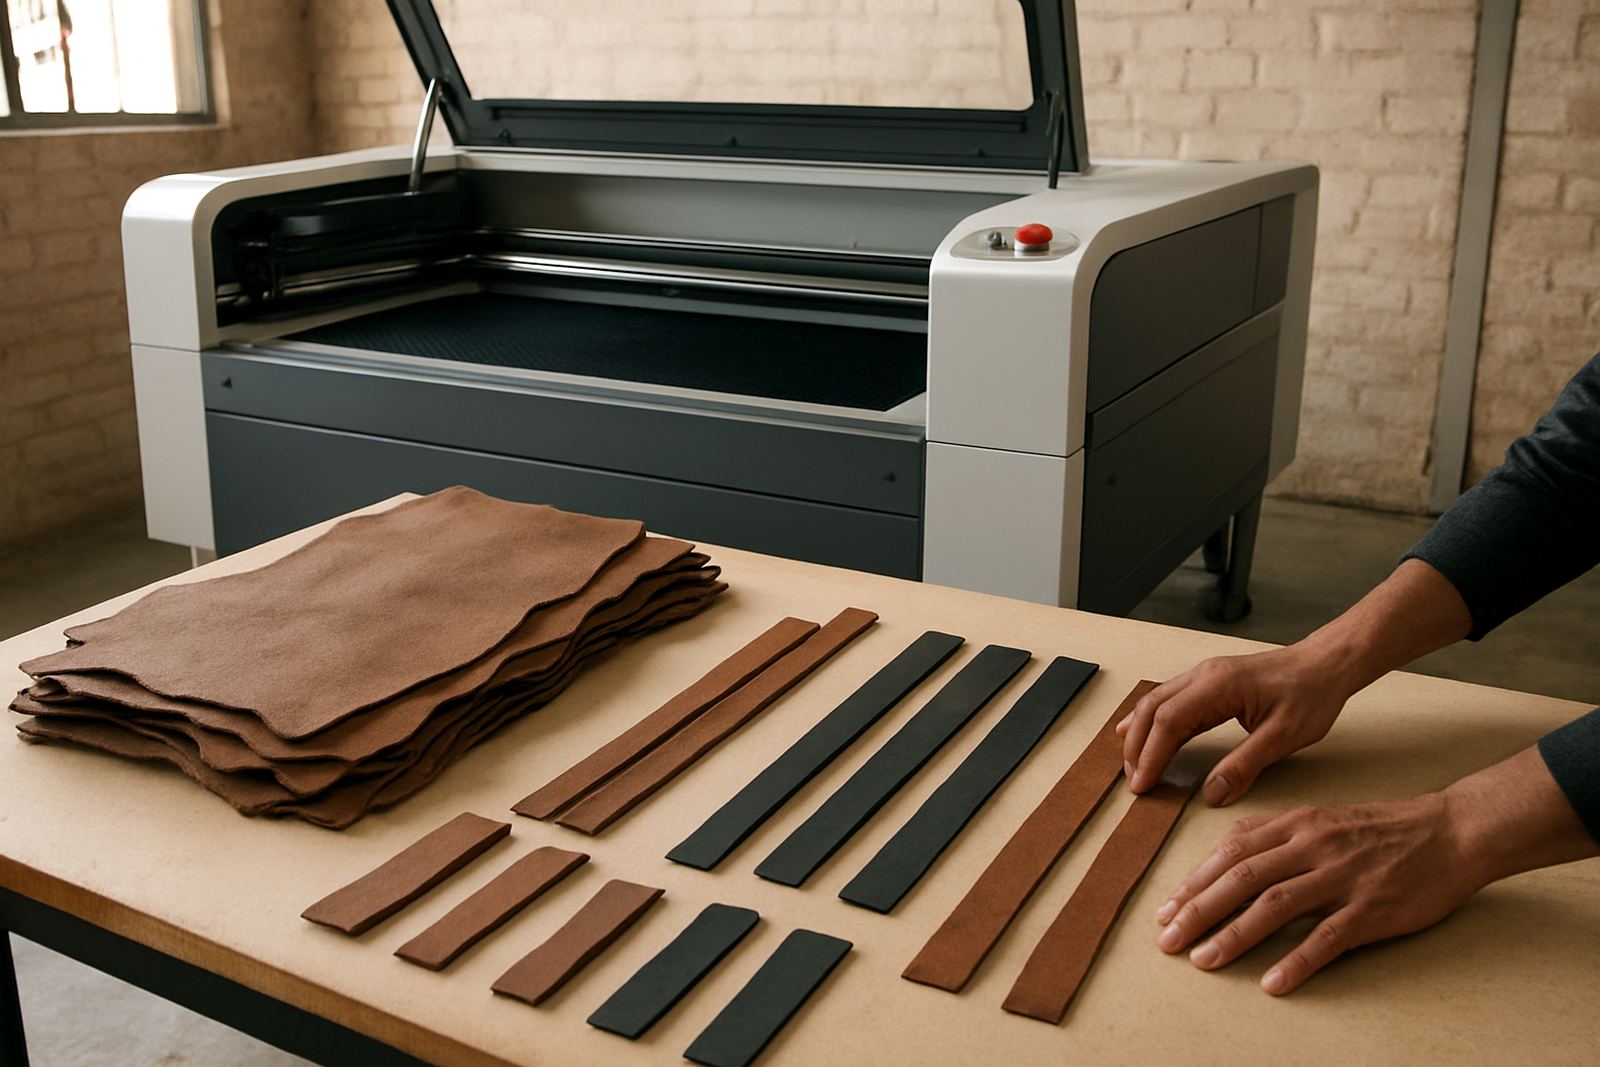
This machine is suited to non-metal schoolwork where clean edges matter. It is commonly used on cast acrylic for letters, signs and learning aids; on plywood and MDF for models, jigs and prototypes; and on leather for design projects, name tags and craft items. It also works well on card, paper, rubber stamps and certain coated materials, provided the setup is tested first.
It fits well in technology departments, art studios, design and visual communication spaces, and maker labs where the aim is to teach both making and process. For schools in Gauteng, KZN, the Western Cape and other provinces, the main question is usually not whether the machine can cut the material, but whether the room can support safe use, proper extraction and regular cleaning. In coastal areas, humidity can affect stored materials and optics, so dry storage matters.
- Schools and colleges with supervised practical labs
- Curriculum project rooms for design, engineering and art
- Innovation hubs and training centres
- Community learning spaces and youth maker programmes
- Small production work for signage and presentation items
If the school plans to use the machine for repeated class runs, it is worth keeping common sheet sizes on hand, such as A3, 600 x 400 mm or full sheets cut down for the bed. That helps reduce offcuts and keeps lessons moving. It also means learners can focus on settings and accuracy, not just material handling.
Installation, power and extraction requirements
Installation should be done by trained technicians, with the machine levelled, aligned and tested before first use. For a school lab, we normally check the room layout, access doors, bench height, extraction route and power supply before delivery day. If the machine must move through narrow passages or upstairs rooms, that should be planned in advance so there are no surprises on site.
Most school units run on standard single-phase power, although the exact requirement depends on the size and tube specification. A stable supply is important, so schools with voltage dips or load-shedding should plan for correct shutdown procedures and, where needed, backup power for safe park-down and computer control. The machine itself does not use gas in normal CO2 cutting, but it does require proper air assist and strong extraction to keep fumes, smoke and residue under control.
- Level floor or solid benching
- Dedicated power point with proper earthing
- Extraction fan and ducting to a suitable outlet
- Air assist supply for cleaner cuts and less charring
- Cooling system matched to the tube size
Schools in municipal areas should also consider where exhaust air will exit. If the room is near classrooms, neighbours or a walkway, the extraction point should be placed carefully. Good planning from the start avoids complaints and keeps the lab usable through the year.
Care, servicing and day-to-day upkeep
A school machine needs routine care if it is going to stay accurate. Daily checks usually include cleaning the bed, checking mirrors and lens condition, confirming water flow or cooler status, and making sure the extraction system is running properly. Weekly attention should include rail cleaning, belt inspection and a quick test on a familiar file. Monthly checks can cover beam alignment, optics cleaning and a deeper look at hoses, seals and wiring.
For busy labs, we recommend a preventive maintenance schedule rather than waiting for a breakdown. That is especially useful where different staff members operate the unit, because small errors can build up into poor cut quality or avoidable downtime. In South Africa, dust, summer heat and power interruptions can all affect performance, so the machine should not be left idle for long stretches without a quick inspection.
- Keep optics clean and covered when not in use
- Do not run damaged or warped sheet material
- Empty scrap and dust from the cutting area often
- Check water cooling before every practical session
- Record settings for materials that are used often
Where schools need help, we provide preventive maintenance, breakdown response, optics cleaning, cooling checks, beam alignment, extraction service and remote support. That helps keep the machine ready for the next class, which is often when it matters most.
What to confirm before you order
Before ordering, it helps to confirm the learning goals first. If the main use is small classroom demonstrations, a compact bed may be enough. If the school wants to cut full sheets or run larger projects, a bigger working area will save time and material. You should also check the type of material most often used, the maximum thickness required, and whether the staff need the machine for cutting only or for light engraving as well.
It is also worth confirming the support plan. A school lab should have named operators, basic training, and a clear process for storage, handover and lockout when the machine is not in use. Ask what is included with installation, what spares should be kept on site, and whether the supplier can assist with relocation if the machine moves to a new room later on. These details are easy to miss, but they affect the running of the lab every term.
- Expected sheet size and bed size required
- Materials to be cut most often
- Need for engraving as well as cutting
- Power availability and backup plan for outages
- Extraction route and room layout
- Training needs for teachers, technicians and learners
If you are fitting out a new lab in Johannesburg, Pretoria, Sandton, Midrand, the East Rand, West Rand, Durban or Cape Town, it is best to plan the machine around the room and the curriculum, not the other way around. That approach gives better results and fewer costly changes later.
Key facts
| Machine type | CO2 laser cutter for supervised educational use |
|---|---|
| Working sizes | 600 x 400 mm, 900 x 600 mm, or 1300 x 900 mm |
| Typical materials | Acrylic, plywood, MDF, basswood, leather, paperboard |
| Power | Single-phase supply on most school configurations, exact rating depends on size |
| Support systems | Air assist, water cooling, extraction and alignment checks |
| Use setting | Classroom demonstrations, curriculum projects and supervised lab work |