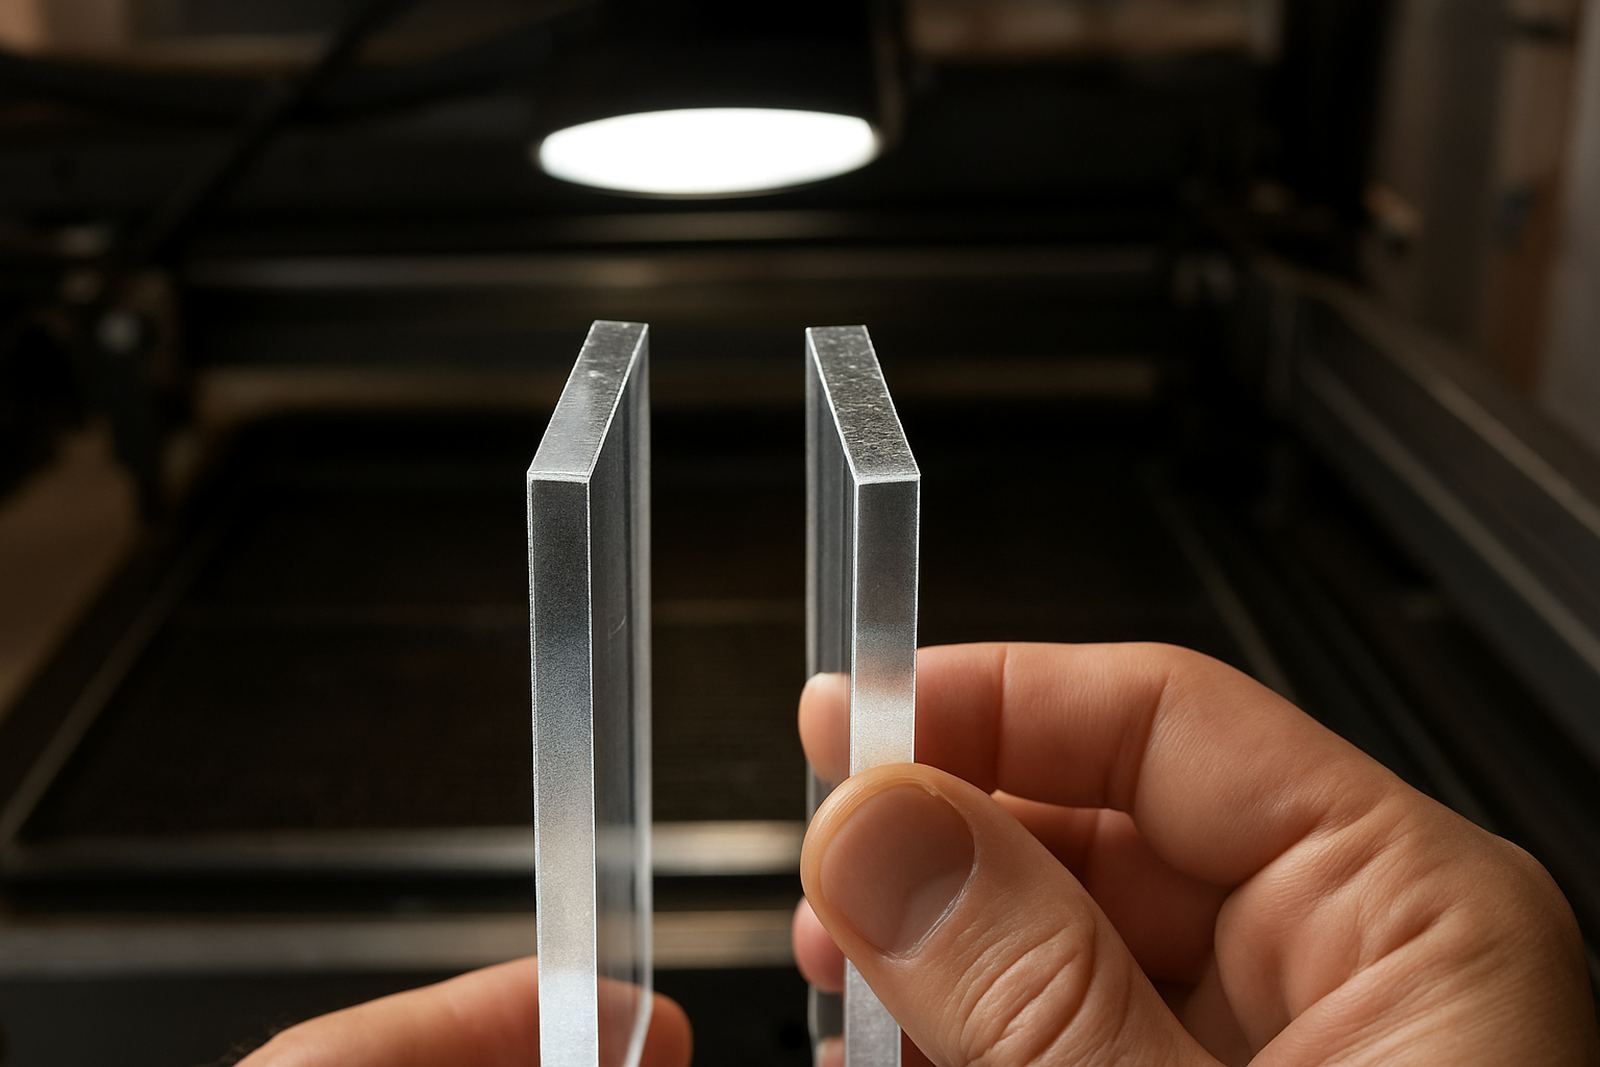
What a good acrylic edge should look like
On acrylic, a proper cut should leave a clear edge with little to no frosting, charring or heavy ripple marks. If you are cutting signs, display pieces, lightbox parts or engraved panels, edge quality matters just as much as the outline itself because the edge is often visible from the front or through the side of the sheet.
In practical terms, the cleaner the edge, the less finishing work you need after cutting. That saves time on hand polishing, sanding and rework. It also helps with repeat jobs where the client expects every part to match. If one batch cuts well and the next batch looks dull, the issue is usually not just the acrylic, it is often the settings or the air assist setup too.
Why power and speed must match the sheet
Acrylic reacts strongly to heat. Too much power or too slow a speed can overcook the edge, causing bubbles, roughness or a white haze. Too little power and the cut can leave drag marks or an incomplete edge that needs a second pass. The aim is a balanced cut where the beam passes through cleanly without lingering in one spot.
Different thicknesses need different approaches. A 3 mm sheet will usually cut very differently from 6 mm or 10 mm material, and cast acrylic behaves differently from extruded sheet. Cast acrylic often gives a clearer edge, while extruded material can be more sensitive to heat buildup. If you are running multiple jobs in one day, keep a written record of what worked best for each material type, that habit pays off quickly.
- Thin sheet usually needs faster movement and careful focus.
- Thicker sheet needs more controlled power and stronger air assist.
- When the edge turns cloudy, reduce heat before changing anything else.
- When the cut is incomplete, check focus, lens condition and airflow first.
Airflow is not just about clearing smoke
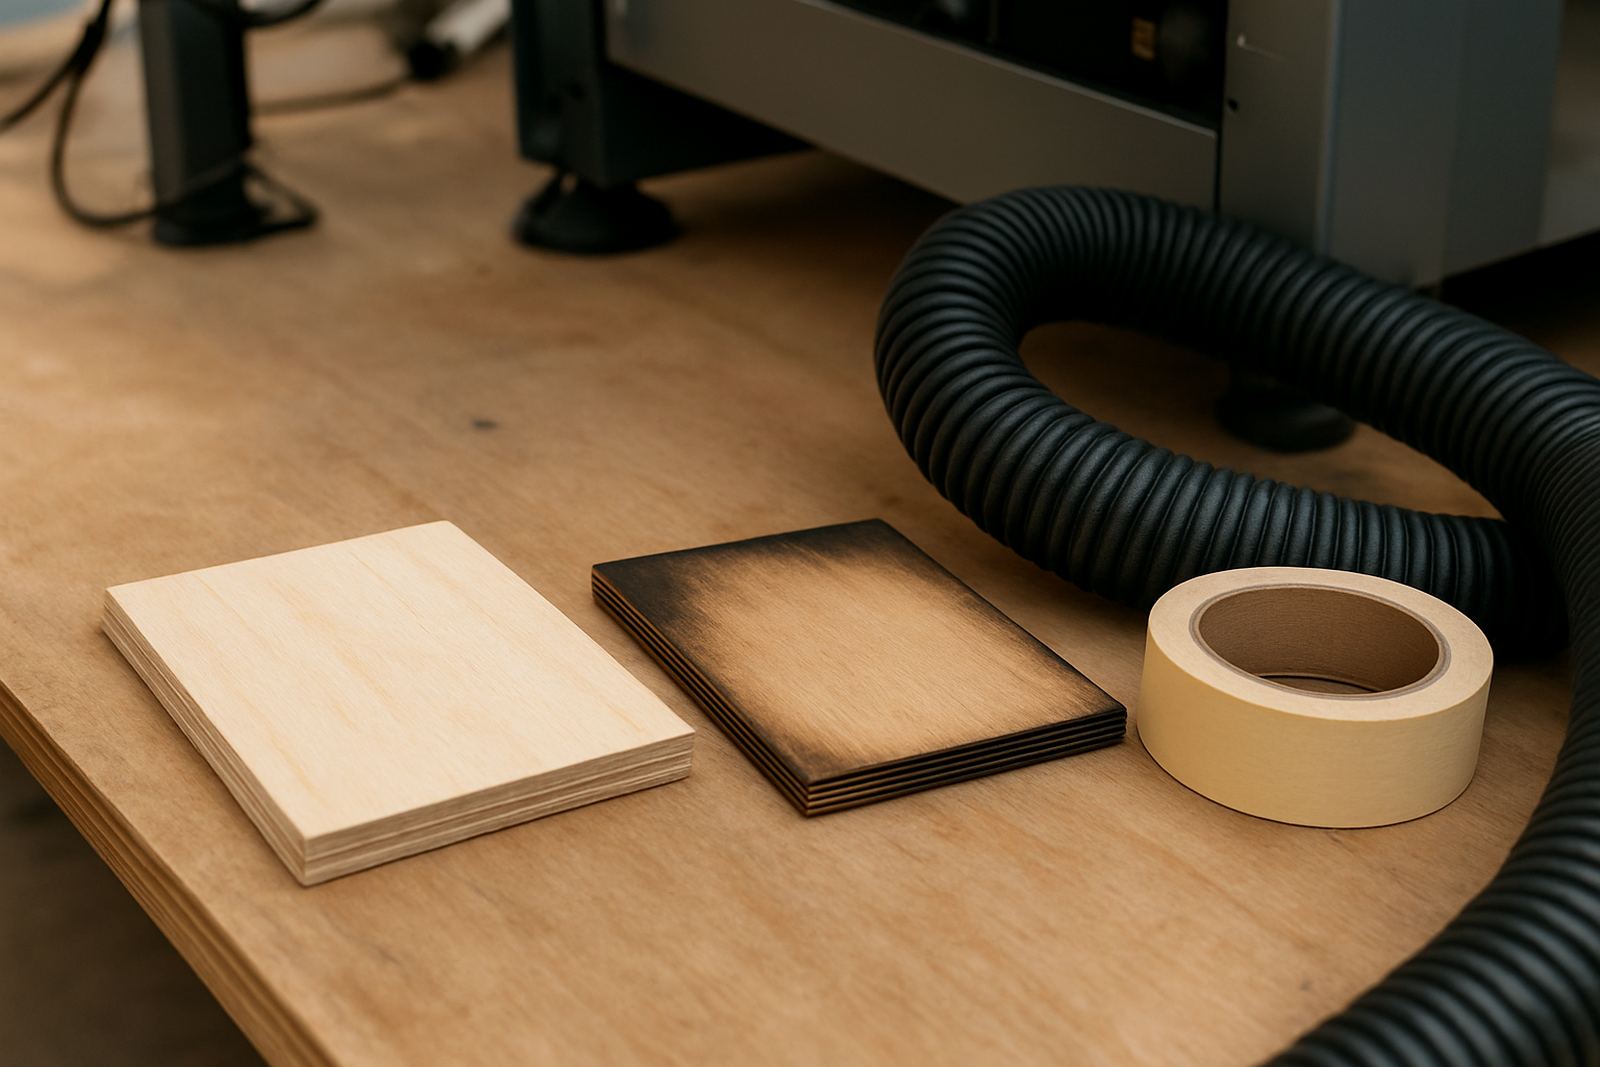
Air assist does more than keep the cut line visible. It removes vapour, stops molten material from settling back onto the edge and helps control flare-up inside the kerf. In a Johannesburg workshop, dust and smoke can build up fast if extraction is weak or filters are overdue for attention. That makes edge quality worse and also leaves more cleaning for the operator.
Air pressure that is too low can leave a sticky edge. Air pressure that is too high may disturb the cut on light sheet or thin offcuts. The right setting depends on the nozzle, the lens, the type of acrylic and the cut speed. If the machine is working well but the edge still looks smoky, check the extraction path, the ducting and whether the material bed is clear enough for proper flow.
- Keep the nozzle clean and centred over the beam path.
- Make sure extraction is pulling smoke away from the cut zone.
- Check for blocked filters, crushed ducting or loose hose connections.
- Do not ignore a burnt smell it usually means vapour is hanging around too long.
Material choice changes the finish before the beam starts
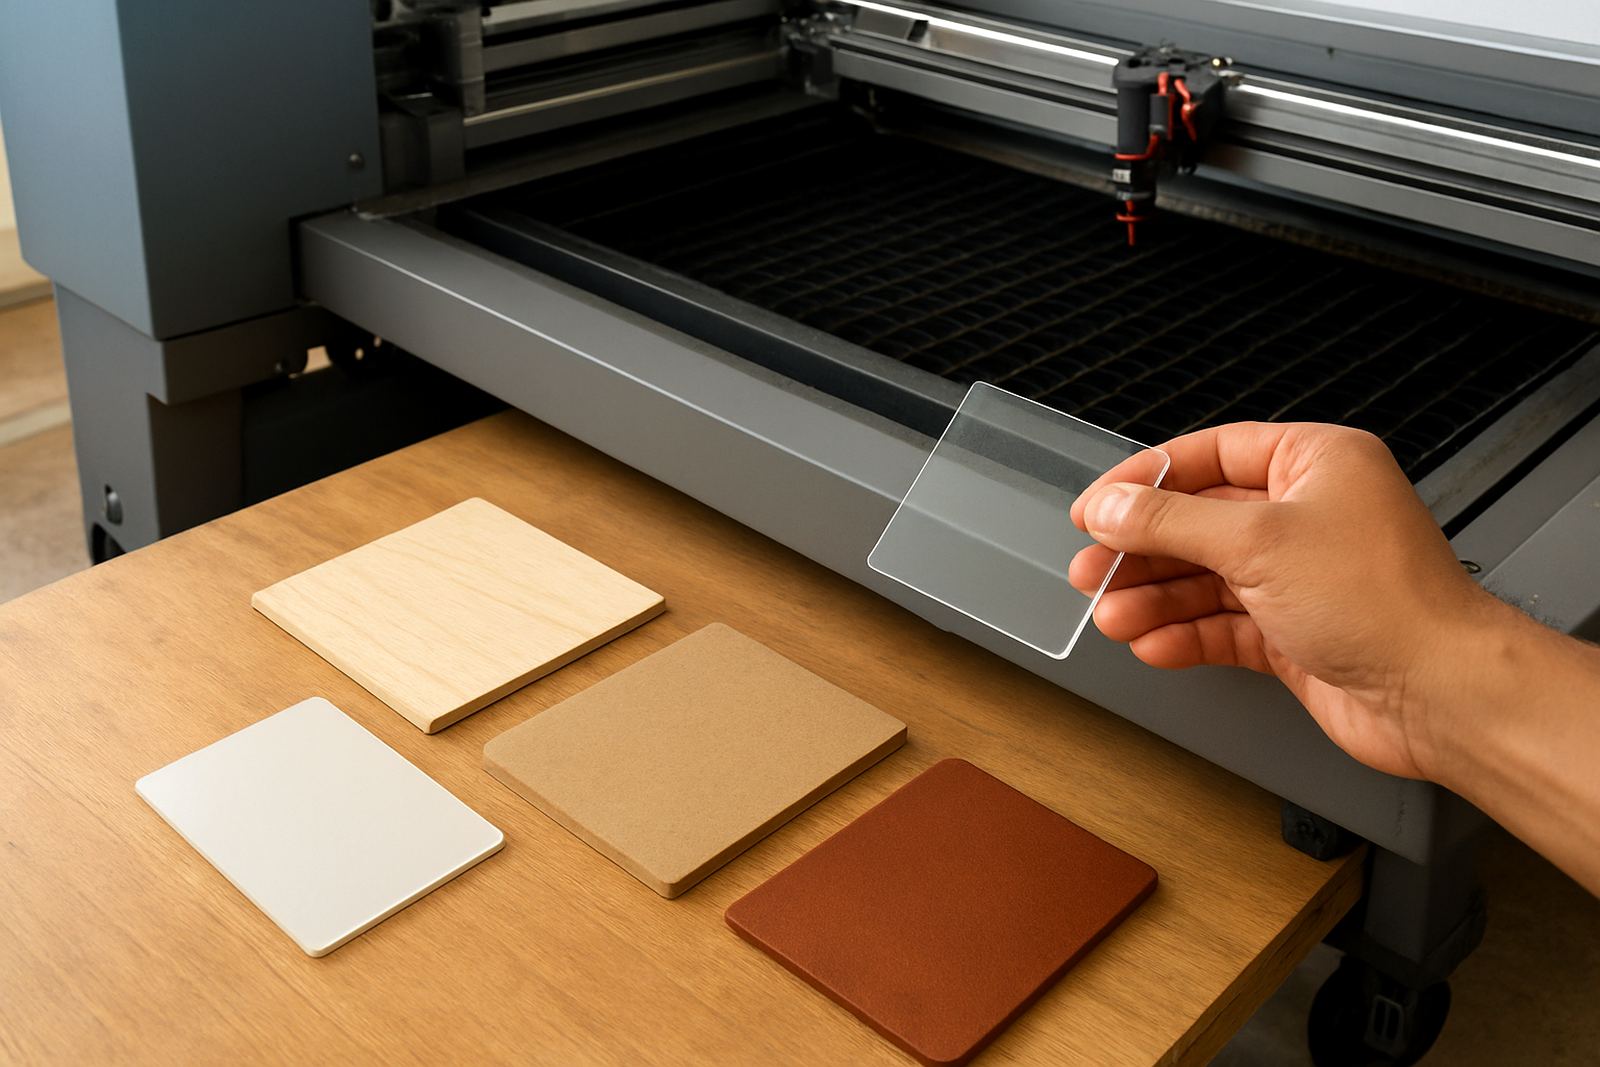
Not all acrylic sheets behave the same. Colour, cast method, additives and surface protection all affect the final edge. Some sheets cut with a bright clear finish, while others show a softer edge or a slight tint. Frosted colours, mirrored sheet and laminated stock may also need test cuts before a full production run.
Storage matters too. Acrylic kept in a damp storeroom near a loading bay in Wynberg or an open yard in Pretoria can pick up dust and moisture on the surface. That can affect masking, handling and sometimes even the consistency of the cut. Keep sheets flat, dry and away from direct sunlight. If a sheet has scratches or warped corners, it may still cut, but the finish can look uneven along the edge.
Focus, lens cleanliness and alignment make a visible difference
When edge quality drops, operators often blame the material first. Yet a slightly dirty lens or a beam that is out of alignment can produce a rougher finish across the full sheet. Even a small shift in focus can make the cut edge look wider, duller or less consistent from corner to corner. That is why routine checks are part of proper production, not extra admin.
A clean optical path helps the beam stay concentrated through the full cut. On busy sites, especially where the machine runs daily, optics cleaning and beam alignment should be part of regular maintenance. If the machine has been moved, installed on a new floor or serviced after a breakdown, check alignment before running valuable acrylic jobs. A quick test on offcuts is far cheaper than scrapping a batch of sign letters.
A local example from a Johannesburg sign shop
A sign maker in Johannesburg was cutting 6 mm clear acrylic for reception lettering and kept getting dull edges on some pieces, while others looked fine. The operator had already changed speed and power a few times, but the finish was still inconsistent. Once the team checked the extraction line, they found partial blockage from fine dust and an air nozzle that was slightly off centre. After the extraction was cleared and the nozzle reset, the next test cut came out clean and the letters needed far less finishing.
That kind of issue is common on sites that work through load-shedding shifts or rush jobs with mixed material stock. The lesson is simple: edge quality is a system result, not just a setting. If you want repeatable results, keep the machine, airflow and material handling under control, and train operators to spot the early signs of trouble before a full run goes wrong.
- Use the same test procedure for every new acrylic batch.
- Keep a log of settings for 3 mm, 5 mm and 6 mm sheet.
- Inspect extraction and air assist before starting long production runs.
- Train new operators to recognise haze, melt lines and edge ripple early.
Keeping acrylic cuts consistent over time
Good edge quality is easier to maintain than to rescue. A preventive maintenance plan, routine cooling checks and regular optics cleaning all help keep cuts repeatable. If the machine is being moved between workshops or installed in a new space, make sure power supply stability, extraction routing and operator training are handled properly from the start.
For businesses in Sandton, Midrand, the East Rand or the West Rand, as well as Durban and Cape Town support areas, consistency often comes down to discipline rather than speed. The shops that get clean acrylic edges week after week are usually the ones that keep records, test materials and service the machine before problems show up. That habit saves money, time and a lot of re-cutting.