Begin with flat, familiar sheet material
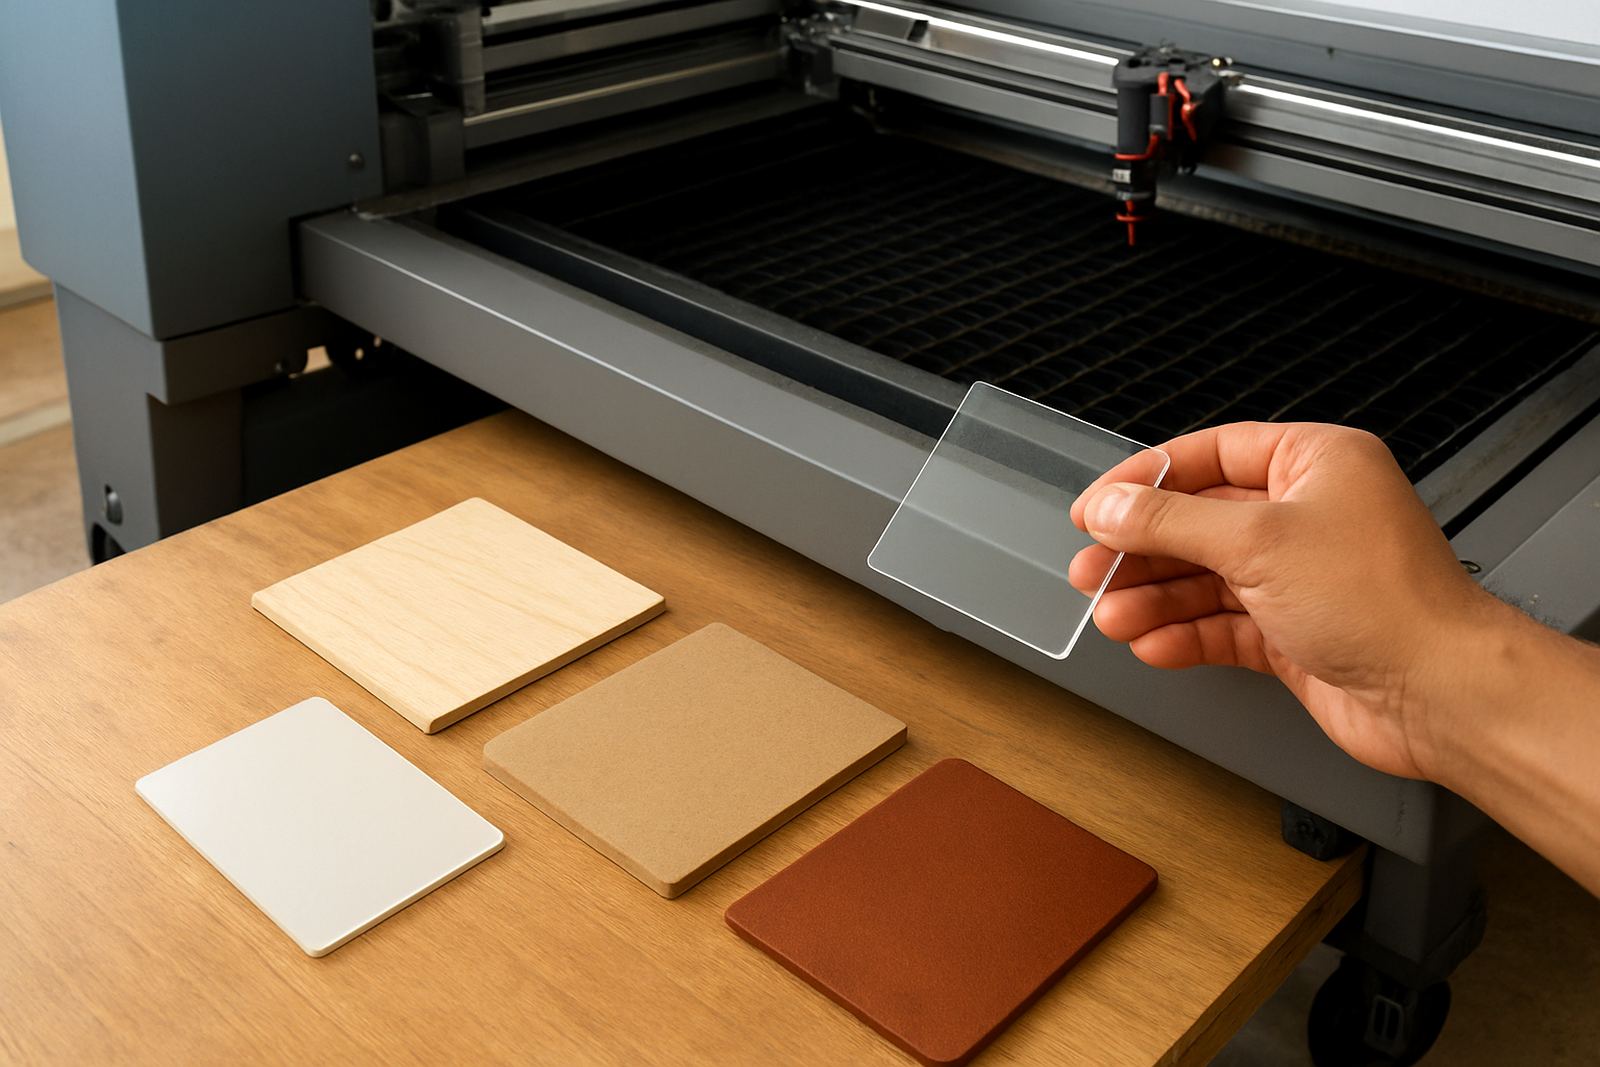
The best first test is a material that is flat, dry and consistent in thickness. In most Johannesburg workshops that means starting with a small sheet of acrylic, MDF offcut, or plain plywood rather than decorative stock, coated panels or anything with a mixed core. These materials make it easier to spot whether the cut quality is coming from your settings or from the material itself.
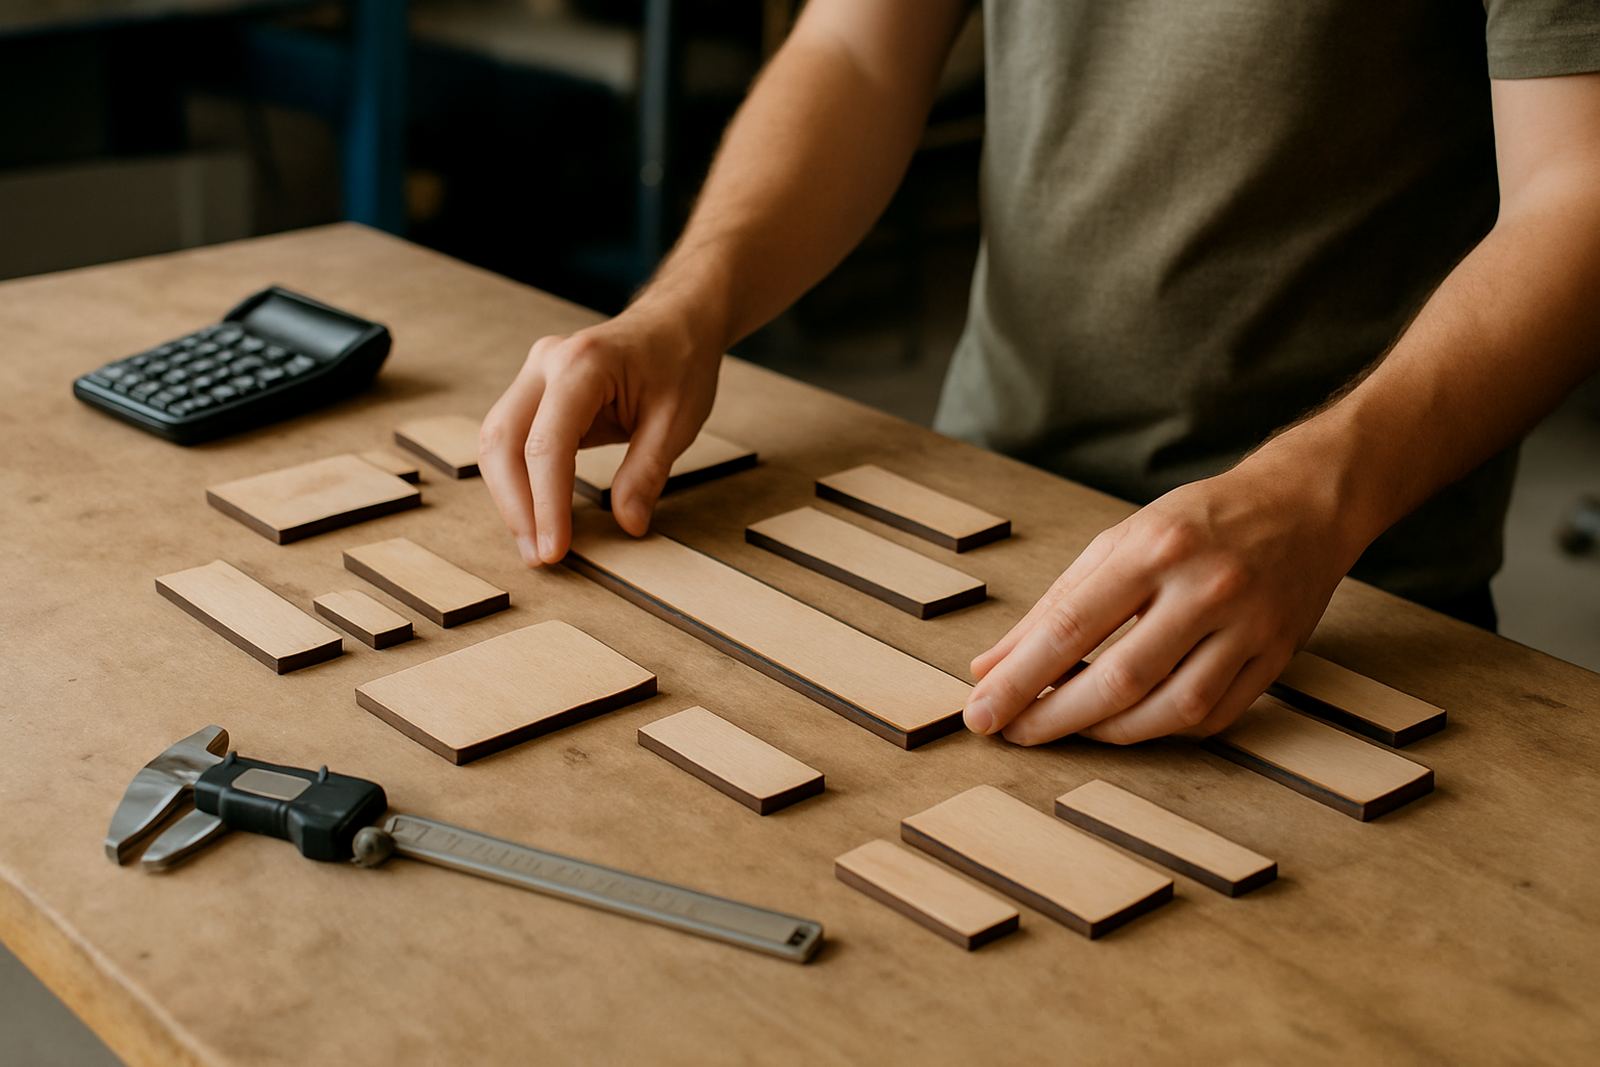
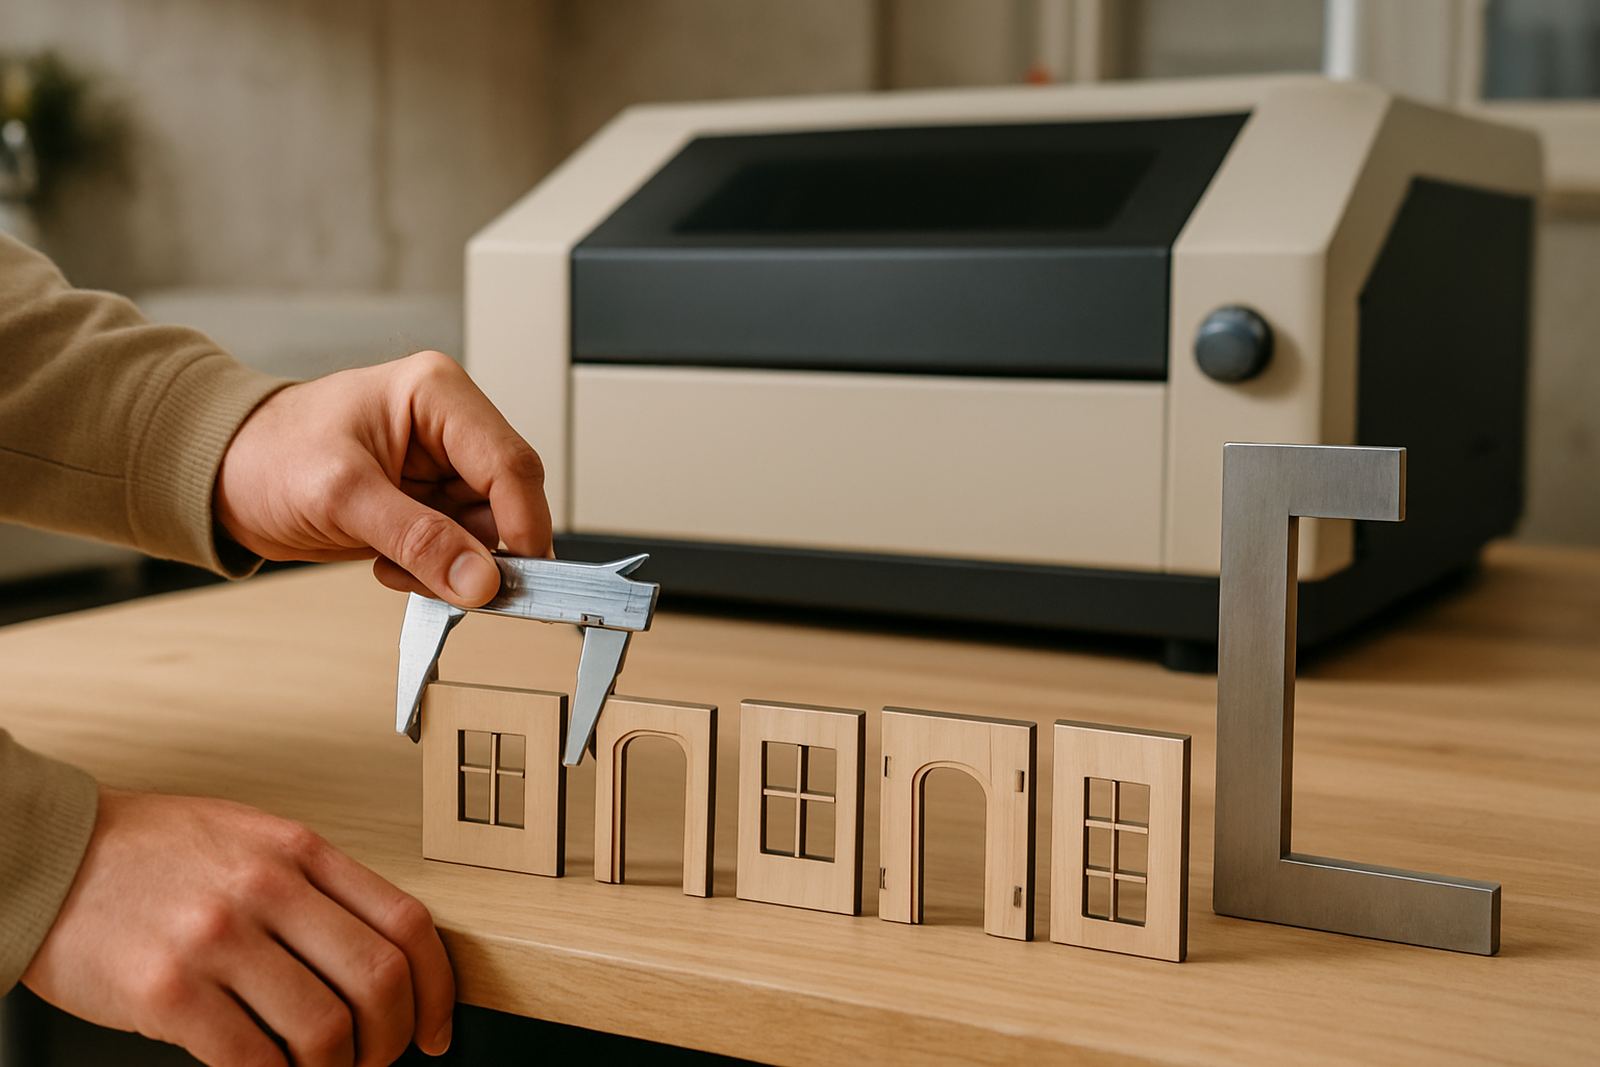
For a first run, use a simple shape such as a 50 mm square, a circle, and a small text sample. That tells you a lot in one pass. You can check edge smoothness, corner sharpness and how well fine details hold up without burning through a full sheet. If you are based in Wynberg or running jobs across Sandton and the East Rand, this sort of controlled testing saves real time when deadlines are tight.
Keep the first material simple because the machine is still teaching you things. A sheet that is too glossy, warped or uneven will hide the real result and make setup harder than it needs to be.
Acrylic first, then adjust before anything decorative
Acrylic is one of the most useful starting materials for CO2 laser testing because it shows edge quality clearly. When the settings are right, the cut edge should look neat and polished, with minimal marking. That makes it ideal for checking focus, speed and power before moving into production work.
Use cast acrylic for cleaner testing where possible, because it tends to cut more consistently than lower grade sheet. Start with a modest thickness such as 3 mm, then work up only once you have a reliable result. If the edge frosts, bubbles or shows heavy flare marks, adjust one setting at a time instead of changing everything at once.
In humid coastal areas like Durban and Cape Town support zones, store acrylic flat and sealed. Moisture and dust can affect the cut finish more than people expect, especially when sheets have been moved around a busy warehouse or a job site.
- Start with 3 mm clear or coloured acrylic
- Check the edge for frosted areas or flare marks
- Adjust focus before increasing power
- Keep a note of the exact settings used
Wood samples show where the machine needs control
Once acrylic is behaving, move to wood samples. Thin plywood and MDF offcuts are good for seeing how the laser handles smoke staining, corner detail and repeat cuts. Wood is useful because it shows you more than just whether the beam is getting through the material. It shows how the machine manages heat and airflow too.
For first testing, pick clean offcuts with a known thickness. Avoid boards with voids, knots or glued repairs because they can burn unevenly. A 3 mm or 6 mm board is usually enough to show whether your settings are too slow, too hot or not focused properly. If the cut has heavy charring on one side, check the bed level and extraction first, not only the power setting.
This matters for sign makers, craft operators and small manufacturers working from Midrand, the West Rand or Pretoria service areas. A neat wood test tells you whether you can trust the machine for repeat parts, packaging inserts or detailed panels.
Leather needs a lighter touch and better airflow
Leather is a useful test material, but it should come after the machine is already working cleanly on simpler sheets. It reacts strongly to heat, so even a small change in power can alter the finish. That makes it a good material for learning control, though it also means you need to be careful with fumes and extraction.
Use a small offcut first and test with a simple line or shape. Keep the airflow and extraction checked before you run any longer cut. If the edge hardens too much, darkens unevenly or leaves a burnt smell that lingers, reduce the heat input and test again. Never treat leather like wood, because the behaviour is not the same.
Operators in the East Rand and Durban install support areas often ask for leather tests after they have already started production. It is better to test early and keep the results on hand, especially if the job includes straps, tags or small stitched parts that need accurate edges.
- Test on a small offcut before the full sheet
- Use good extraction before every cut
- Watch for hard edges or heavy darkening
- Keep leather away from oily contamination
What to avoid until your settings are proven
Some materials are not ideal for first testing because they can mislead you or create extra risk. If a sheet has a coated surface, mixed layers, uneven density or hidden fillers, the first result may not tell you much. You may think the machine is out of alignment when the real issue is the material.
Hold back from ornate laminated stock, painted boards, mirror-finish surfaces and anything that has an unknown adhesive layer until your basic settings are sorted. Also avoid testing on warped pieces. A slight bow can throw the focus off enough to ruin the result, and that is hard to separate from the machine itself.
For workshops near busy industrial zones in Johannesburg, this is where a simple discipline helps. Keep a small test rack of known materials and label each sample by thickness and job type. That way your crew can check a trusted piece before they start a new run, instead of guessing under pressure.
- Do not start with unknown laminated material
- Avoid warped or bowed sheets
- Leave coated and painted stock for later
- Use labelled samples for repeat testing
Build a short test sheet and keep the notes
The fastest way to improve is to keep one simple test sheet for every material. Include a square, a circle, a fine line and a small nameplate. That gives you a repeatable way to compare one setting against another and see which change actually improved the result. Without notes, you end up repeating the same test and wasting both material and time.
Write down the material type, thickness, focus height, speed, power and whether the extraction was on full or reduced flow. If the machine was recently moved, serviced or fitted into a new room, note that too. Even something small like a beam alignment check or optics cleaning can change the way the cut behaves.
For teams in Wynberg and across the country, this habit becomes part of good workshop control. It keeps operators consistent, helps during training, and makes it easier to repeat a successful setting months later when the same job comes back.
A practical order for first-time testing
If you want a simple order, use the machine on predictable materials first, then move to the trickier ones after you have one clean result on record. That avoids the common mistake of chasing settings on a difficult sheet when the basic workflow still needs to be proven.
Start with acrylic, then test wood, then leather. Once those are behaving, you can branch into more specialised stock. In a real workshop this order helps keep the learning curve manageable, especially when production has to continue despite load-shedding, staff changes or a relocation to a new premises.
Good first tests do not need to be fancy. They need to be repeatable, easy to read and honest about how the machine is performing. That is the quickest path to cleaner cuts and fewer surprises later on.