Why proofing matters before the first cut
When a job is custom, even a small mistake can mean a wasted sheet, a delayed install, or a batch that does not match the brief. With laser cutting, once the machine has cut the material the error is usually final, so the proofing stage is where most of the risk gets removed.
A proper proof is not just for big commercial runs. It helps with wedding signage, retail labels, school projects, promotional items and production parts too. The customer gets to check spelling, sizes, hole positions, finish details and layout before the work starts, which is far cheaper than fixing the job after the fact. In Johannesburg, where many clients need quick turnaround between supplier, installer and site team, that one check can save a lot of back and forth.
What should be checked on every proof
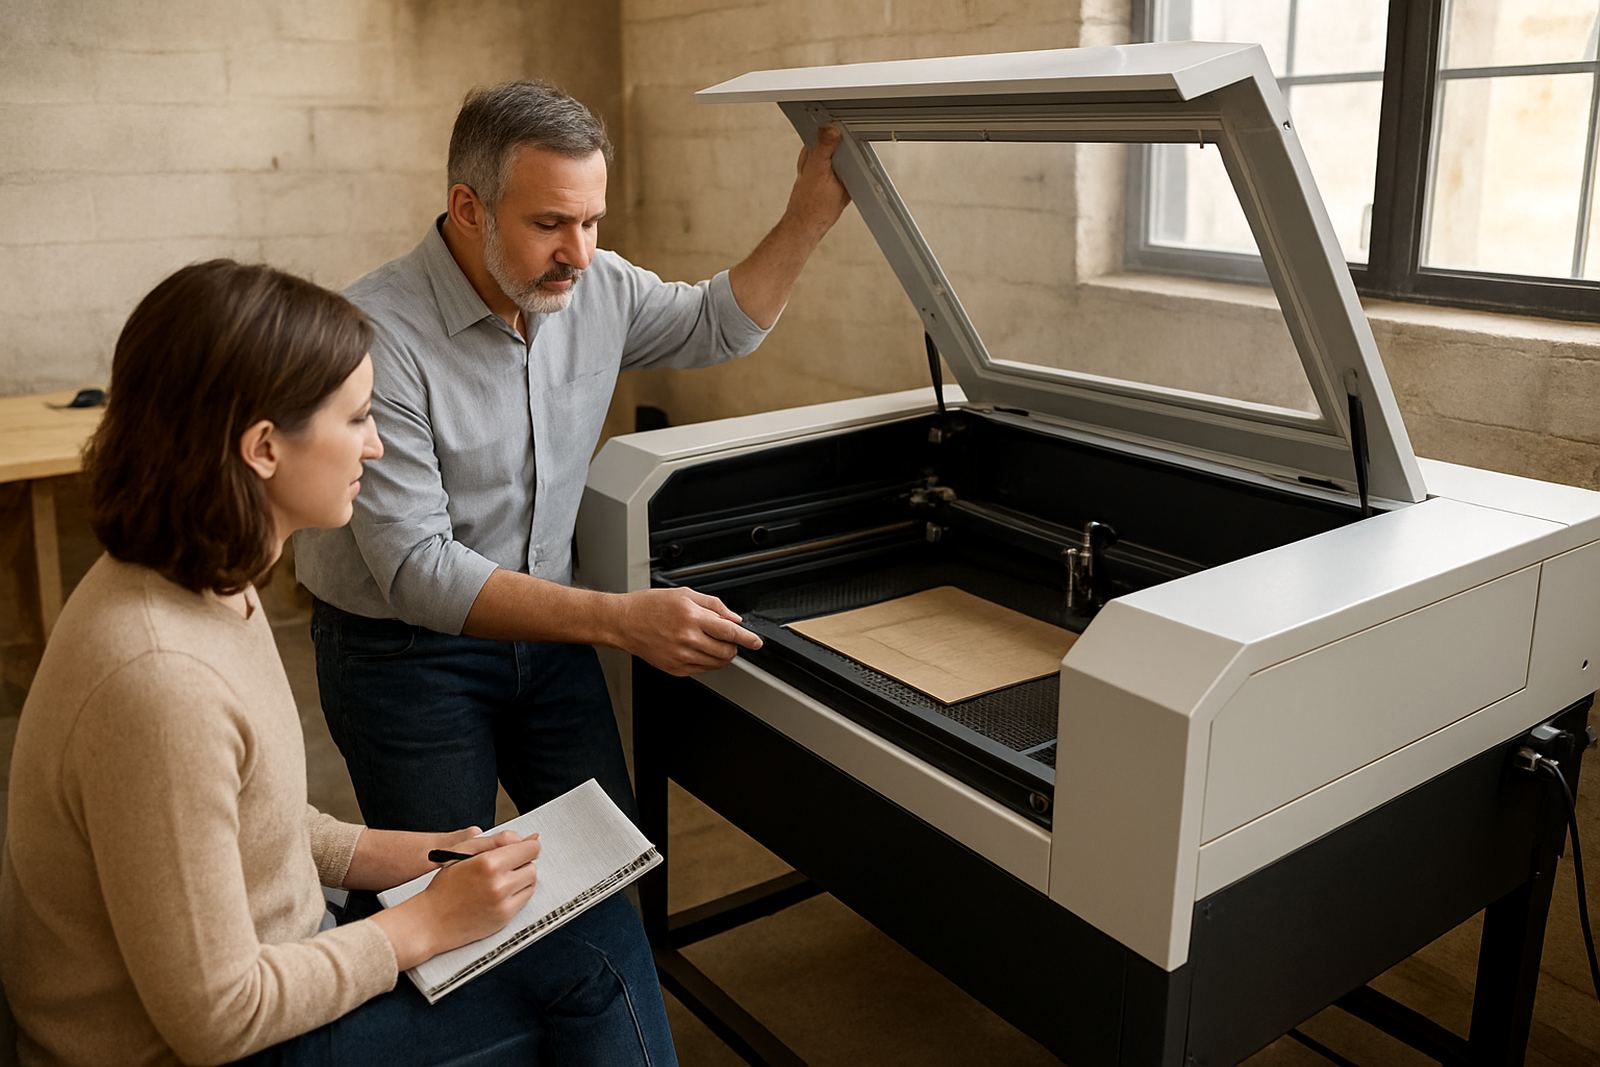
We encourage clients to review the proof as if they are checking the finished item in their hand. That means looking beyond the wording and checking all the practical details that affect production. If a file is for acrylic, wood or leather, the proof should show the final size, material thickness, mounting points and any engraving or cut-out areas.
- Spelling, names and job numbers
- Exact dimensions in millimetres or metres where needed
- Material type, colour and thickness
- Cut lines, score lines and engraved sections
- Fixing points, drill holes and stand-off spacing
- Orientation, grain direction or face side if relevant
For some jobs, the proof should also note the final use. A point of sale display in Sandton may need cleaner edge detail than a workshop label for industrial use. That context helps avoid a job that is technically correct but not suitable for the application.
How we handle customer sign-off step by step
Our proofing process is kept simple so it is easy to follow, even when a client is ordering from another province. The aim is to get written approval on the exact version that will be cut, then move straight into production without confusion.
- We confirm the brief and check the material choice
- We prepare a proof showing layout, sizes and key notes
- The client reviews and sends changes if needed
- We update the proof until it matches the approved version
- Once signed off, the job is released for cutting and finishing
That sign-off can be done by the enquiry process and linked to the order record, so there is one clear reference for both sides. It also helps when more than one person is involved, such as a designer, buyer and site manager. No one wants to hear later that a changes sheet was seen by one person but not the person who approved the final artwork.
Common proofing mistakes that cause rework
Most rework comes from small things that were easy to catch but got missed in a hurry. The biggest problem is assuming that the file on screen is the same as the file that will be cut. It often is not. A font may shift, a line may sit too close to the edge, or a hole may be placed where a screw will interfere with the final fit.
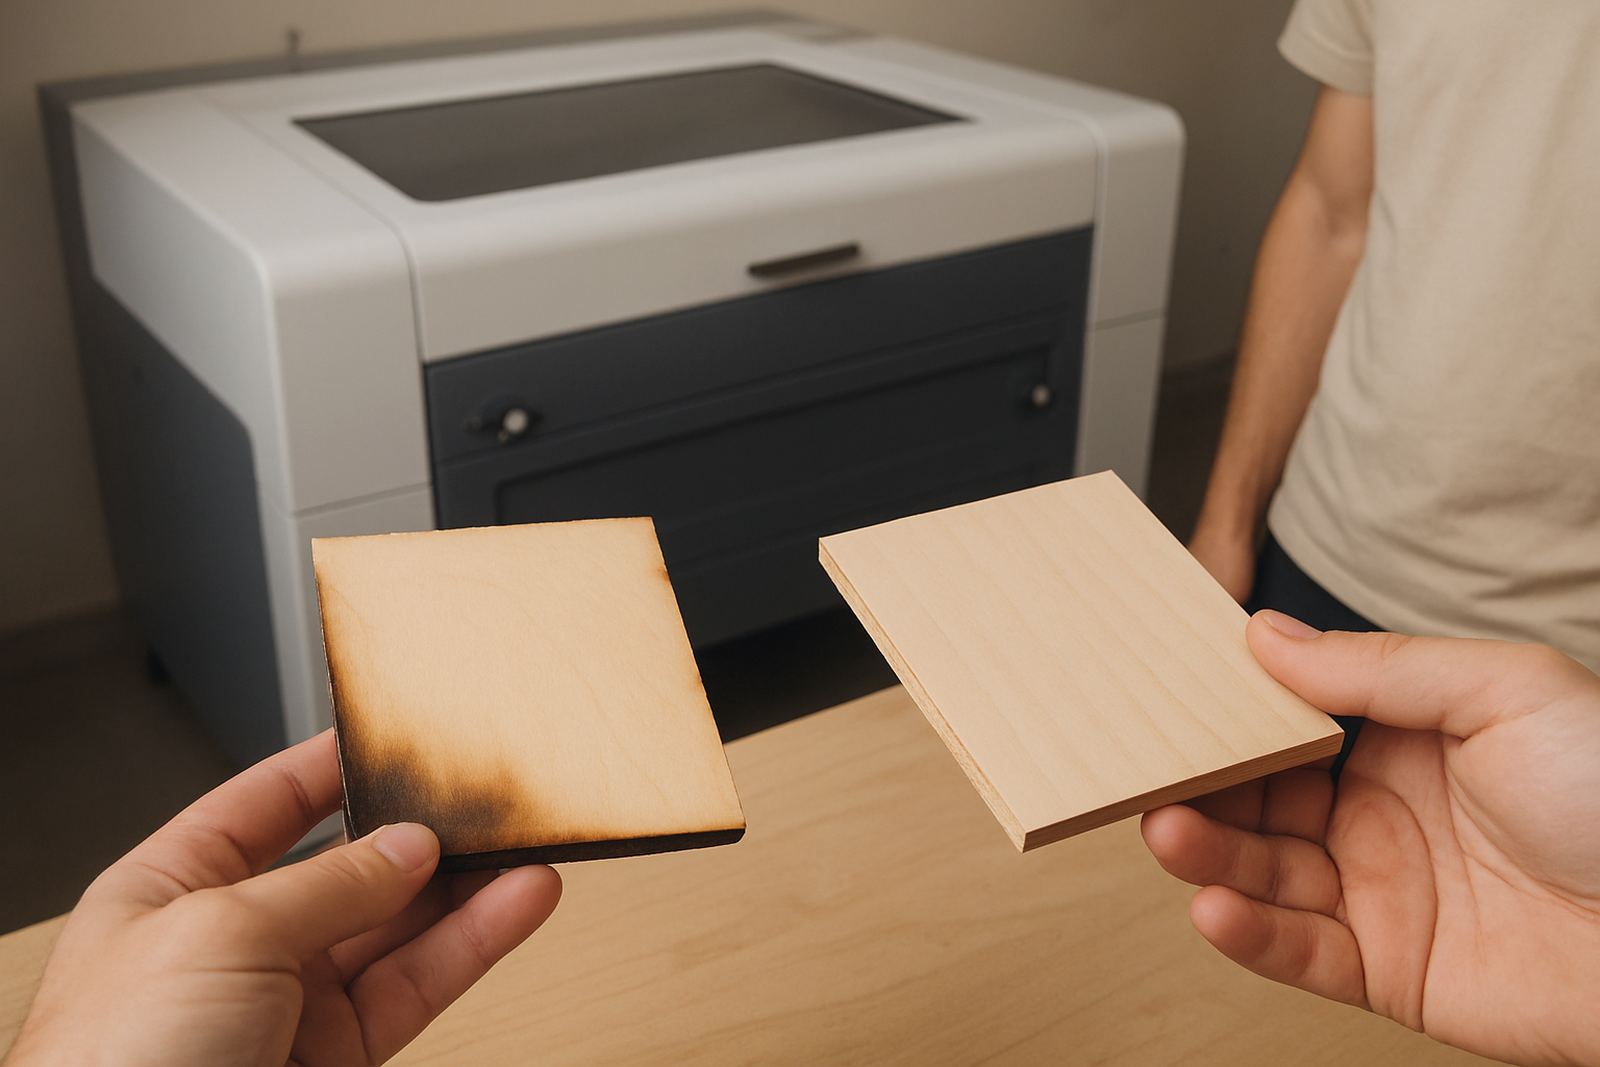
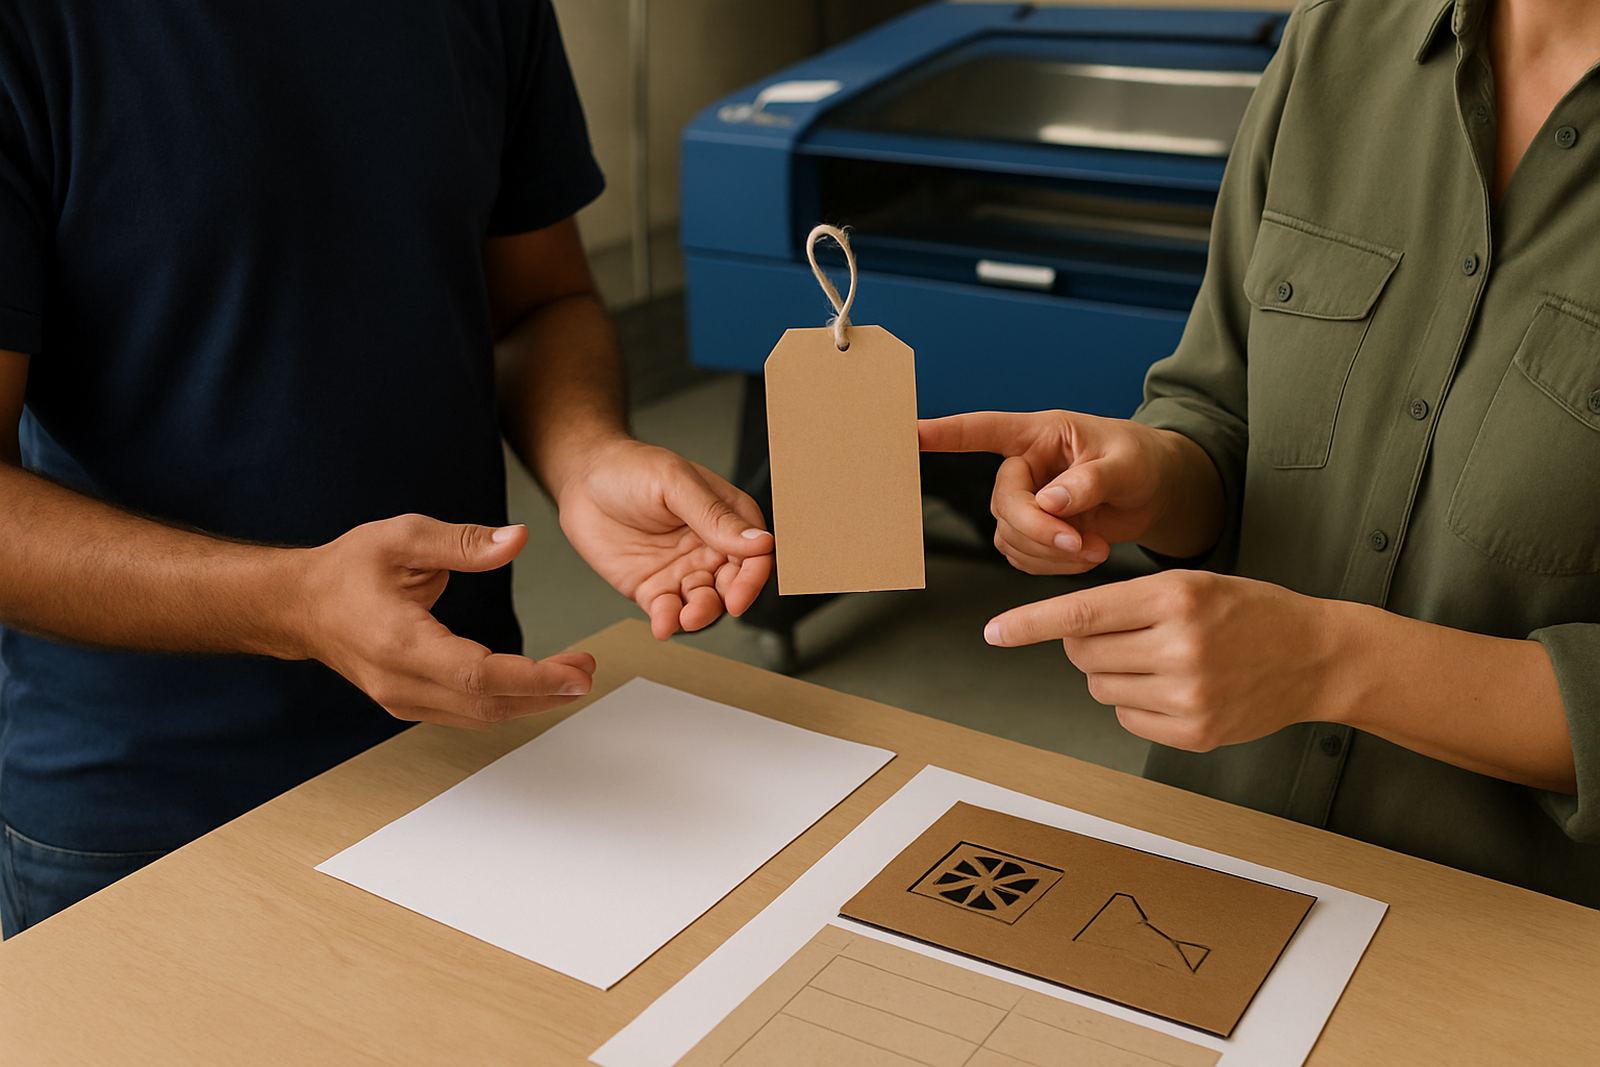
Another issue is approving a proof without checking the real-world use. A shelf tag may look fine on screen but become unreadable once cut in a dark colour. A leather patch may need room for stitching, while a wooden panel may need allowance for movement in dry indoor air. On the coast, humidity can change how some materials behave, so details like spacing and finish matter more than people expect.
Even a simple spelling mistake can become expensive when 50 units have already been cut. That is why we tell clients to read names out loud and check numbers twice, especially for personalised work. A missing letter is a small thing on paper, but it can mean a full re-run in the workshop.
A Johannesburg example from proof to installation
One local example is a retail client in Wynberg that needed custom acrylic signage and small branded display pieces for a branch opening. The first proof showed the correct wording, but the mounting holes were too close to the edge for the chosen stand-off system. We adjusted the layout, sent a revised proof, and the client approved it the same day. That saved a second trip to site and kept the installation on schedule.
For jobs like this, proofing is not a paperwork exercise. It is part of the production method. In a busy area like Johannesburg, with traffic delays, site access rules and limited install windows, getting the proof right before cutting means fewer interruptions later. It also means the installer arrives with items that fit first time, which is what everyone wants when the clock is already ticking.
What clients can send to make approval faster
Clear information lets the proof be issued and approved without extra rounds. A brief that includes material choice, size, quantity and intended use gives us enough to prepare a useful proof instead of guessing. If the work is for a shop, office, event or workshop, it helps to know where it will be installed and whether there are any municipal or building rules to work around.
- Artwork or text in final wording
- Dimensions or a sample size if available
- Quantity needed and target date
- Installation location and access notes
- Any brand or layout rules to follow
Clear files and a careful review make the whole process smoother. It also helps the team on our side, from training and technical support through to final fitment, because everyone is working from the same approved version.
When proofing is handled properly, custom work becomes far more predictable. The customer knows what is being made, the workshop knows what to cut, and the finished item matches the brief without last minute surprises.