Start with the material, not the machine
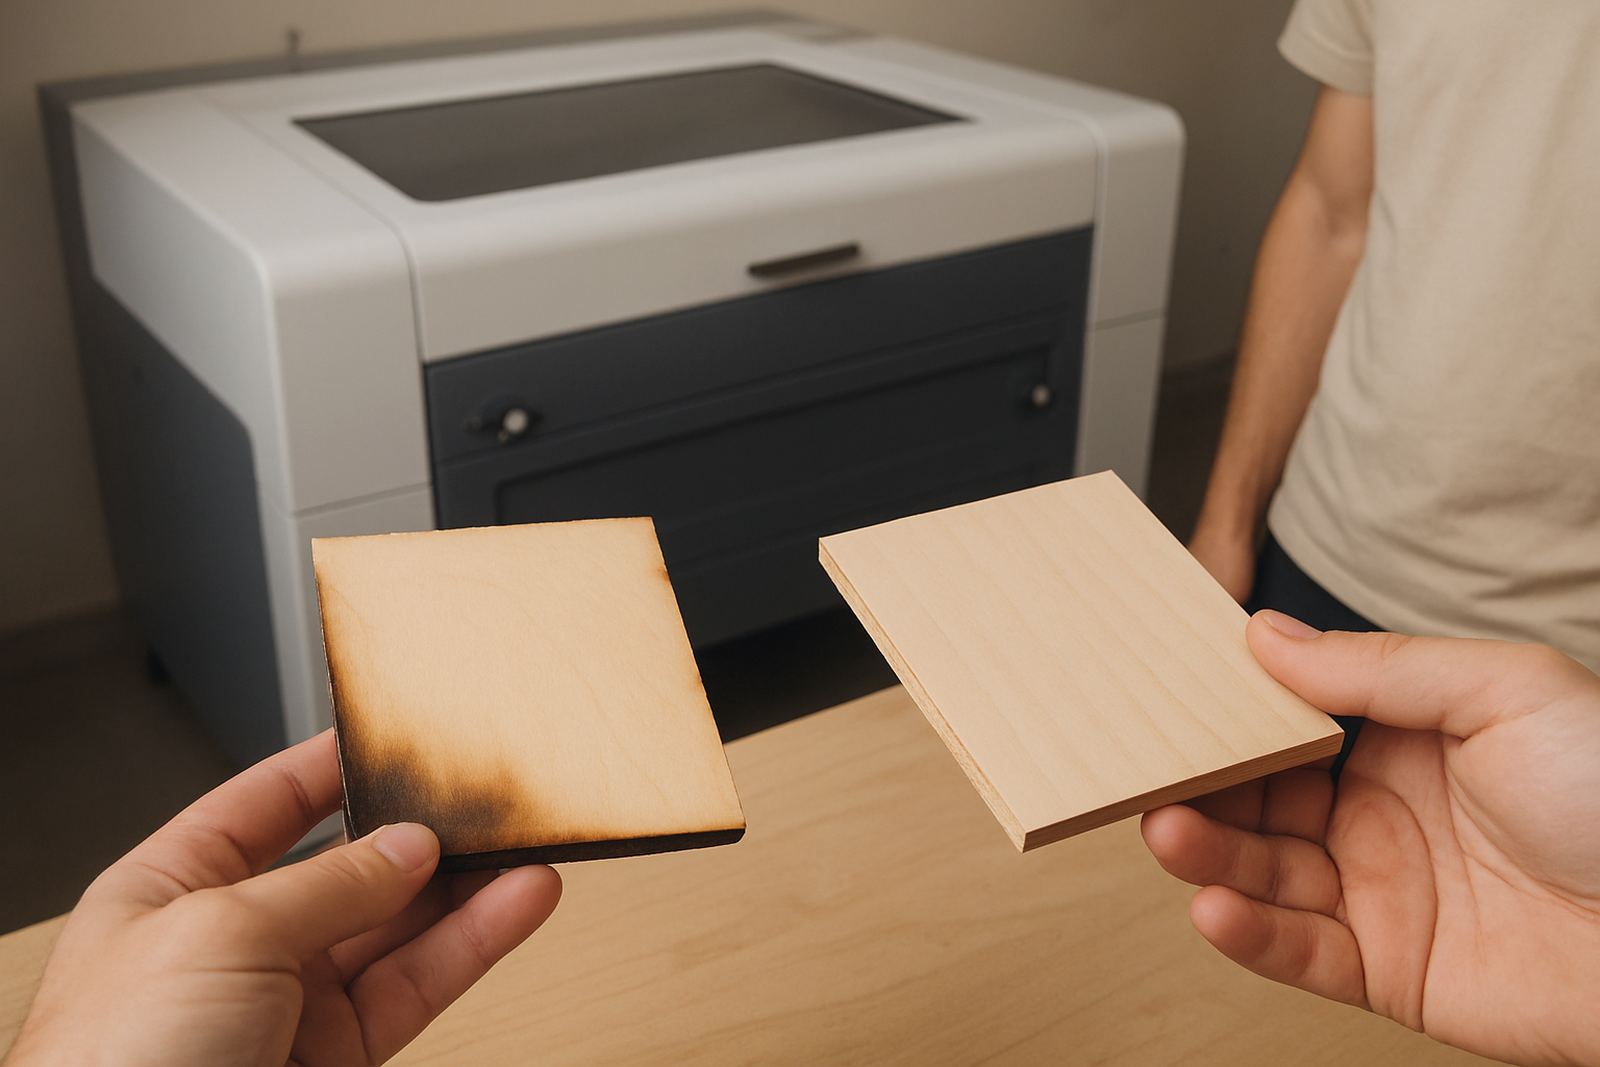
When scorch marks keep showing up, the first question is often the simplest one: what exactly is on the bed? Acrylic, plywood, solid wood, leather and coated materials all react differently to heat. A setting that gives a neat edge on 3 mm cast acrylic may leave dark burn lines on 6 mm plywood or a shiny heat mark on leather.
Material quality matters as well. Dense grain, glue pockets, resin content and surface contamination all change how the beam behaves. In Johannesburg workshops we often see flare marks come down once the sheet is clean, flat and properly stored. If material has been sitting in a damp storeroom in Wynberg or under a corrugated roof in Durban, expect more smoke staining and edge discolouration.
- Keep sheets flat and dry before cutting.
- Wipe off dust, oil and fingerprints.
- Test new batches of the same material, because not every board cuts the same.
Use the right balance of speed, power and passes
Flare marks often appear when the machine is trying to force too much heat through too slowly. A lower speed with high power can cause the edge to char, while too many passes can cook the same line repeatedly. The aim is to cut cleanly in one pass where possible, then adjust from there.
For thinner material, try reducing power before you slow the head too much. For thicker sheet, increase speed only if the cut still goes through cleanly. Small changes can make a big difference, so move in steps rather than making a huge jump. If you are cutting acrylic for signage or detailing work, a clean edge is usually better achieved with a sharper focus and correct airflow than with raw power alone.
- Change one setting at a time.
- Record what worked for each material thickness.
- Use test pieces before a full production run.
Check focus and beam alignment before blaming the cut
If the beam is slightly out of focus, it spreads heat across a wider area and can leave a fuzzy edge or flare-like staining. Poor alignment can do the same thing, especially on larger beds where the problem shows up more on one side than the other. A machine that cuts well on the left but burns on the right is usually telling you something useful.
Lens condition is part of the same picture. Dust, smoke residue and fine film on the optics can distort the beam and make the cut hotter than it should be. Regular optics cleaning is basic work, but it saves a lot of grief. It is a small job, but skip it for a week or two and the edge quality can drift.
- Confirm focus height for each material thickness.
- Look for uneven cuts across the bed.
- Inspect lenses and mirrors for haze or residue.
Air assist and extraction need to work together
Good airflow removes flame, smoke and hot particles from the cut path. Without it, the beam keeps heating the same area and the result is more scorch, more flare and more cleaning afterwards. Air assist should be strong enough to push debris away from the kerf, while extraction should clear the smoke before it settles back onto the work.
In humid coastal areas like Durban, smoke can hang around longer and stain the edge more easily. In busy Sandton and Midrand shops, blocked ducting or a tired extraction fan can be the hidden cause of poor finish. If the machine is leaving soot or burn marks, check the full path from nozzle to exhaust outlet, not just the blower itself.
- Clean the nozzle and make sure the air line is not leaking.
- Check extraction filters and duct bends for blockages.
- Do not run with the lid open if smoke is escaping into the room.
Manage heat build-up during long production runs
Heat build-up is a common reason flare marks appear after the first few sheets cut well. As the day goes on, the bed warms up, the material surface changes and the same settings no longer give the same finish. This is especially noticeable during back-to-back jobs in a Pretoria or East Rand workshop where the machine runs for hours.
Allow the machine to cool when needed and keep the cooling system in good order. Stable water temperature helps prevent cut quality from drifting, and so does a clean, properly filled cooling circuit. If you are running during load-shedding and power comes back in stages, check that the chiller, exhaust and machine are all coming back to normal before starting the next job. A rushed restart can leave you chasing bad edges for the rest of the shift.
- Give the machine short cool-down pauses on long runs.
- Watch coolant level and temperature regularly.
- Restart only when all systems are steady again.
Set up a repeatable workshop routine
The best way to reduce flare marks is to stop treating each job as a guess. Keep a simple cutting log for material type, thickness, speed, power, focus height and assist settings. That way, when a customer brings in another sheet next month, you are not starting from zero. Over time you will see which settings work in winter, which ones misbehave in summer, and which materials need extra care.
For workshops that handle mixed work, operator training makes a real difference. One person may notice that the edge is running hot while another only sees the final result. A trained team catches the warning signs early, before the job becomes waste. In a place like Wynberg, where production and demos happen close together, a steady routine keeps the machine honest and the output consistent.
- Keep a written settings sheet near the machine.
- Train operators to spot scorch early.
- Book preventive maintenance before quality slips.
When flare marks keep reappearing
If you have checked the material, settings, focus and airflow and the marks still show up, the machine may need a proper service. Issues with alignment, cooling, extraction or worn components can sit under the surface for months before they show up on the edge. That is when breakdown response, beam alignment and a careful service check become worth more than another round of trial and error.
For South African shops, it helps to have support that can handle installation, relocation help, remote support and on-site checks in areas such as Sandton, Pretoria, Midrand, the East Rand, the West Rand, Cape Town and Durban. Clean cuts are not only about the machine, they are about the full setup around it. Get that right and flare marks usually become a small exception rather than a daily headache.