Start With the Right Leather Type and Thickness
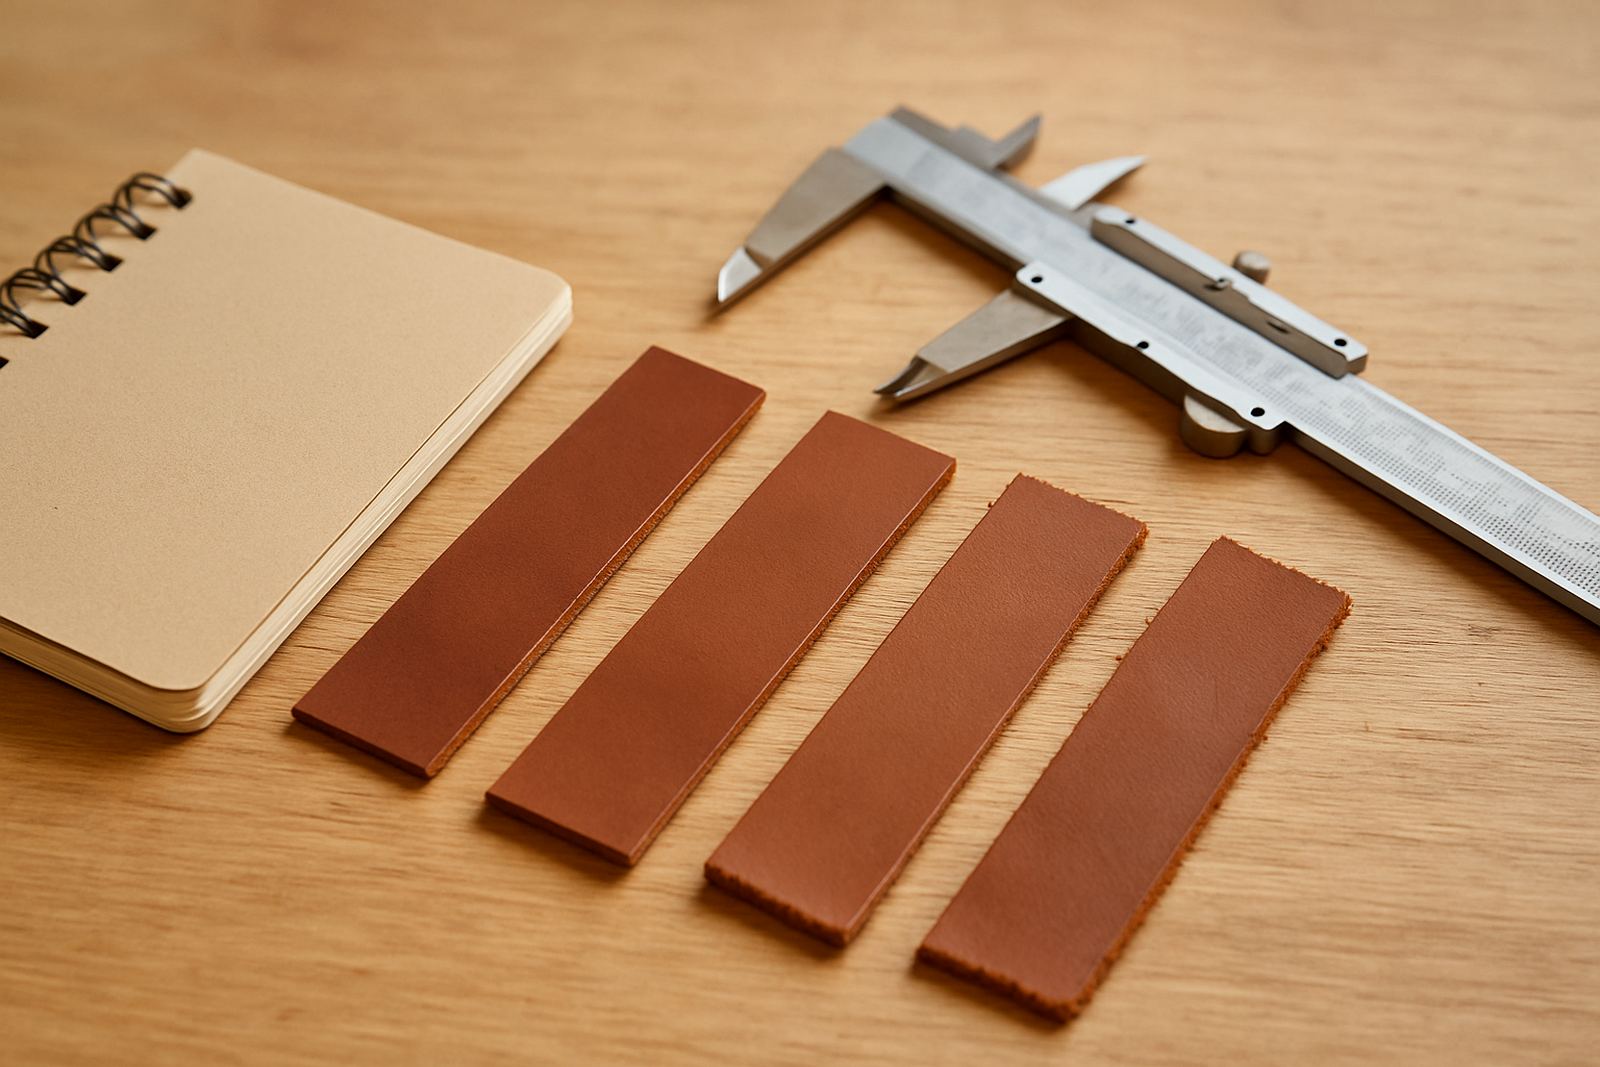
Before any cutting starts, identify what kind of leather is on the table. Vegetable-tanned leather, chrome-tanned leather and bonded leather all behave differently under a CO2 laser. Thickness matters too, because a 1,5 mm piece will react very differently from a 4 mm strip, even if the artwork is the same.
For craft work and production runs, always confirm whether the hide is natural, dyed through, coated, or backed with fabric. Coatings can change the edge finish and may leave more residue, while uneven hides can cause a job to vary from one section to the next. That is why a small sample test is worth more than guessing and hoping for the best.
- Measure thickness in more than one spot on the hide
- Check for stretch marks, scars and soft areas before nesting parts
- Keep offcuts from the same batch for test cuts
Dial In Settings Before You Run the Full Job
Leather does not forgive lazy settings. If the power is too high, the edges can harden, char or curl. If the speed is too fast, the cut may not complete cleanly and the part can be left hanging by fine fibres. The goal is a clean cut with as little heat spread as possible.
Work from a controlled test strip first, then adjust in small steps. A useful habit is to change one setting at a time so you can see what actually helped. If you are cutting logos, small lettering or tight internal shapes, the focus should be on keeping detail crisp without burning the material around it.
- Use test pieces cut from the same hide or batch
- Adjust speed and power in small steps, not big jumps
- Record the final settings for each leather type and thickness
Control Smoke, Odour and Edge Cleanliness
Leather smoke is not something to ignore. It can settle on the surface, stain lighter colours and leave a smell that lingers in the workshop if extraction is poor. Good airflow matters just as much as the cut itself, especially in smaller premises where machines, prep tables and packing happen in one room.
Clean extraction helps keep the lens and mirrors in better condition too, because residue inside the machine can affect beam quality over time. In humid coastal areas like Durban, moisture and residue can combine to make maintenance more important, while dry winter air in Johannesburg can still carry fine dust that gets drawn into the system. A tidy machine is easier to keep consistent.
- Make sure extraction is working before a long run begins
- Remove scraps and loose fibres after each batch
- Check optics and air assist regularly to reduce staining
Plan Nesting So the Hide Works Harder for You
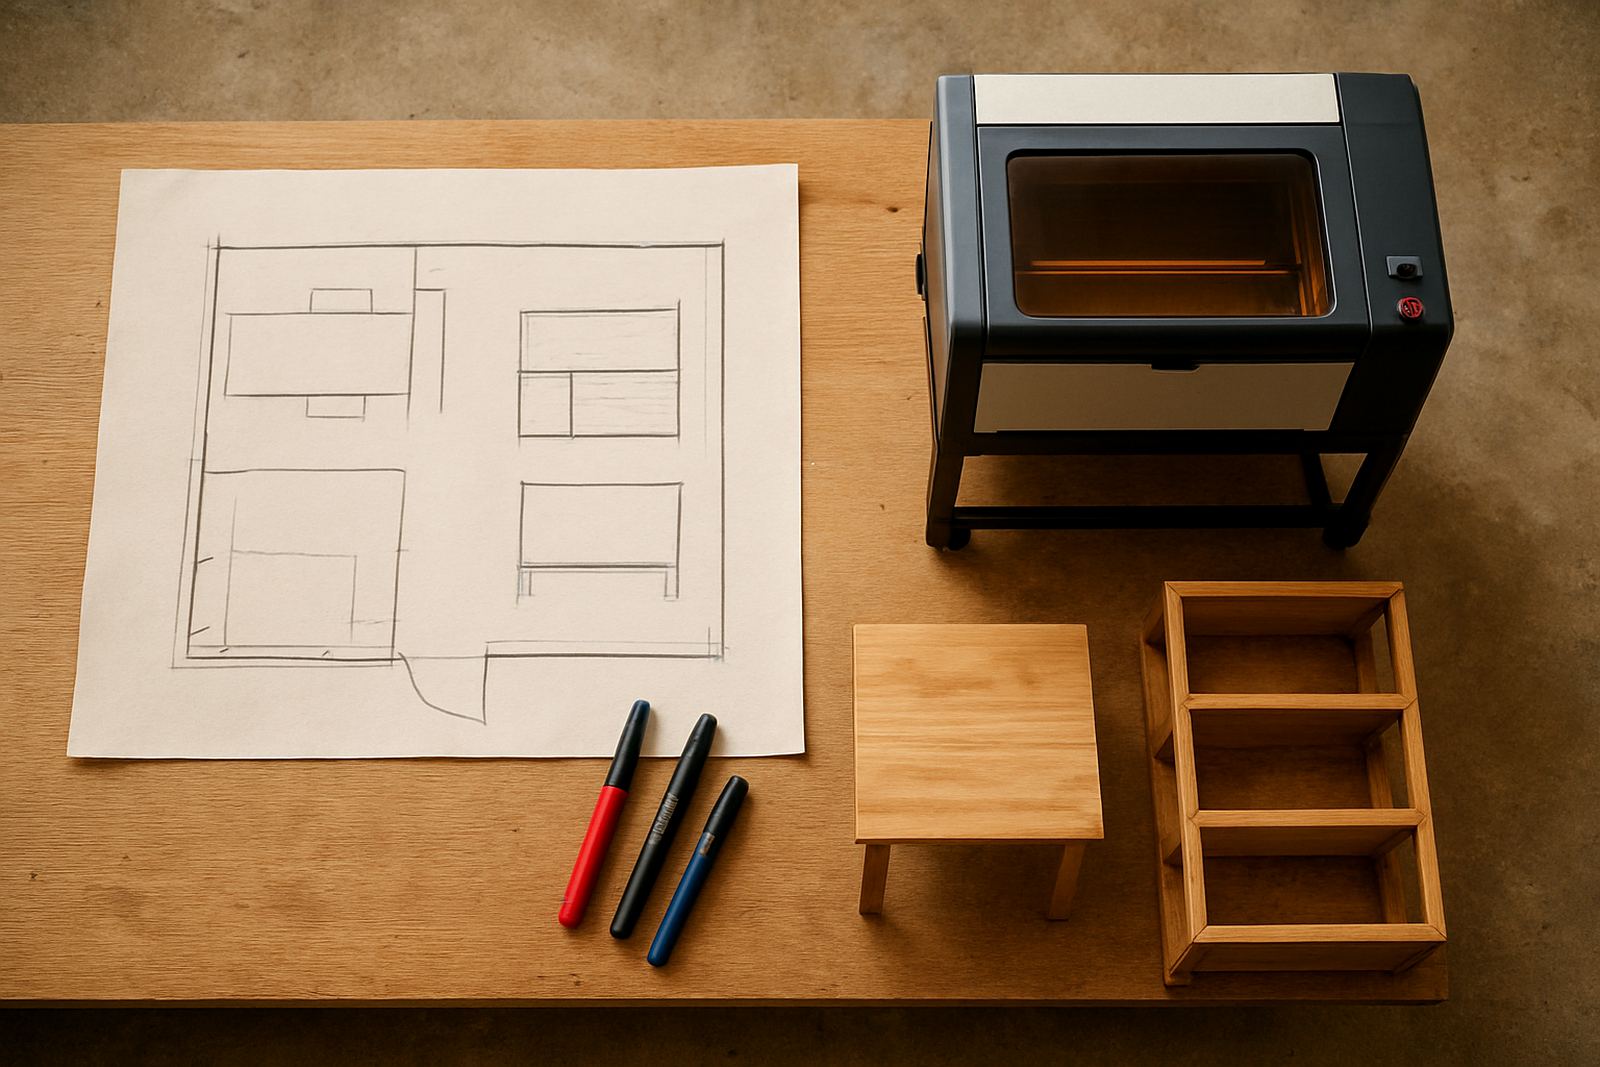
Leather is rarely a perfect rectangle, so part placement takes more thought than a simple sheet material. Good nesting reduces waste and helps you get the most usable pieces out of each hide. This matters in production, where a small saving per hide adds up over a month.
Try to place larger parts in the better sections of the hide, then use smaller parts around the edges and natural irregularities. Avoid squeezing critical pieces too close to the scarred or stretchy areas because the cut may be accurate but the finished item still ends up looking uneven. The smart way is to plan the layout around the material, not force the material to fit the drawing.
- Place high-visibility parts in the most even section of the hide
- Use smaller items to fill gaps and reduce waste
- Keep grain direction consistent where the product needs matching appearance
Handle Finished Pieces Carefully After Cutting
Once the cut is complete, the material still needs careful handling. Freshly cut leather can be warm, slightly soft at the edge and more likely to pick up marks from rough handling. Let pieces cool flat before stacking them, especially when you are working with lighter colours or finer finishes.
For items that need assembly, sort parts immediately and keep sets together so nothing gets mixed up. A simple tray system or labelled packing area helps a lot when multiple jobs are running at once. It sounds basic, but this is where many workshops lose time, and sometimes a good cut gets spoiled by poor handling after the machine has already done its part.
- Cool parts flat before stacking or pressing
- Keep sets together by job, size or colour
- Protect finished edges from dust, glue and fingerprints
Keep Production Steady With Routine Maintenance
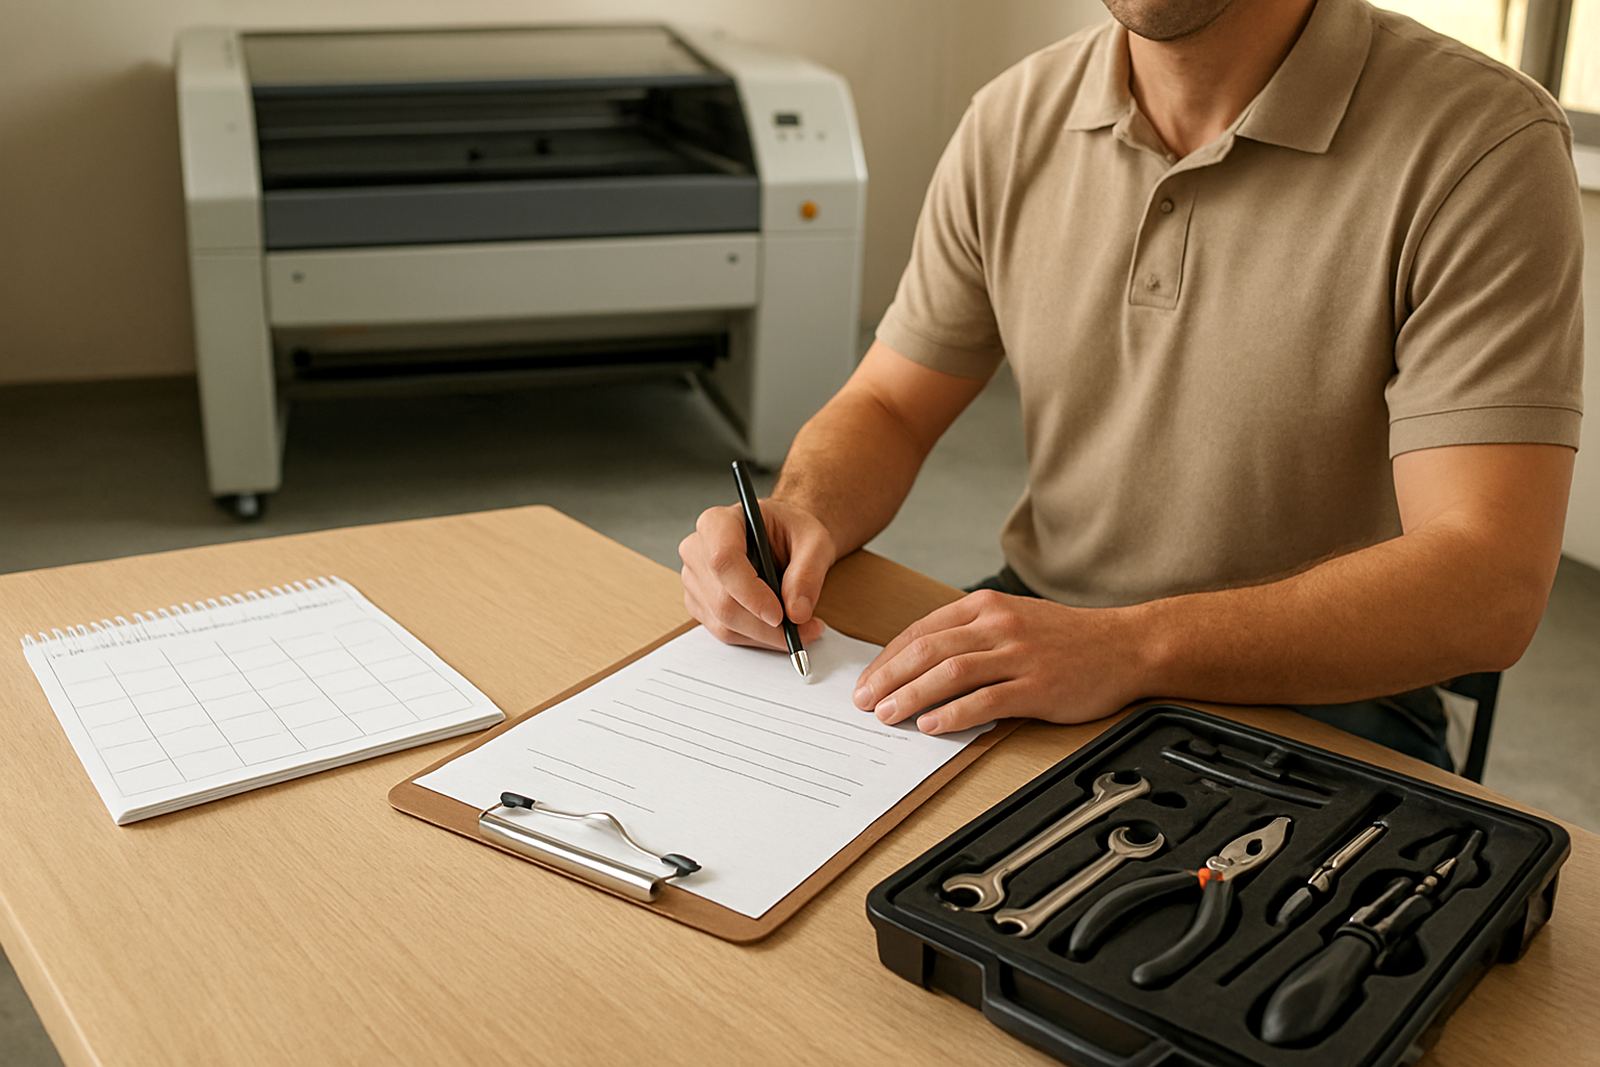
For repeat leather work, consistency depends on the machine staying in good condition. Beam alignment, lens cleanliness, cooling checks and extraction all affect how the leather cuts from day to day. If the edges start changing, do not only blame the material, because the machine may be telling you something earlier in the process.
Regular preventive maintenance helps you avoid unnecessary downtime, especially if your workshop is running orders for markets, retailers or custom projects with fixed handover dates. In a Wynberg or Sandton type operation, one delayed machine can disrupt several jobs. In Pretoria or Midrand, the same principle applies when staff are balancing production, installs and training on the same site.
A practical annual service plan also helps when you are dealing with load-shedding, voltage swings or a busy schedule where the machine is pushed harder than usual. If your team knows when to clean, inspect and reset, you get fewer surprises and better repeatability. That kind of discipline matters more than fancy settings.
A Johannesburg Example: Small Runs, Tight Deadlines, Clean Results
Imagine a leather goods workshop in Wynberg taking on a run of branded card holders and bag tags for a corporate event in Sandton. The job is small enough to feel manageable, but the deadline is tight and the client wants every piece to look matched. In that situation, the team cannot afford to treat the laser like a one-size-fits-all tool.
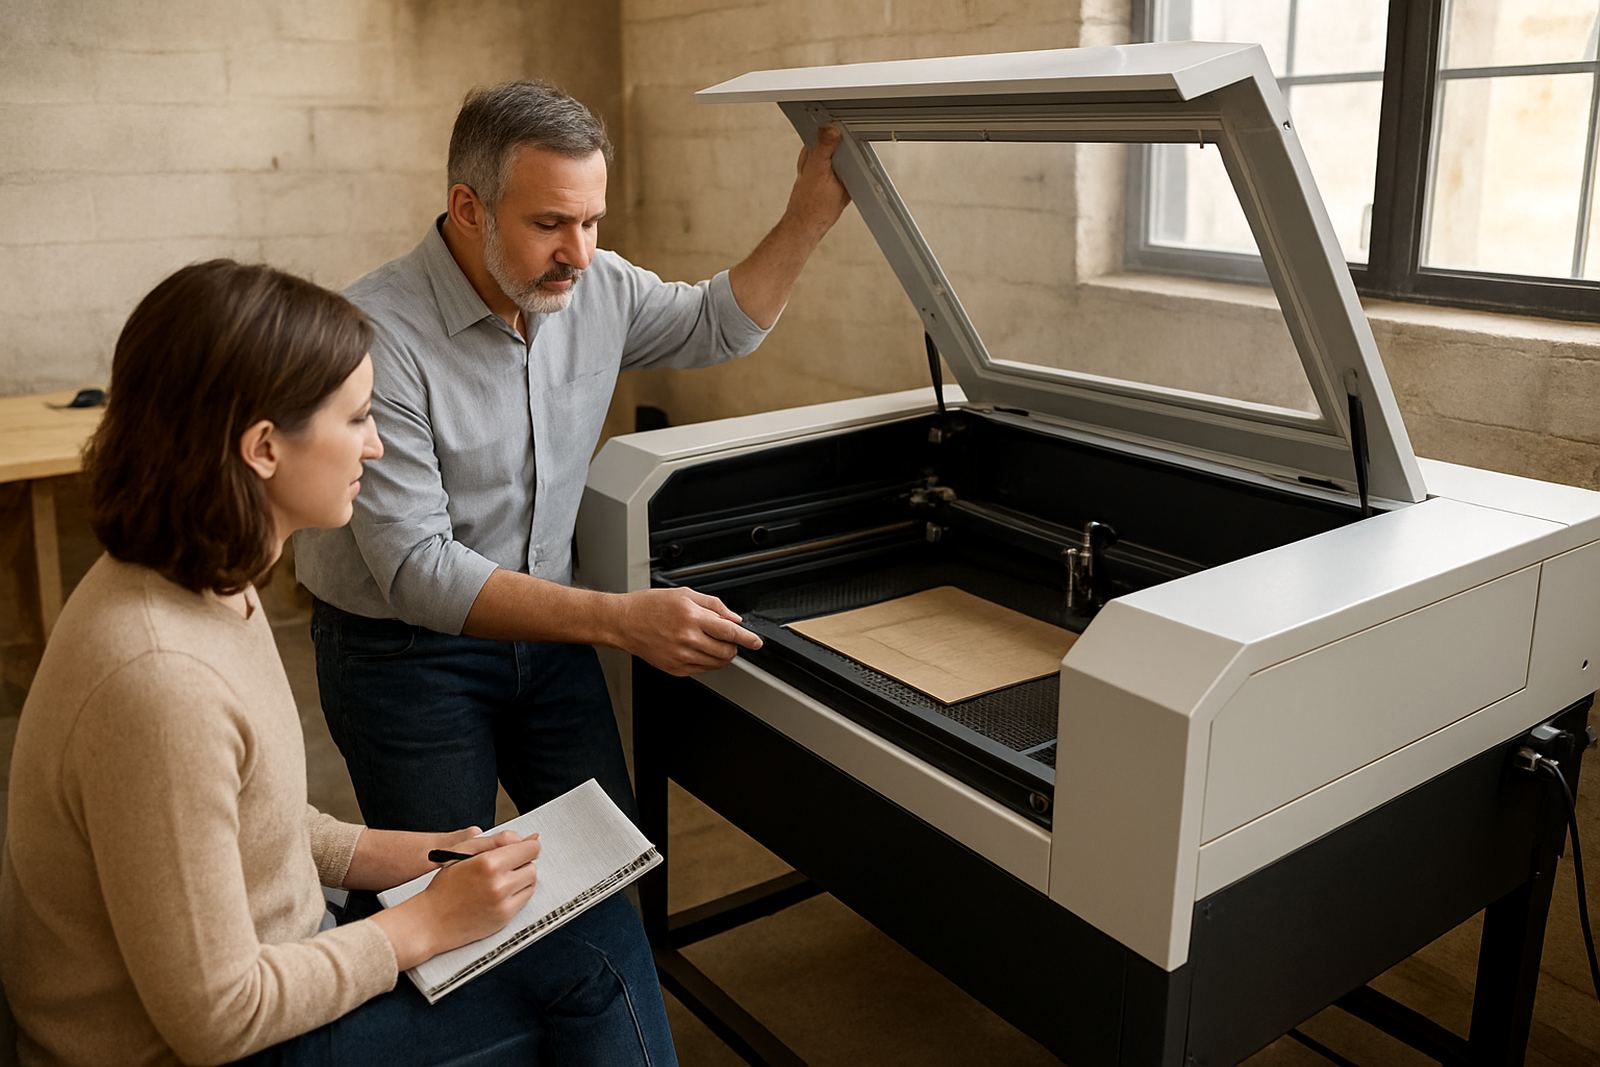
They start with sample cuts, confirm the hide thickness, then lock in the settings that give a clean edge without scorching. Extraction is checked, the layout is nested to save leather and the finished parts are sorted straight after cutting. A training session for the operator means the same process can be repeated next week without starting over from scratch. That is how a local workshop keeps output steady while still taking on custom work.
When leather cutting is planned properly, the workflow becomes calmer and the quality is easier to repeat. The machine does the cutting, but the workshop wins or loses on preparation, attention and follow-through.