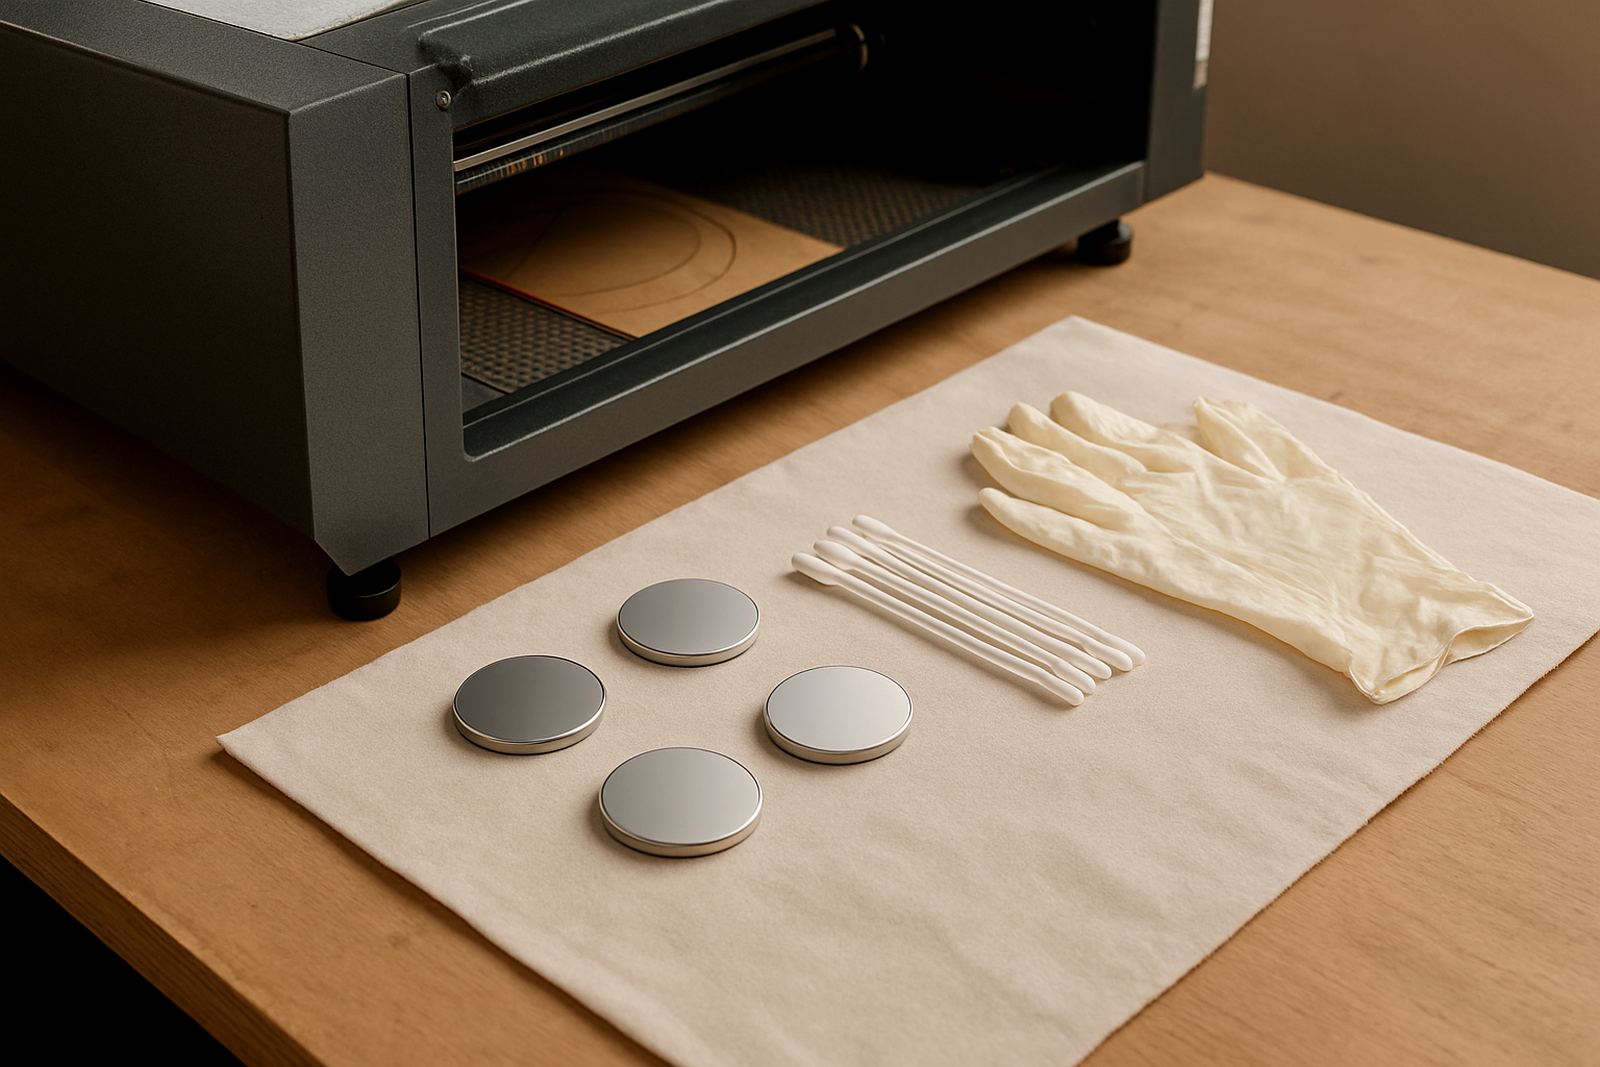
Why a small mirror mistake can affect the whole cut
In a CO2 laser, the mirrors do more than reflect a beam. They keep energy moving cleanly from the tube to the cutting head, so if a mirror is smudged, scratched or over-cleaned, the machine can start losing power long before the operator notices a major fault. On acrylic this shows up as cloudy edge finish, on wood you may see extra charring, and on leather the cut may go uneven or need repeat passes.
Many workshop issues that get blamed on the tube or software start with simple cleaning habits. A mirror picked up with greasy fingers, a cotton cloth that sheds lint, or a quick wipe with the wrong liquid can leave a film that burns onto the optical surface. Once that happens the beam does not travel cleanly and the machine works harder for the same result. In Johannesburg, where fine dust can build up quickly in Wynberg and around the East Rand, that risk is even higher if the enclosure is opened often.
The most common cleaning errors operators make
Mirror cleaning usually goes wrong in the same few ways. The first is over-cleaning. If the optics are touched after every short run, the surface wears faster than it should. The second is using the wrong material, such as paper towel, rough cloth or tissue with wood fibres. These can leave scratches you may not notice straight away, but the beam will.
The third mistake is applying too much fluid. Liquid can run to the edge of the mirror mount, sit in the holder and attract dust. In humid coastal areas like Durban, that trapped moisture can also encourage corrosion on nearby parts. The fourth is wiping in circles with pressure. That sounds neat, but it tends to drag grit across the mirror instead of lifting it away.
- Never use a rough cloth, kitchen tissue or an old rag with oil residue.
- Do not spray cleaner directly onto the mirror.
- Do not press hard if the mark does not come off straight away.
- Do not clean a mirror if the machine is still warm after a long job.
What safe mirror care looks like in a South African workshop
Safe cleaning starts with a simple rule: only clean when there is a clear sign of contamination. Light dust alone may not justify touching the optic. If there is visible smoke residue, a spot, or inconsistent cutting performance, then inspect the mirror carefully under good light. Use proper lint-free material and a suitable optical cleaning fluid in small amounts. The surface should be lifted clean, not scrubbed.
Keep the area around the machine tidy as well. In places with regular load-shedding, many operators restart machines quickly after power returns. That is when dust gets stirred up and settles on exposed parts. If the cabinet has been open during a power cut, check for debris before running production again. A quick visual inspection takes less than a minute, but it can save a mirror set and a batch of material.
- Switch the machine off and allow it to cool before opening any covers.
- Check the mirror only under bright, angled light so you can see residue clearly.
- Use a light touch and clean from the centre outward if required by the surface condition.
- Close the machine fully before testing the beam again.
How to spot damage before it becomes a bigger repair
Not every mark is a cleaning job. Some mirrors are damaged by heat, poor alignment or contamination from a failing extraction system. If the same mirror keeps showing brown spots or a burnt patch after cleaning, the cause may be upstream. A blocked filter, weak exhaust, or misaligned beam can cook the optic from repeated heat exposure.
Look out for warning signs during routine production: a stronger smell of smoke than usual, uneven edge quality, a beam that seems to wander, or power loss on thicker material. On a machine cutting 3 mm acrylic in a midrand sign shop, a mirror that looked only slightly dusty turned out to have a tiny chip on the edge, and that chip was scattering the beam. The operator had been wiping the optic daily, but the real issue was a rough cut path and poor extraction. Once the alignment and airflow were corrected, the mirror life improved straight away.
Why the cleaning cloth matters as much as the fluid
Many operators focus on the fluid and forget the cloth. That is a mistake. A good cleaning liquid cannot fix lint, grit or oil on the wipe itself. Use a fresh, clean, low-lint wipe each time. If the cloth has been sitting in a toolbox, drawer or van glove box, it may already carry dust and fibres. That is enough to scratch a sensitive mirror surface.
It is also worth separating optical cleaning materials from general maintenance rags. A rag used on rails, belts or the machine frame should never be used on mirrors. Keep the items stored away from cutting scraps, adhesive rolls and cleaning solvents for the floor. In busy shops, mix-ups happen fast, so a simple labelled container can help. It sounds basic, but basic habits protect expensive parts.
- Use one wipe per mirror, not the same wipe for the full optical path.
- Store cleaning items in a dry sealed container.
- Replace any wipe that drops on the floor or picks up grit.
- Never reuse a wipe that already has a hard edge or fibres stuck to it.
When to call for help instead of cleaning again
If the mirror keeps needing cleaning every few jobs, the machine is trying to tell you something. Repeated contamination can point to poor air assist, a weak chiller, a damaged seal, or a beam path that is no longer aligned. At that point, more wiping will not solve the cause. It may even make the problem worse by wearing the optic down bit by bit.
For workshops in Wynberg, Sandton, Pretoria, Midrand, the East Rand or West Rand, it helps to treat optics as part of a full system, not a loose component. A mirror issue can be linked to installation quality, maintenance intervals, or operator handling after a shift. If your team is not sure whether the mark is dirt, heat damage or a chip, get it checked before the next production run. One wrong clean can turn a small nuisance into a replacement cost, and that is not worth the risk.
A practical routine that protects optics and output
The simplest routine is often the best one. Inspect the mirrors only when there is a reason, keep the cleaning kit correct, and make sure the machine environment stays as clean as possible. On busy days, that means checking extraction, keeping the lid shut when not in use, and training every operator to handle optics the same way. Consistency matters because one careful person cannot offset four rushed shifts.
For South African shops working with acrylic, wood or leather, mirror care is part of staying productive through municipal power interruptions, dust, humidity and high daily throughput. A well-cared-for optical path gives cleaner cuts, fewer reworks and better machine life. That is the real value, not just a shiny surface.