Why nesting matters on repeat sheet work
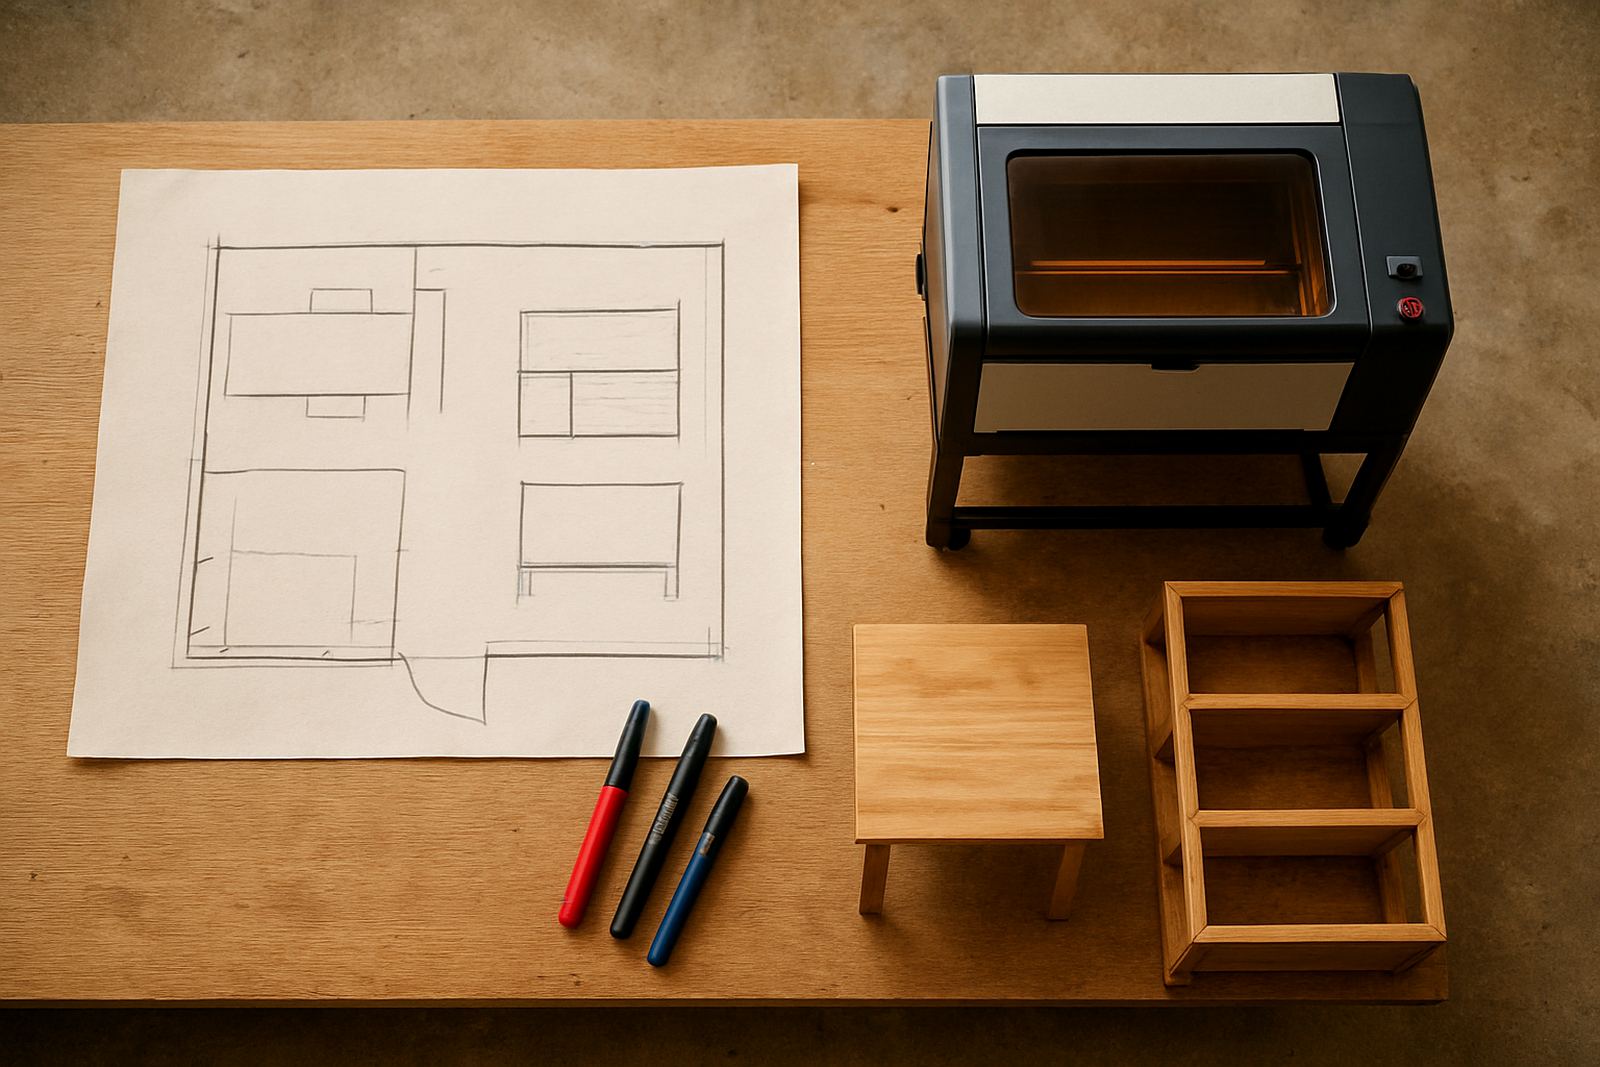
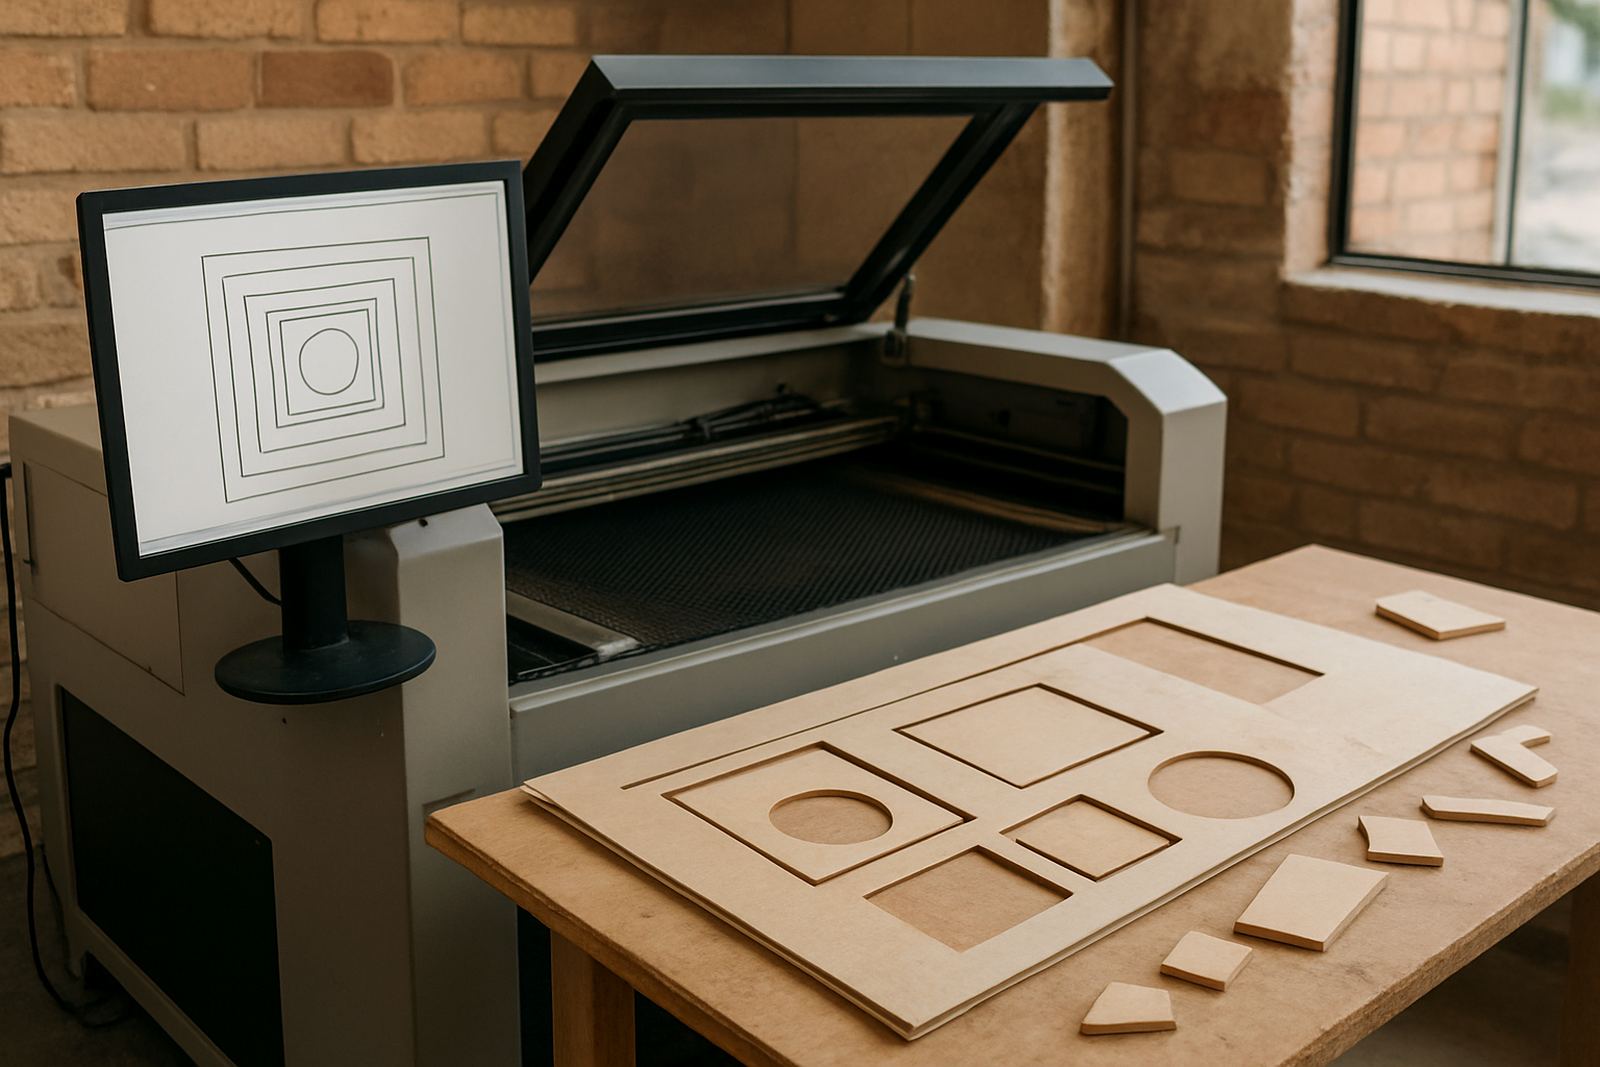
Nesting is the layout of parts on a sheet before cutting starts. On paper it sounds simple, but on a laser job it affects material use, cut time, offcut value, and how many usable parts you get from each sheet. When you are working with acrylic, MDF, ply or leather, the difference between a tidy nest and a careless one can be the difference between a job that earns and one that just keeps the machine busy.
For repeat work, nesting becomes a process, not a once-off task. If you cut the same sign panels, labels, template parts, or craft shapes every week, then every millimetre matters. A better layout can squeeze more parts from the same sheet and reduce handling time at the loading table. In a place like Wynberg or Midrand where labour and material both have to be watched closely, that matters more than people think.
Start with the sheet and the real cut size
The first mistake is treating the sheet as if it is always the full advertised size. In practice, material varies. Acrylic may arrive with edge damage, wood may have warp, and leather can have irregular usable zones. Measure the actual usable area, not just the label on the pack. If a 1 220 x 2 440 mm sheet has a damaged corner, build that into your nest from the start.
It also helps to check kerf, part spacing and lead-in settings before you start stacking parts close together. A nest that looks perfect on screen can become a problem if there is no allowance for heat, smoke marks or hold points. For jobs where appearance matters, leave enough breathing room so the edges stay clean and you do not get scorch transfer on lighter materials.
- Measure usable sheet area before nesting
- Check kerf and minimum gap for the material
- Keep fragile corners away from damaged board edges
- Allow space for smoke, heat and handling
Rotate parts, but do it with purpose
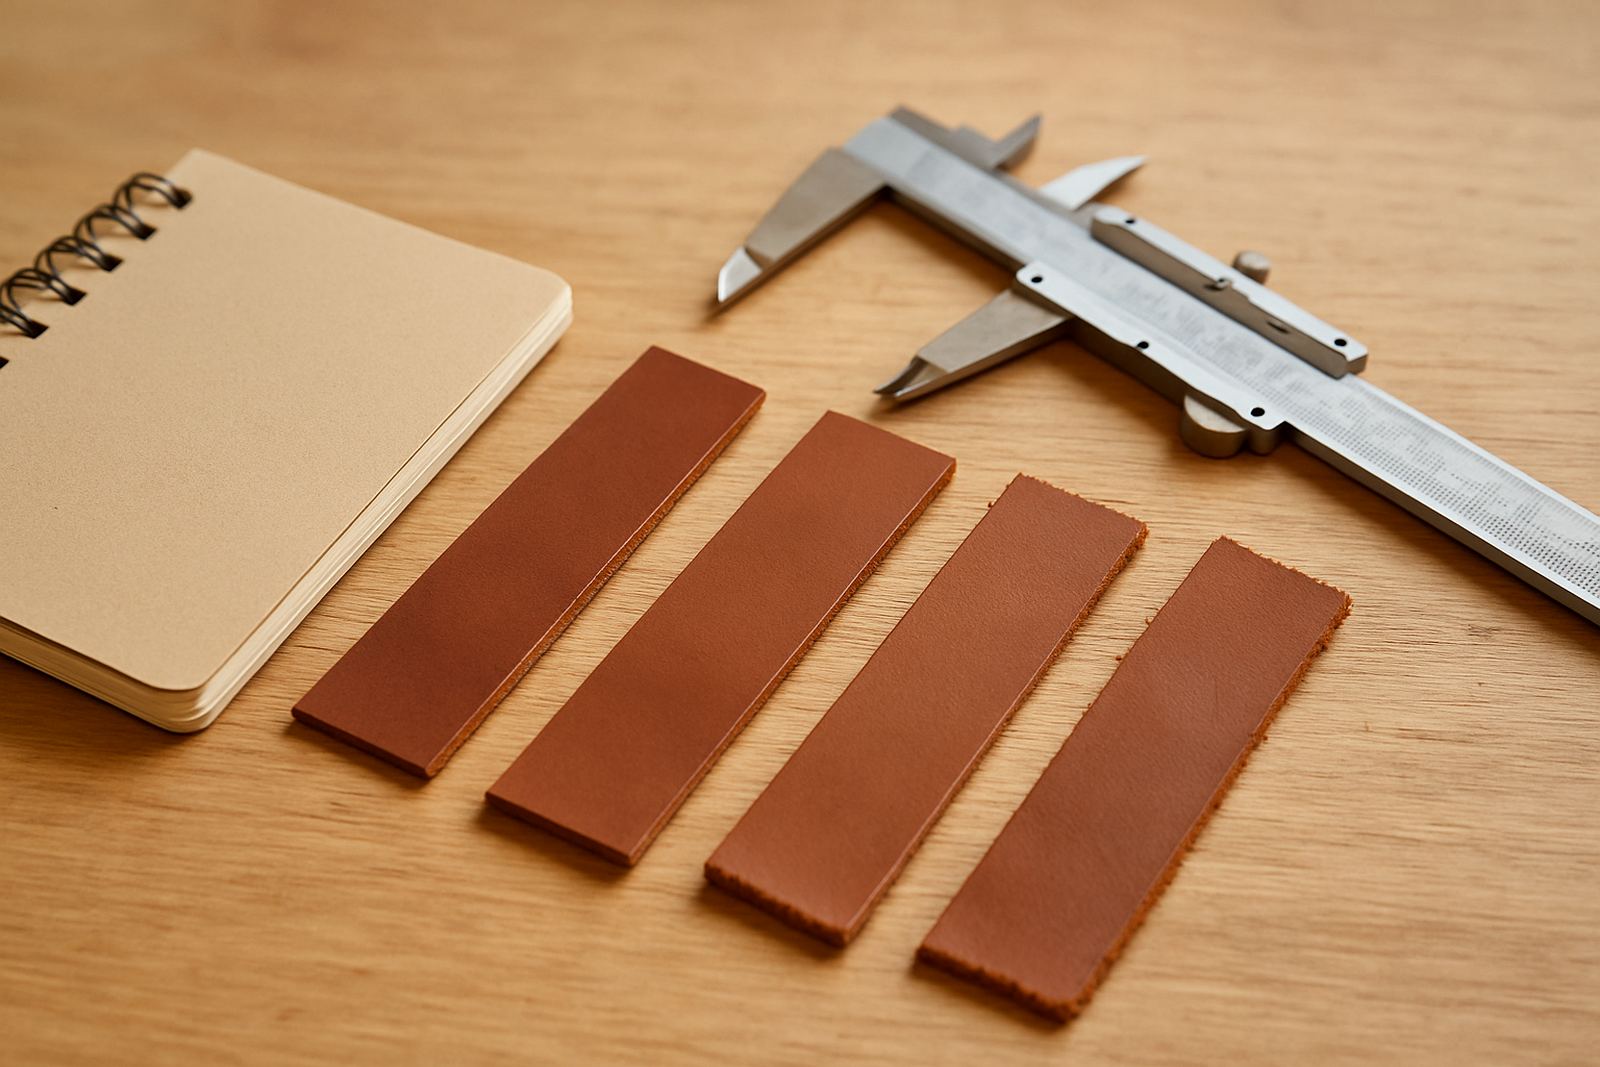
Rotation is one of the easiest ways to improve yield, but it should be done with purpose not just to make the sheet look full. Some parts can be turned 90 degrees with no effect on fit or finish. Others have grain direction, pattern direction, or label orientation that must stay consistent. Wood grain and leather grain both need attention, especially when the finished product will be stained, folded, or stitched.
For repeat jobs, make a standard nesting rule for each product family. If the part can be rotated, note it. If the grain must run in one direction, lock that rule in. This saves time for the operator and prevents small production errors that become expensive later. One wrongly rotated batch can mean rework, and rework is where profit disappears fast.
- Rotate parts that have no grain or print direction
- Lock orientation for leather, timber grain and branded items
- Use the same nesting rules for repeat orders
- Keep a note of what changes and what must stay fixed
Plan for offcuts, not just full sheets
Good nesting does not only squeeze more onto a fresh sheet. It also turns offcuts into usable stock. Many shops throw away offcuts that are big enough for brackets, tags, test pieces, small lettering or sample parts. If you cut a lot of repeat work, create a simple offcut system by size. Keep larger remnants separate from scrap and mark them clearly so the team can see what is worth using again.
This works especially well for makers and small production shops doing mixed jobs. A 300 x 400 mm offcut can still hold useful parts for a later run. If your machine and team are in a routine, offcuts stop becoming waste and start becoming inventory. That can cut spend over time, even if the saving is not obvious on the first invoice.
The local example: a Johannesburg repeat job
Take a Johannesburg workshop in Wynberg doing repeat acrylic nameplates for offices in Sandton and Midrand. If they run the same 3 mm clear acrylic parts every month, nesting can be standardised. By tightening part spacing, rotating compatible pieces, and using the full sheet area more carefully, the workshop may get several extra parts per sheet, depending on the design. That means fewer sheets purchased over a quarter and less time spent loading the machine for the same order volume.
Now add real conditions. During load-shedding, operators want fewer stoppages and less wasted time restarting jobs. In humid coastal conditions, material handling and storage matter too, especially if sheets have been sitting near extraction dust or in a warm store room. A well planned nest helps the team cut faster and cleaner, with fewer interruptions and less chance of spoilage.
That is where practical support makes a difference. Training the operator to use a repeatable nesting method, checking beam alignment, and keeping extraction and cooling in order all support better cut consistency. If the machine is not performing properly, even a strong nest will not deliver the same result every time.
Build nesting into your quoting and production routine
The best time to think about nesting is before the quote goes out. If a customer asks for repeat sheet parts, include material yield in the pricing conversation. A job that uses 70 percent of a sheet is very different from one that uses 88 percent. When you know the likely nest efficiency, you can price more accurately and avoid surprises later.
It also helps to keep a simple record for your common jobs. Save the layout, note the sheet size, material thickness, and the best orientation. For example, if a particular wood pattern cuts better with the grain running lengthways, write that down and use it next time. Over time, these small records become a practical shop system, not just a one off trick.
- Quote with likely material yield in mind
- Save repeat nests for common jobs
- Record material thickness, grain and orientation rules
- Review the layout after each production run
Keep the machine ready so the nest pays off
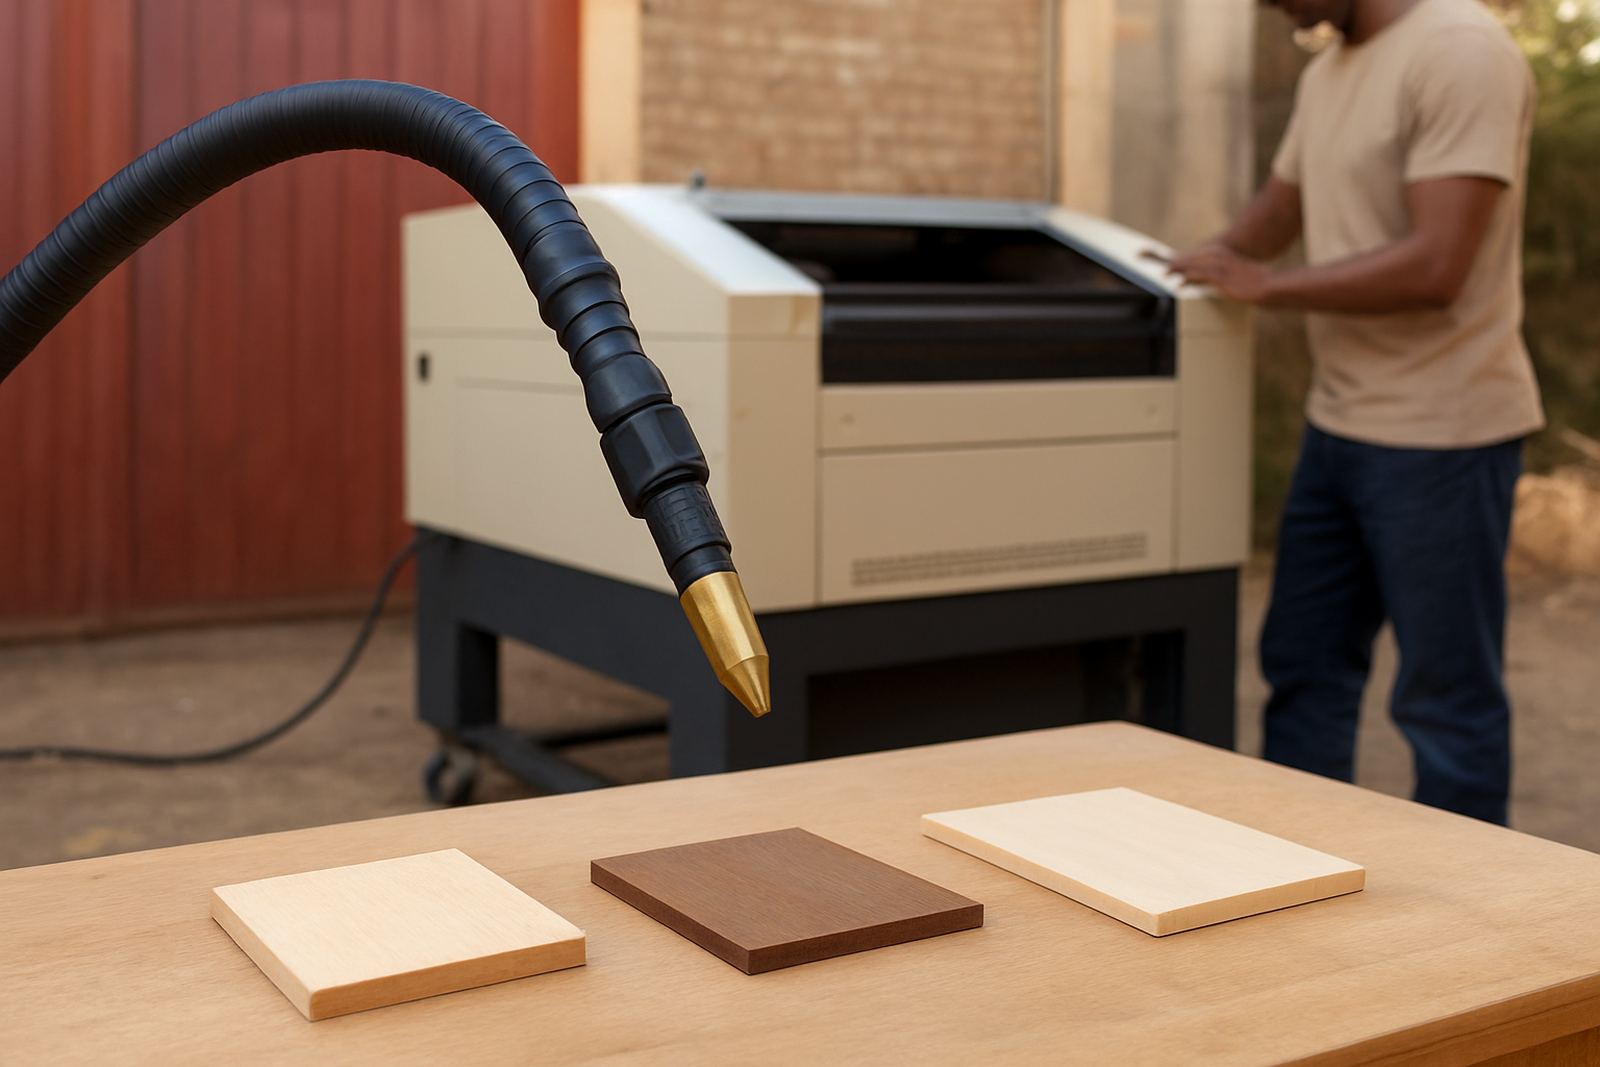
A tight nest only pays off if the machine can cut it cleanly. Dirty optics, weak cooling, poor extraction or beam misalignment can turn a good layout into a poor result. That is why preventive maintenance matters. A clean lens, stable cooling, and correct beam path help maintain edge quality, especially on acrylic where clear edges are important and on wood where smoke marks must be controlled.
If your team is working across Johannesburg, Pretoria, the East Rand or further afield, the same rule applies: keep the machine ready, keep the settings consistent, and check the cut quality on repeat jobs. Better nesting is not just about fitting more on a sheet.