Start With a Cut File That Matches the Final Sign
Good sign work starts before the first sheet is loaded. Set the file up for the way the sign will be assembled, not just the way it will be cut. That means checking stroke settings, part labels, registration marks, and whether the design needs press-fit tabs or simple loose parts. If the artwork changes after cutting, you waste material and time, and the finished sign can look uneven.
For acrylic sign parts, keep the layout clear enough for the operator to read at a glance. Group the same thickness together, and separate jobs that need different settings. In a busy Johannesburg workshop, this matters when one job is for 3 mm lettering and another is for 5 mm panel inserts. A clean file also helps when load-shedding interrupts production, because the team can restart without second-guessing the order.
- Label each part in the drawing with a name or code
- Keep hinge cuts, mounting holes and slot widths visible
- Use the same units across the full job, preferably millimetres
- Leave enough spacing between parts to allow safe cutting and easy removal
Sort Materials Before the Machine Starts
Material handling is often where the workflow slips. Acrylic should be stored flat, protected from dust and away from heat. If the sheet arrives scratched or warped, the cut may still be accurate, but the sign will need extra polishing or remaking. For coastal or humid areas, especially around Durban, sealed storage helps reduce surface issues and keeps protective film in better condition.
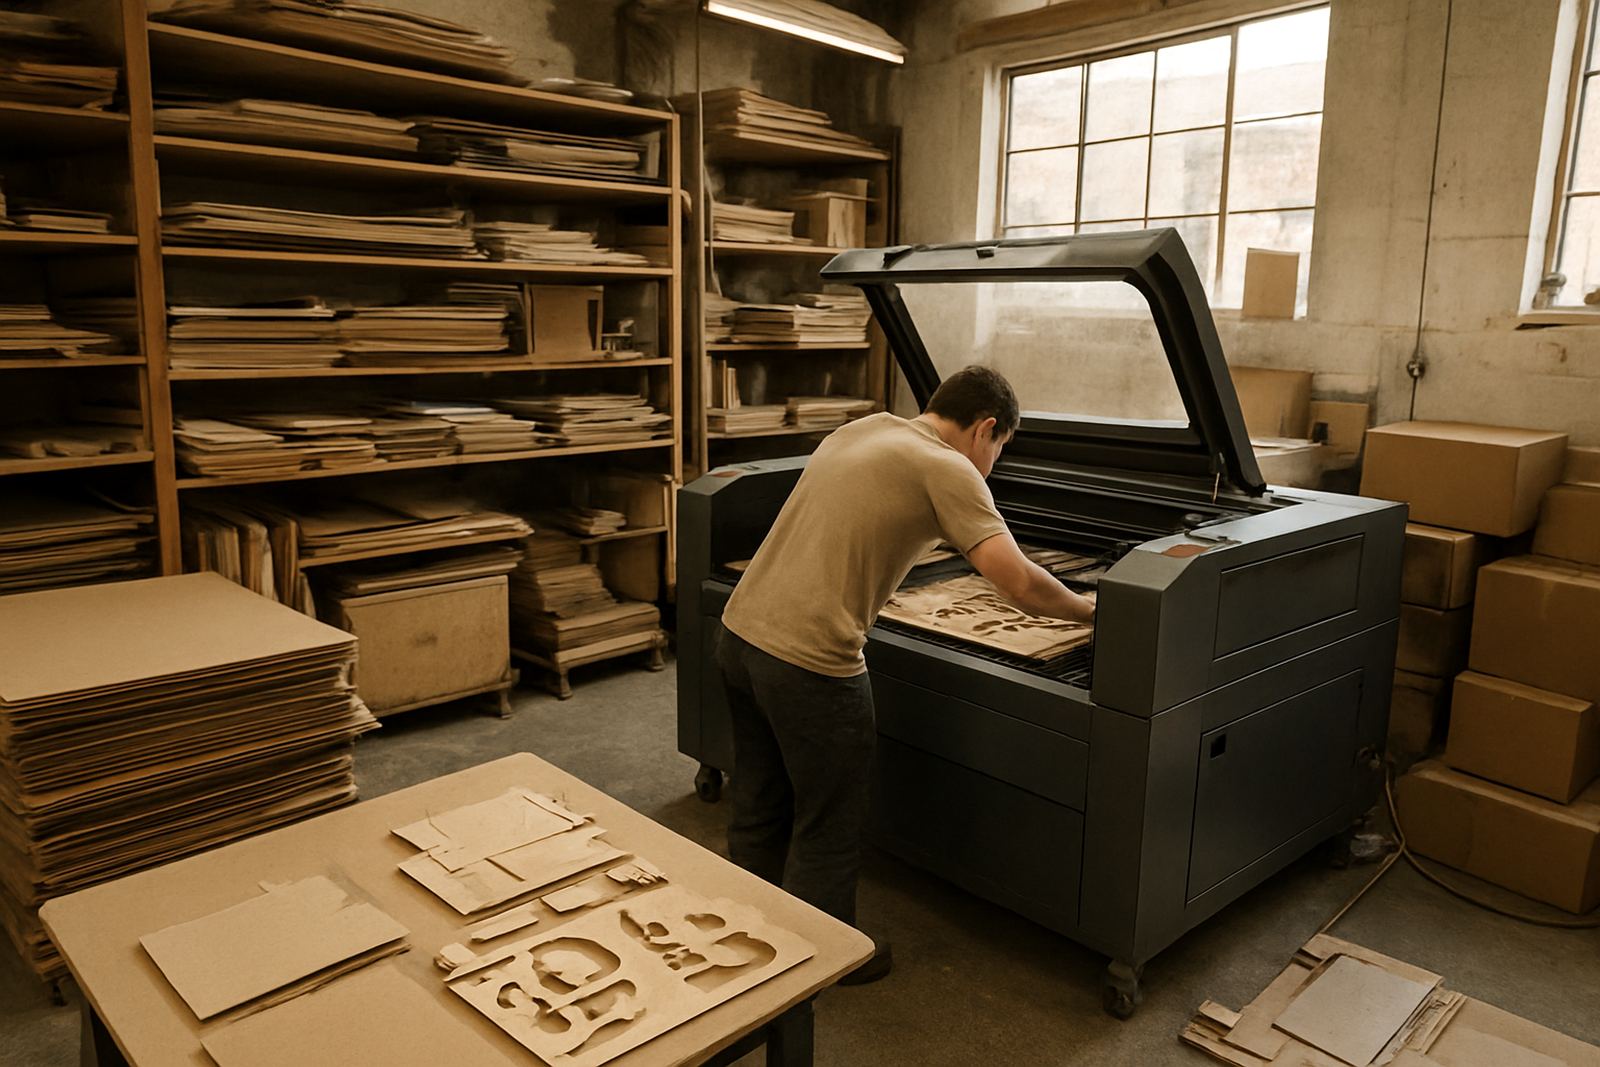
Before cutting, check thickness, colour, protective layers and sheet condition. A mixed pile of offcuts can slow down a production run and cause setup mistakes. It helps to create a small staging area near the machine with the correct sheets, clamping tools, masking tape and the assembly hardware in one place. That way the team is not walking back and forth looking for stand-offs or mounting screws.
- Store acrylic flat and away from direct sunlight
- Keep offcuts marked by thickness and colour
- Inspect film for lifting at the edges before cutting
- Stage fittings, fixings and cleaning cloths before the run begins
Build a Cutting Sequence That Reduces Rework
When the machine order is planned properly, the whole sign line moves faster. Cut internal detail first, then outer profiles, so smaller components do not shift or drop early. If the sign includes several repeated letters or icons, nest them with enough clearance to avoid heat marking. This is especially useful for acrylic signs with thin lettering where a small movement can ruin the edges.
The operator should also think about downstream assembly. If a sign will be glued to a backing board, cut registration points into hidden areas so the pieces sit in the correct position later. That saves time at the bench and helps keep spacing even across the full face of the sign. In practice, a better sequence can cut out one full hour of fitting work on a medium-size job, which is no small saving for a shop in Sandton or Midrand.
- Cut internal detail before the outer perimeter
- Group repeat parts so settings stay consistent
- Leave hidden reference marks for assembly alignment
- Separate cosmetic parts from structural parts in the file
Keep Edges Clean So Assembly Goes Faster
Clean edges make sign assembly easier because the parts fit properly and need less finishing. For acrylic, that usually means the correct speed, power and air flow, plus a machine that has been checked for beam alignment and optics cleanliness. If the edges are rough, the team spends extra time sanding, flame polishing or re-cutting. That slows the whole job and can affect the final appearance.
After cutting, remove debris carefully and inspect each piece before it leaves the machine table. A quick wipe with a soft cloth can prevent fingerprints and dust from becoming part of the final sign. The assembly team should not have to fix machine marks on the bench. When the edge quality is right from the start, the sign can move straight to bonding, spacing and mounting without delay.
- Check edge finish on the first sample before running the full batch
- Keep lenses and mirrors clean for steady output
- Use extraction and cooling checks to protect cut quality
- Separate clean parts from waste immediately after cutting
Create a Bench System for Gluing, Fixing and Final Checks
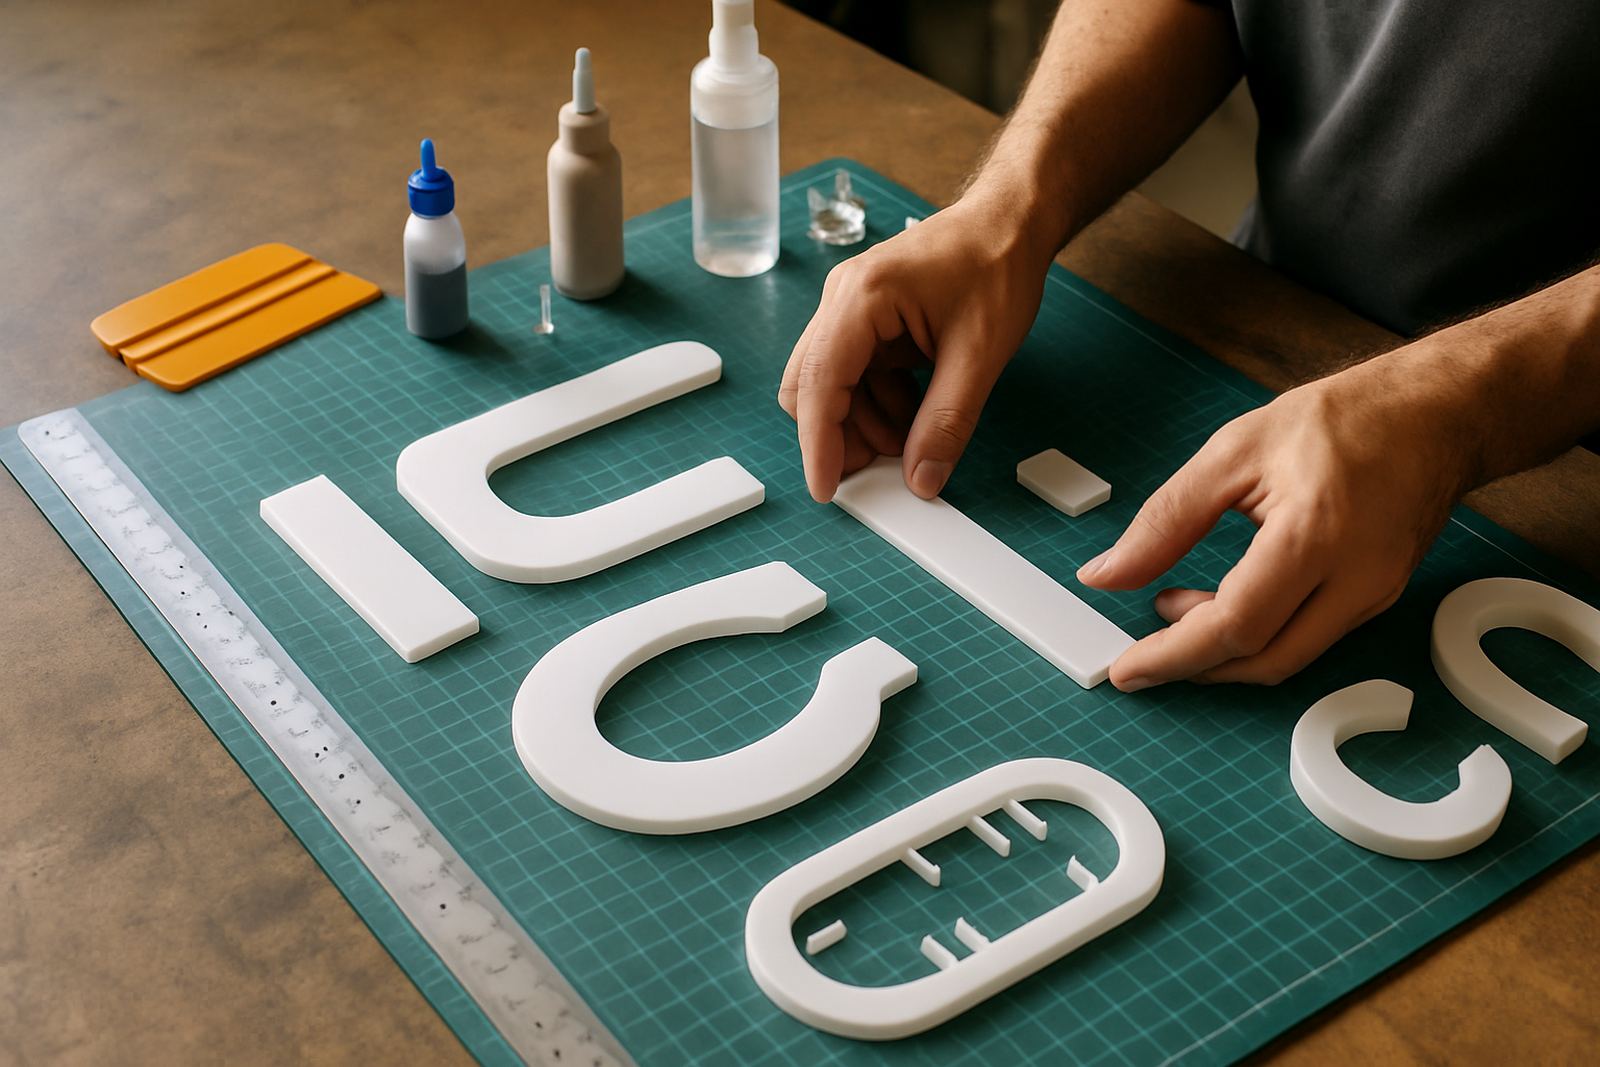
A proper bench system turns loose parts into finished signage. Keep adhesive, clamps, jig boards, alcohol wipes and measuring tools in a fixed place so every job follows the same sequence. If a sign needs layered acrylic, use a jig that holds the parts square while the glue sets. This is quicker than trying to line everything up by hand each time and gives a neater result, especally on repeated orders.
Final checking should happen before the sign leaves the workshop. Confirm hole positions, surface cleanliness, protective film removal and whether the mounting hardware matches the installation method. A sign that looks good on the bench but does not line up on site creates extra call-backs and unhappy clients. For businesses doing shopfront work in Pretoria or the East Rand, a final bench check can prevent wasted travel and extra labour later.
Match the Workflow to the Site, Not Just the Workshop
Every site has different conditions. A simple indoor directory panel is not handled the same way as a shopfront sign exposed to sun, dust and weather. In Johannesburg, the client may need fast turnaround and same-day installation. In Cape Town or Durban, wind, humidity and fixing surfaces can affect the method. That is why the workflow should include site notes before cutting starts, not after the sign is finished.
When the team has clear installation details, they can choose the right backing, spacing and fixing method from the start. If the sign is going to a mall, body corporate or municipal setting, check the site rules for working hours, access and fixing limits. A practical workflow links the cut file, the machine settings and the installation plan so the finished sign lands exactly where it should.
- Record site access times and mounting restrictions early
- Confirm whether the sign is indoor, outdoor or sheltered
- Plan for transport, loading and safe offloading
- Keep one person responsible for the handover from cutting to install
A Wynberg Example: One Job, Three Tidy Stages
At a Wynberg workshop serving clients across Gauteng, a simple acrylic fascia sign can move through three clean stages: file prep, cutting, and assembly. First the artwork is checked against the final layout, then the sheets are cut in the right order, and lastly the parts are taken to a fixed bench for bonding and inspection. That basic sequence keeps the job moving even when the day is interrupted by power cuts or urgent repairs.
The best part is that the same method works for craft pieces and larger commercial signs. Whether it is a one-off acrylic nameplate or a batch of retail letters, the team knows where the job is, what still needs attention, and who handles the next step. That kind of structure saves material, cuts stress and gives a cleaner result from file to finish.