Why Jigs Matter Once the Job Stops Being One-Off
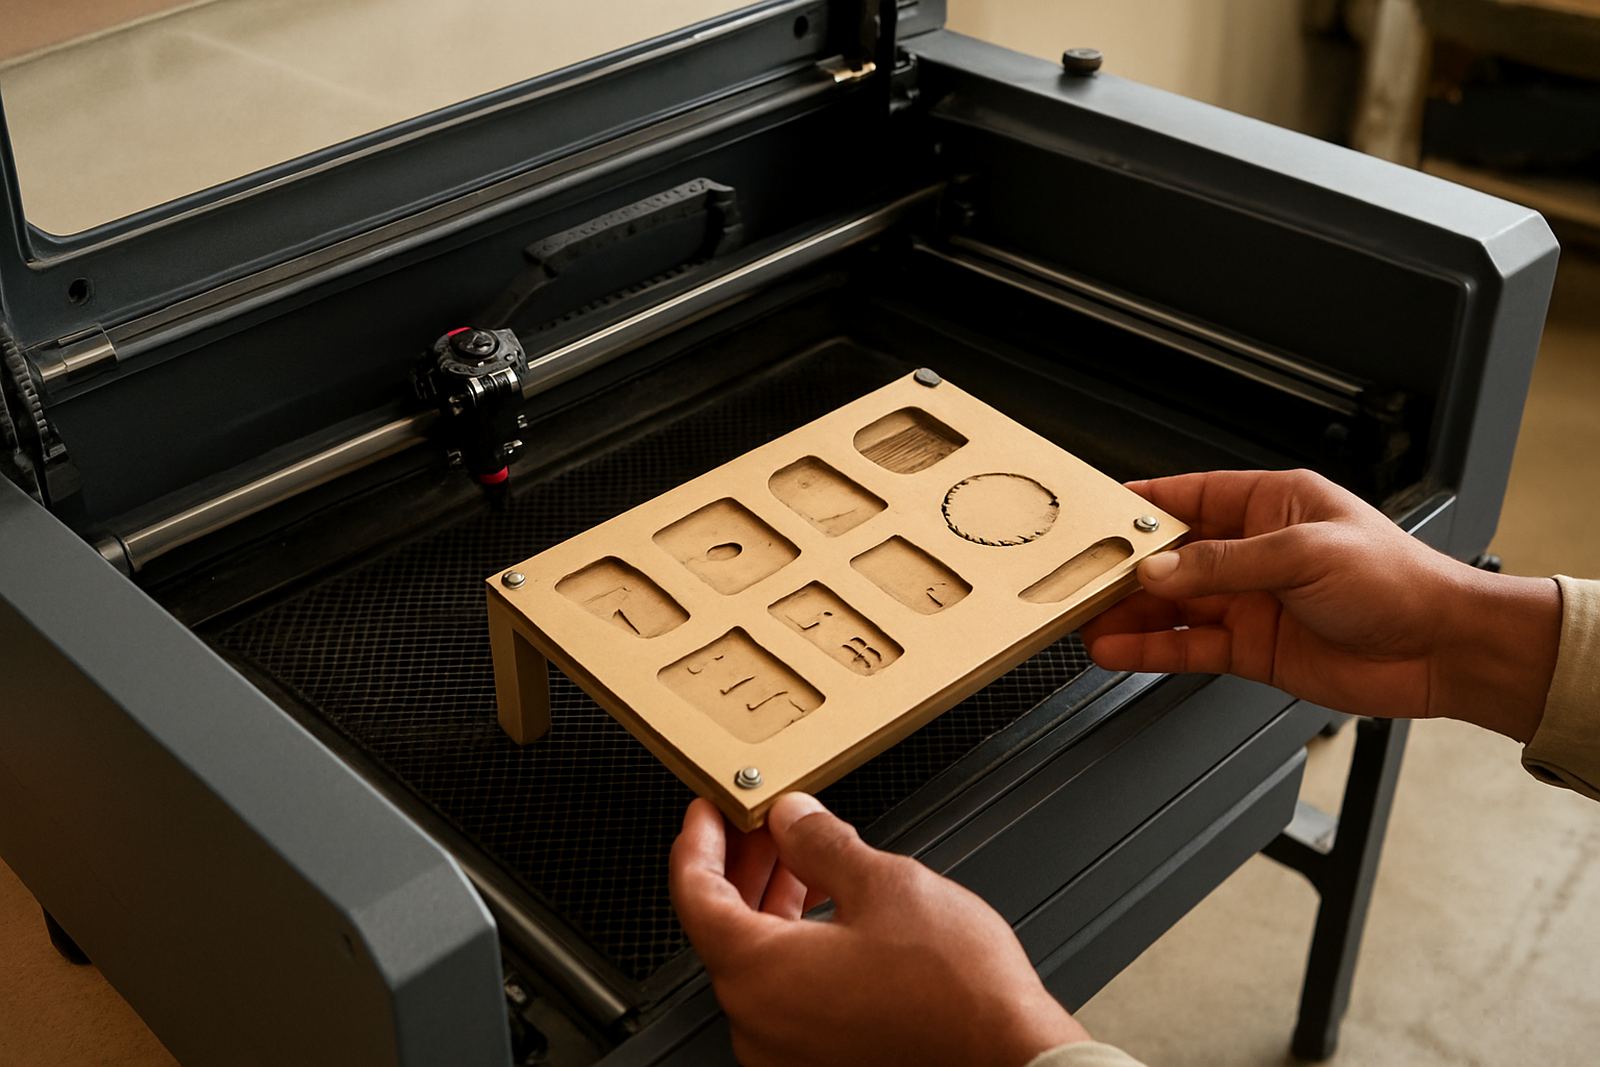
A jig is a fixed guide that holds material in the same position every time. For recurring products, gift sets, name plates, leather tags, parts with holes, or engraved panels, a good jig removes the guesswork from alignment. That matters when you are running a small batch in Wynberg, or turning out a larger order for a client in Sandton, Pretoria or Durban.
Without a jig, each sheet or blank is placed by eye. That may be fine for a sample, but once you need twenty or fifty identical pieces, tiny shifts start showing. A logo can sit 2 mm too high on one item and 3 mm left on the next. With clear registration points, the work stays neat and the operator can move faster without rechecking every corner.
Jigs also help when you are using offcuts. If the material size changes from job to job, a simple stop system can still place each piece in the same cutting area. That is useful for acrylic, wood and leather, especially when moisture, warping or uneven edges make placement trickier than expected.
Choosing the Right Jig for Acrylic, Wood and Leather
The best jig depends on the material and the product. Acrylic needs firm support so the sheet does not lift or shift during cutting. Wood may need clearance for knots, bowing or uneven thickness. Leather often needs a gentler hold to avoid marks on the surface. There is no single setup that suits every workshop.
- Use corner stops for flat sheet goods where the outside edge is consistent.
- Use pin registration for repeat engraving on small parts that must sit in the same spot every time.
- Use a shallow frame or template when the part can twist, curl or move under the air flow.
- Leave space for smoke and debris to clear so the cut line stays clean.
If you are working with multiple thicknesses, label each jig clearly. A 3 mm acrylic jig will not suit a 6 mm sheet if you are relying on the same edge position. Even a simple written note or etched mark can prevent the wrong setup being used on a rushed morning.
In coastal areas, humidity can change how wood and leather behave. In winter or after a rainy week in Cape Town or Durban, a material that seemed flat yesterday may sit differently today. A jig should help you control that movement, not hide it.
Set the Jig Around the Job, Not the Other Way Round
A common mistake is designing a jig before the product is properly tested. First confirm the cut file, the engraving position and the actual finished size you need. Then build the jig around those measurements. If the artwork changes later, the jig may need a small adjustment too. It is better to spend ten minutes checking than waste a full batch.
When setting up, mark the true origin point on the machine bed and on the jig itself. That way the operator knows exactly where the part starts. If the machine is moved for an install, or relocated to another site, those reference points should be checked again before production begins. Small shifts in position can cause bigger errors than most people expect.
For recurring jobs, keep a simple record of the final working setup. Note the material thickness, laser settings, jig position and any issues with smoke staining or edge finish. This record becomes very useful when the same order returns three months later and the original operator is not on shift.
- Measure from the same edge each time, not from whatever looks straight.
- Check that the material sits flat before starting the cut.
- Test the first piece, then confirm the second before running the full batch.
- Recheck alignment after lens cleaning, beam alignment or any maintenance work.
How Jigs Help With Faster Turnaround and Fewer Repeats
Jigs are not only about neatness. They also reduce handling time. Instead of lining up each item individually, the operator drops the part into place and gets on with the job. That matters when orders come in with tight lead times, or when the workshop has load-shedding gaps and you need to make the most of the hours available.
Fewer placement errors also means fewer rejects. If a batch of engraved leather tags is misaligned, the whole set may need to be redone. With a proper jig, the chance of that happening drops sharply. You also reduce wear on materials because there is less unnecessary test cutting and less handling of the same piece over and over. That saves money, and a lot of frustration.
For businesses doing seasonal stock, such as gift items before year-end, the time saved can be the difference between finishing on schedule and carrying orders into the next week. The jig becomes part of the production flow, not just a one-off helper.
Common Jig Mistakes That Cost Time and Material
Not every jig improves the result. A poorly planned one can slow the workshop down. If the stop points are too tight, material gets forced into position and the cut line ends up off. If the jig is too loose, the part moves during the job. If it is made from the wrong material, it may burn, warp or leave residue on the product.
Another problem is forgetting extraction and cleaning. Smoke and fine dust can build up around the jig, especially on repeated jobs. That build-up affects placement and can mark the underside of lighter materials. Cleaning between runs is worth the few minutes it takes.
- Do not assume one jig will suit every sheet size.
- Do not ignore small shifts after moving the machine or changing the bed setup.
- Do not use damaged stops or warped guides.
- Do not skip a test run when switching from one material to another.
If you are unsure whether a jig is helping or hindering, run a comparison. Do one set with the jig and one without, then inspect the finish and measure the placement. The results usually make the answer clear.
A Johannesburg Example: Repeat Signs for a Small Retail Order
A small manufacturer in Wynberg needed a run of repeated acrylic name plates for a retail display, with each plate matching the next exactly. The first few samples were cut by eye, and the spacing drifted slightly from piece to piece. The fix was simple: a corner-stop jig with a marked origin point and a separate insert for the engraving position.
Once that was in place, the operator could load each blank in the same spot, make quick visual checks and keep the batch moving. The result was cleaner alignment, faster turnaround and less waste from misreads. The same setup was later adapted for a different size, which saved time on the next order too. It was not fancy, just practical and consistent.
That is often the real value of a good jig. It does not need to be complex. It just needs to make repeated work easier to set, easier to check and easier to repeat when the order comes back.
Keeping Your Jig System Useful Over Time
Jigs work best when they are treated as part of the workshop process, not as loose accessories. Store them flat, label them properly and review them whenever your product range changes. If a jig has been used for months, check for wear on the stops, marks from heat and any looseness in the fit. A worn jig can quietly undo good work.
It also helps to link jig use with routine machine care. Clean optics, beam alignment, cooling checks and extraction service all support better repeat work. If the machine is drifting or the cut quality is changing, no jig will fully fix that. Keep the equipment in good condition, and the jig will do its part.
For operators, the main rule is simple: use the jig to remove variation, not to guess around it. When the setup is clear, the batch stays steady and the finishing work gets easier.