Start the week with a clean bed and clear airflow
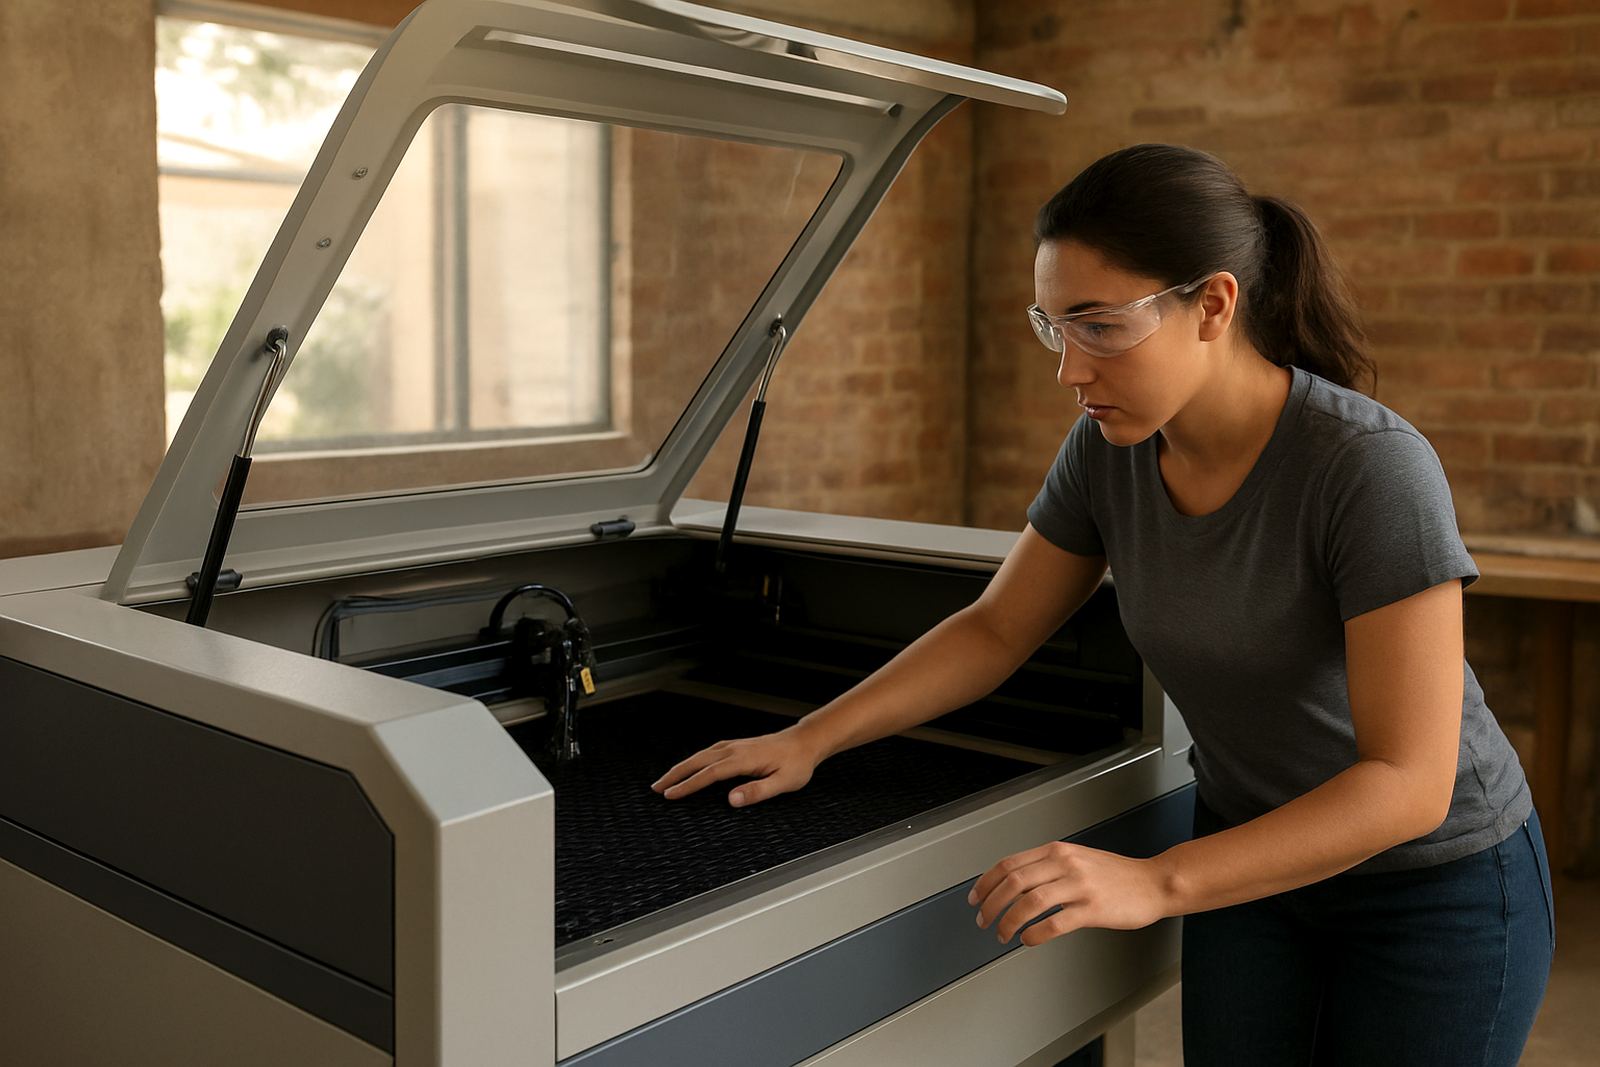
Before the first job on Monday, switch off the machine, isolate power and let everything cool down fully. Wipe the cutting bed, slats and surrounding table area so offcuts, ash and fine dust do not build up under the material. In many South African workshops, that layer of debris is what starts causing scorch marks, uneven support and messy undersides.
Pay attention to the extraction path as well. If you can see dust sitting near the intake points or around the hose connections, clean it out before production starts. A clean airflow path helps remove smoke from acrylic and timber cutting, and it also reduces the chance of residue settling back onto the lenses or mirrors.
- Remove loose offcuts, scrap strips and fine dust from the bed
- Check that extraction grilles are open and not blocked
- Inspect hose joints for slips, cracks or weak clamps
- Make sure the work area around the machine is tidy enough for safe loading
Clean optics before the week gets busy
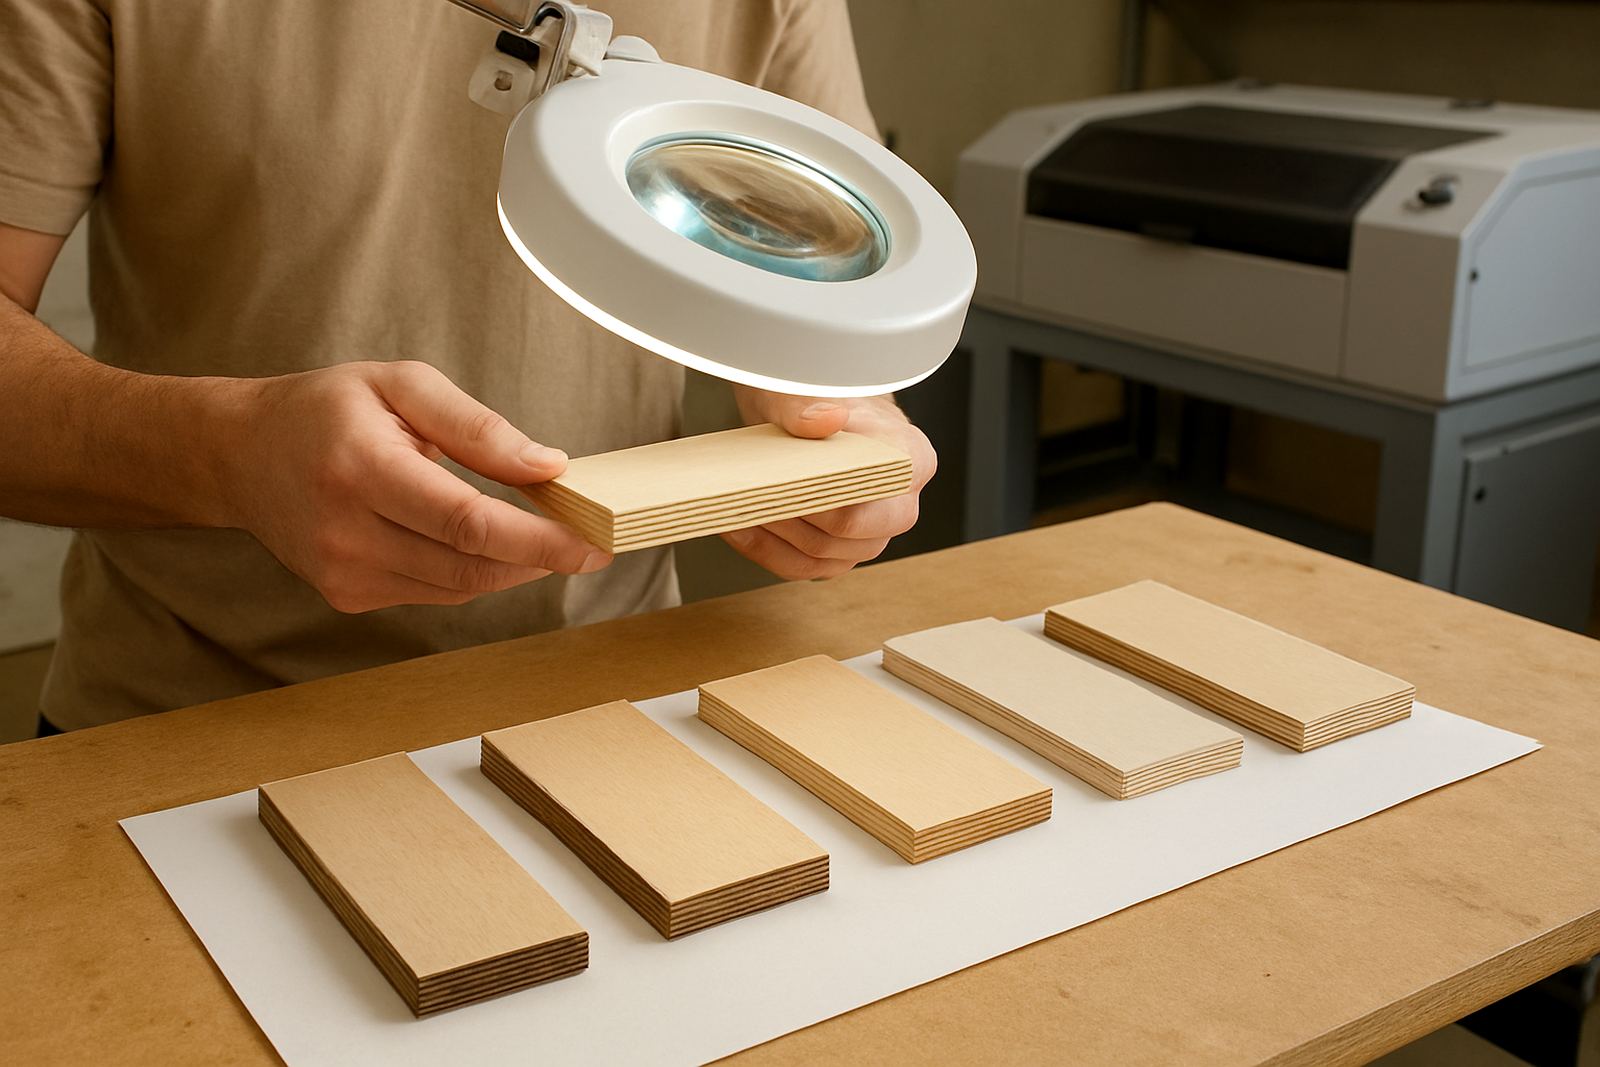
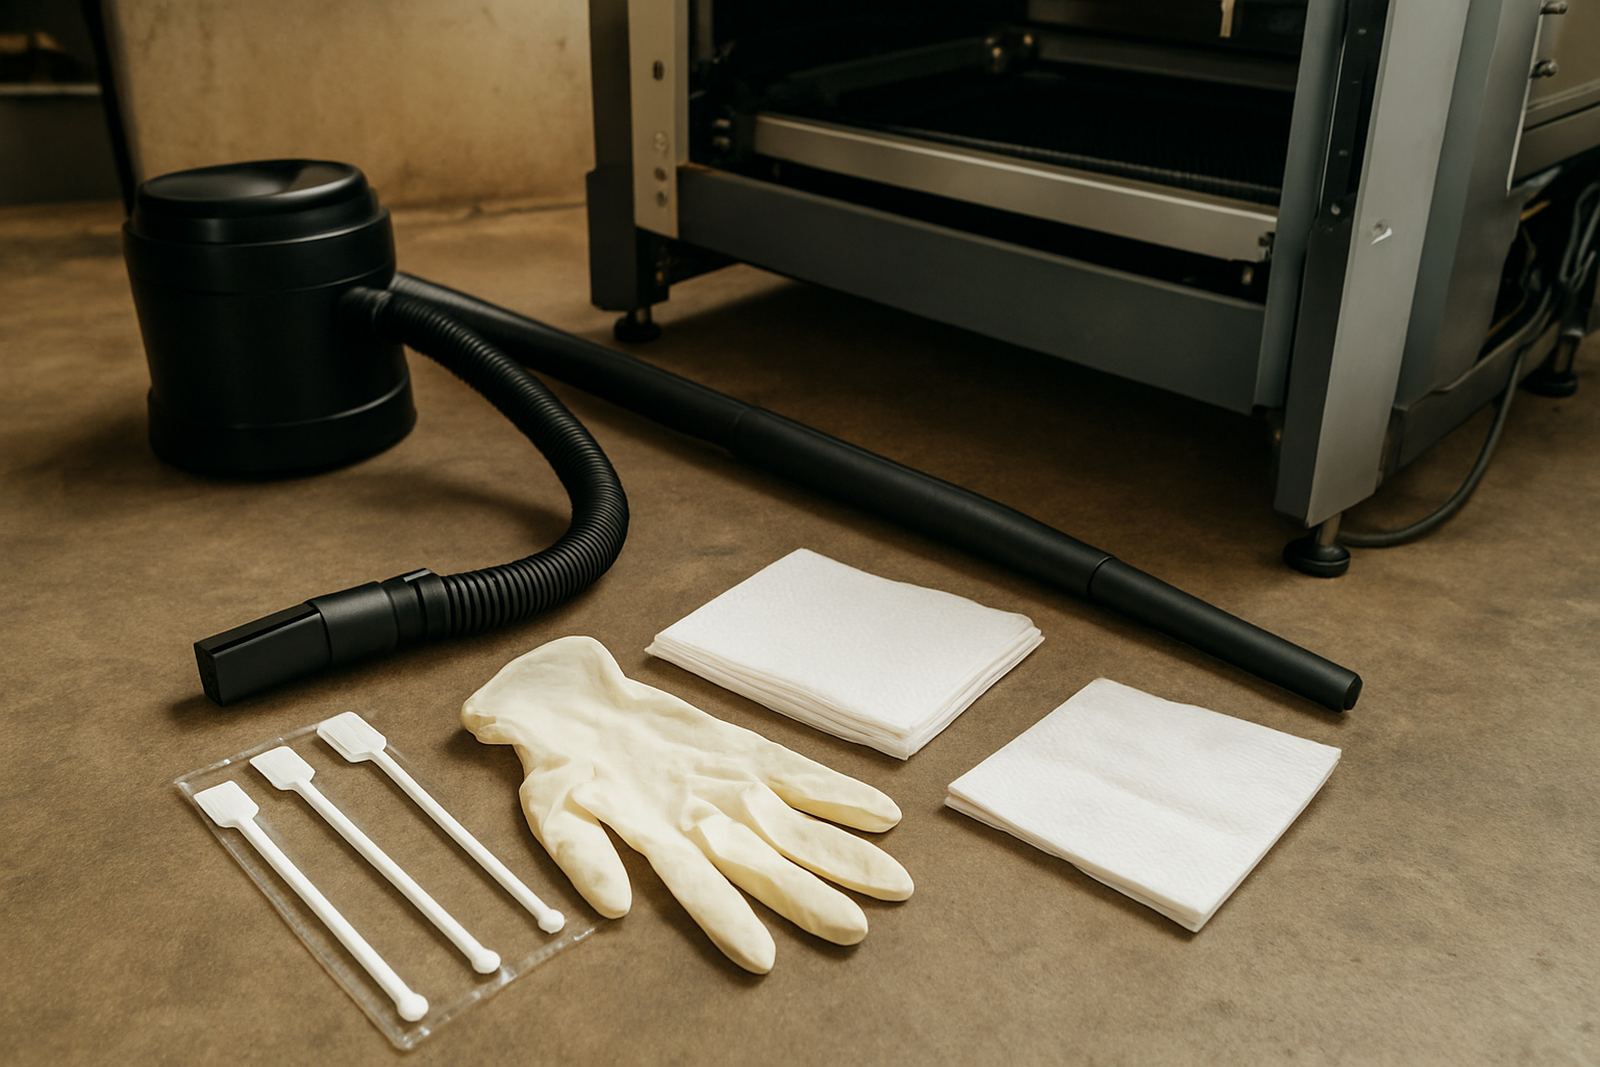
Optics need gentle care. Once a week, inspect the mirrors and lens area for smoke film, finger marks or fine residue from cutting adhesives or coated materials. Use the correct cleaning method for the parts fitted to your machine and avoid touching the glass surfaces with bare hands. One small mark can be enough to affect beam quality and leave rougher edges on detailed work.
If your workshop runs long shifts, the optics often need more attention than people expect. A machine that is used for signage, décor pieces or repeat production can pick up residue quickly, especially when cutting darker woods or leather with more smoke. Clean optics support better detail on small lettering, tight corners and delicate pattern work.
- Inspect mirrors and lens housing under good light
- Use lint-free materials only
- Check for smoke staining around the head area
- Look for signs of uneven cutting that may point to dirty optics
Keep cooling water and chiller checks on the weekly list
Water cooling is not something to leave to chance. Each week, check the water level, the condition of the water lines and whether the cooling system is holding a steady temperature. If the water looks dirty or has been in use too long, arrange a change before it starts affecting performance. Stable cooling protects the tube and helps keep output consistent during long production runs.
This matters more in places where power interruptions are common. When load-shedding or voltage dips interrupt a run, the machine may be stopped and restarted several times. That extra cycling makes it worth checking the cooling system properly, because a small issue can turn into a costly service call later. In Wynberg, Johannesburg, many shops keep the cooling check at the same time as the Friday close-down so the machine starts the next week ready for work.
- Confirm the water level and flow look normal
- Check hoses for kinks or soft spots
- Inspect the water quality and replace if needed
- Verify the cooling unit is stable before production starts again
Look for smoke residue before it becomes a cutting problem
Smoke residue is one of the easiest issues to ignore and one of the fastest ways to affect output. Once a week, inspect the inside panels, the head area and any exposed surfaces near the cutting path. Fine soot and sticky film can collect faster when cutting wood, leather or material with glue layers. If left too long, that residue can spread onto moving parts and increase wear.
Wipe down the accessible areas carefully and check whether the extraction is doing its job. If the machine needs more cleaning than usual, that is often a sign the airflow is weak or the material settings need attention. The aim is not to polish every surface to perfection, but to stop build-up from getting ahead of you.
- Check for dark deposits around the cutting zone
- Look at panel corners where dust collects first
- Inspect the head area for sticky residue
- Note any unusual smell or heavier smoke than normal
Use the weekly routine to catch small faults early
A proper weekly cleaning routine is also a fault-finding routine. While the machine is open and easy to inspect, check belts, guides, fasteners and visible wiring for looseness, wear or heat marks. Small signs often show up first in the weekly clean, not during a breakdown. That is useful when production depends on orders going out on time.
If your team is working with repeat patterns or custom jobs, keep a simple record of what you cleaned and what you noticed. A note like “slight haze on lens” or “extraction hose loose at rear” can save time later. It also helps if more than one operator uses the machine and everyone needs the same standard. A quick record takes less than five minutes, and it is often the difference between a tidy week and a costly interruption.
- Check belts and visible moving parts for wear
- Look for loose screws, clamps or fittings
- Note anything unusual in a log book or job sheet
- Report recurring issues before they turn into downtime
Make the routine fit real production in Johannesburg and beyond
In a busy Wynberg workshop, weekly cleaning works best when it is tied to a fixed time, not left to memory. Many teams do it after the last Friday shift or before the first machine start on Monday morning. That rhythm keeps the machine ready for local orders, courier collections and urgent repeat work from clients who want clean edges and consistent sizing.
For branches or satellite sites in Sandton, Midrand, Pretoria, the East Rand or even Durban and Cape Town support areas, the same principle applies: keep the routine simple, repeatable and written down. That way the machine is ready whether it is running short runs for craft work or longer production jobs for commercial customers.
A weekly clean does not need to be complicated. It just needs to happen the same way every time, with the same checks, in the same order. When the workshop is busy and the pressure is on, that discipline is what keeps the machine cutting properly week after week.