When fabric work needs clean edges and repeatable cuts
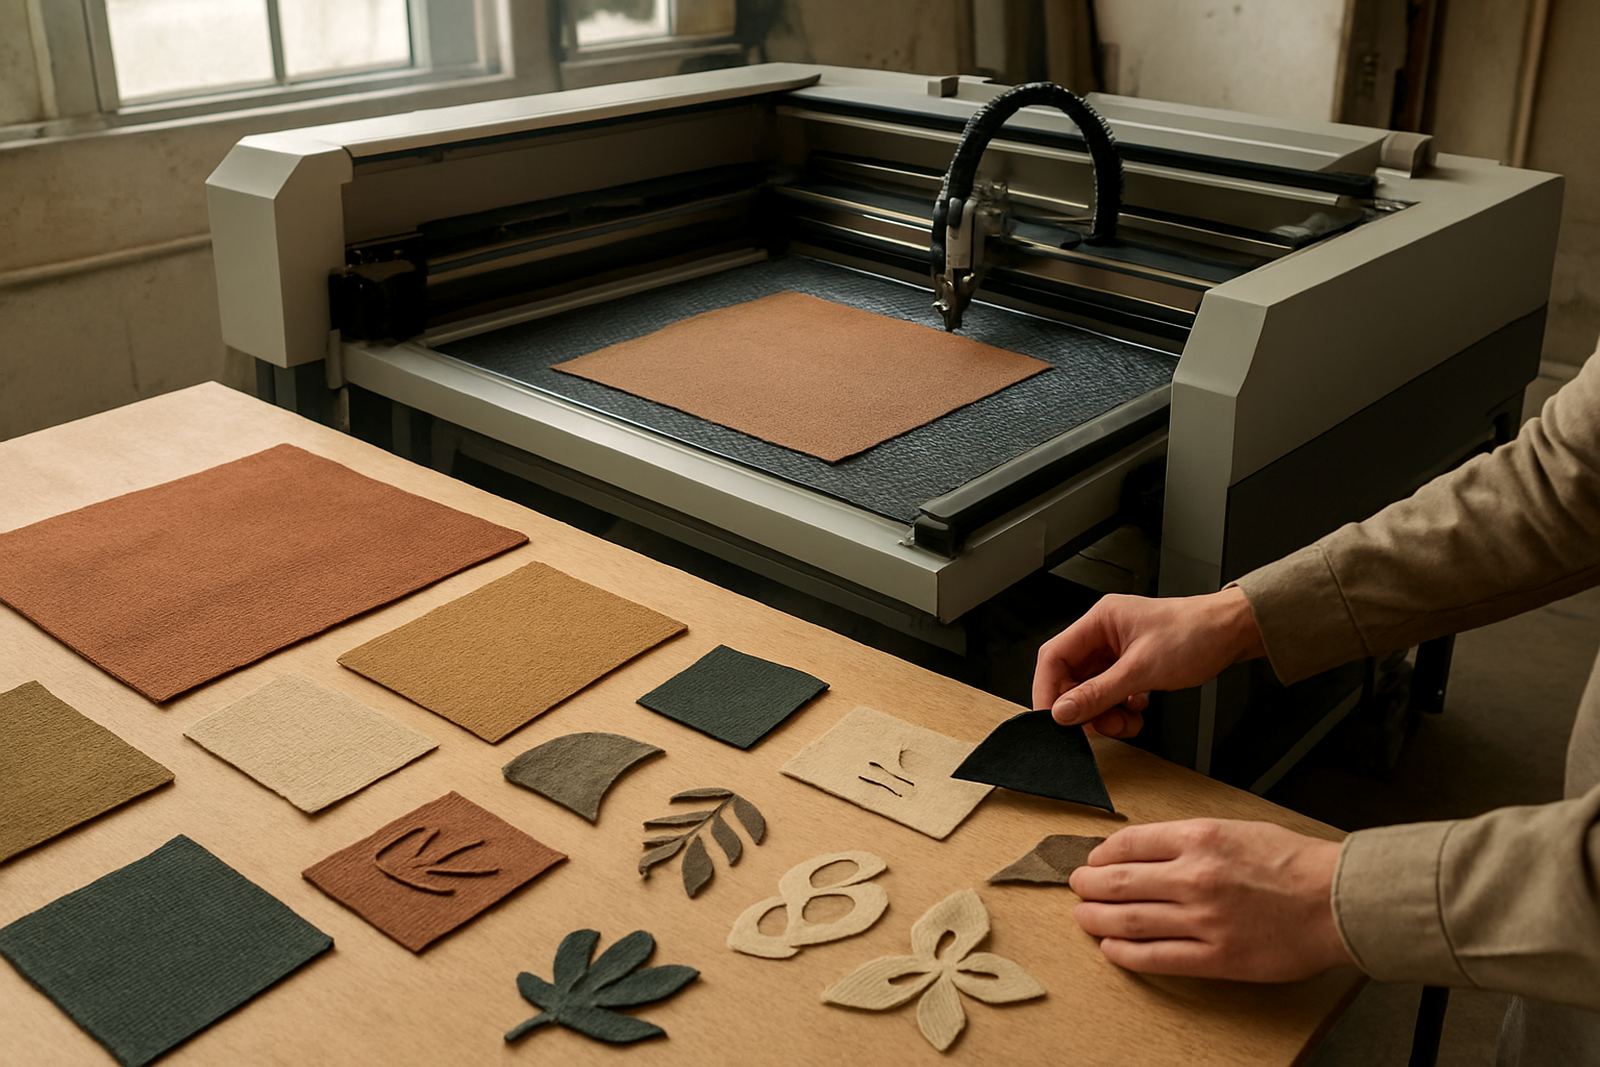
Fabric jobs often start with a simple brief: pattern pieces, decorative overlays, applique parts or soft material trial runs that must stay consistent from one sheet to the next. A CO2 laser is well suited to these tasks because it can follow fine detail without tugging the material, and for many textiles it leaves a sealed edge that reduces fraying. That matters when you are cutting batches for fashion sampling, display pieces, interior accents or craft lines.
The best results usually come from materials that are stable enough to lay flat and light enough to move cleanly on the bed. Cotton, felt, fleece, denim, polyester blends and some coated textiles are common choices. Natural fibres can behave differently depending on weave, thickness and moisture content, so trial cuts are worth doing before any full run. If the fabric is stretchy or loosely woven, it needs careful support and a considered layout or it will shift during cutting.
Typical equipment set for fabric production
A practical fabric setup does not need to be complicated, but it does need the right support around the machine. A flat bed with good registration, proper extraction and a stable cutting area are the basics. For larger layouts many users work with jigs, rulers, alignment marks and pre-cut templates so repeat pieces stay accurate. In Johannesburg and other inland areas, dust control is important too because textile lint can build up quickly in optics and moving parts.
Common equipment in a fabric workflow includes:
- CO2 laser machine sized for your sheet or roll format
- Extraction system for smoke, lint and odour control
- Cooling unit matched to the machine duty cycle
- Flat support bed or honeycomb style cutting support
- Pattern templates, alignment pins and masking tools
- Basic inspection tools for checking edge quality and dimensions
For teams that run frequent sample jobs, the machine should be easy to clean and simple to reset between materials. If you are cutting mixed jobs in the same week, then quick focus checks and a consistent material log help a lot.
Layout and planning advice before you cut
Fabric cutting is less about speed and more about order. A good layout plan reduces waste, limits movement on the bed and helps you keep the grain or stretch direction under control. Before cutting, confirm the exact finished size, seam allowance and whether the piece needs mirrored pairs. This is especially useful for pattern pieces that must match from left to right or front to back.
Soft material trials should be done on small offcuts first. Start with short test lines, then a small shape with corners and curves. Watch for burning, excessive darkening, melting, weak corners or any sign that the material is shrinking under heat. If the edge is too hard or glossy, the settings are probably too aggressive. If the cut is incomplete, power or speed needs another adjustment.
- Place the most delicate pieces closest to the centre of the bed where airflow is steadier
- Use light hold-down methods that do not mark the fabric
- Leave space between parts so heat does not affect nearby edges
- Track settings by fabric type, thickness and finish for future jobs
- Keep the material flat and dry before cutting, especially in coastal humidity
Common mistakes that cost time and material
One of the most common mistakes is treating every textile the same. A setting that works on felt may overburn a lighter synthetic or leave a wide heat line on a coated fabric. Another frequent issue is poor extraction. When smoke hangs around the cut line, the finish can stain and the optics get dirty faster than expected. That means more downtime and less consistency across the batch.
Another problem is poor nesting. If pattern pieces are packed too tightly, small shifts in the sheet can cause scrap and uneven edges. Some users also forget to test for shrinkage after cutting. This matters with fabrics that react strongly to heat. A sample may measure correctly off the machine but pull in by a few millimetres once it cools.
For workshops in Gauteng, load-shedding planning matters as well. A sudden power interruption can interrupt a long cutting run and affect the finish on already started pieces. A proper shutdown routine, backup power where practical and a clear restart procedure help avoid wasted material and added wear.
Budget ranges for fabric cutting setups in Rand
Budget depends on the size of the machine, the bed format, the duty cycle and the level of support you need. For a small studio that mainly handles sampling and light craft production, entry-level setups can start around R180 000 to R350 000. That usually suits shorter runs, smaller sheets and lower throughput.
For a busy maker space, textile studio or light production operation that needs better speed, stronger extraction and more reliable daily output, budgets often sit between R350 000 and R850 000. Larger beds, stronger cooling and better motion control push the price up, but they also support more repeatable work.
Once installation, operator training, relocation help and an annual service plan are included, it is sensible to set aside an additional R25 000 to R90 000 in the first year depending on your setup. Spare optics, cleaning supplies and regular preventive maintenance should also be planned for. It is cheaper to keep the machine in good shape than to recover from a dirty lens or a poor beam path later on.
How support helps fabric teams stay productive
Fabric work is often deadline driven, whether you are producing samples for a client meeting or batches for a shop floor. That is why practical support matters. Installation, operator training and remote guidance help teams get consistent results from the start. Preventive maintenance keeps the machine in tune and reduces the risk of surprise stoppages during a busy week.
In Johannesburg and beyond, many fabric users also need help with machine moves, extraction checks and beam alignment after transport. If a workshop is based in Wynberg, Sandton, Midrand, Pretoria, the East Rand or West Rand, local service coverage makes planning easier. For clients in Durban or Cape Town, support is still important because humidity, dust and daily use affect how fabric jobs finish over time.
- Start with a test library of your most used fabrics
- Schedule optics cleaning before heavy production weeks
- Record cutting results by material supplier and batch
- Keep a service plan in place for fewer interruptions