When a timber inlay must fit first time
Solid wood inlays are used where a client wants more than a printed finish. You may be producing a monogram for a front door, a corporate sign for a reception wall, or a decorative insert for furniture and cabinetry. The job looks simple at the design stage, but once you move into timber, grain direction, moisture content and board flatness start to matter. A cut that looks perfect on screen can still be tight in workshop conditions if the wood has moved overnight in Johannesburg dry air or picked up humidity on the coast.
The usual client situation is one of two types. Either the maker needs repeatable detail for a small run of premium items, or a cabinet shop wants a reliable way to add crisp lettering and pattern work without spending hours on hand trimming. Laser cutting is a strong option when the design includes curves, fine joins and internal details that would be slow to machine by hand. It is also helpful where the insert is decorative rather than structural, and where edge quality matters more than depth.
For best results, the board should be flat, dry and free from heavy resin pockets. A lot of the trouble with timber inlays comes from starting with material that is warped or inconsistent. If the base panel is moving, the insert will show it. In practice, a good inlay job starts before the machine even runs.
Typical equipment set for clean timber work
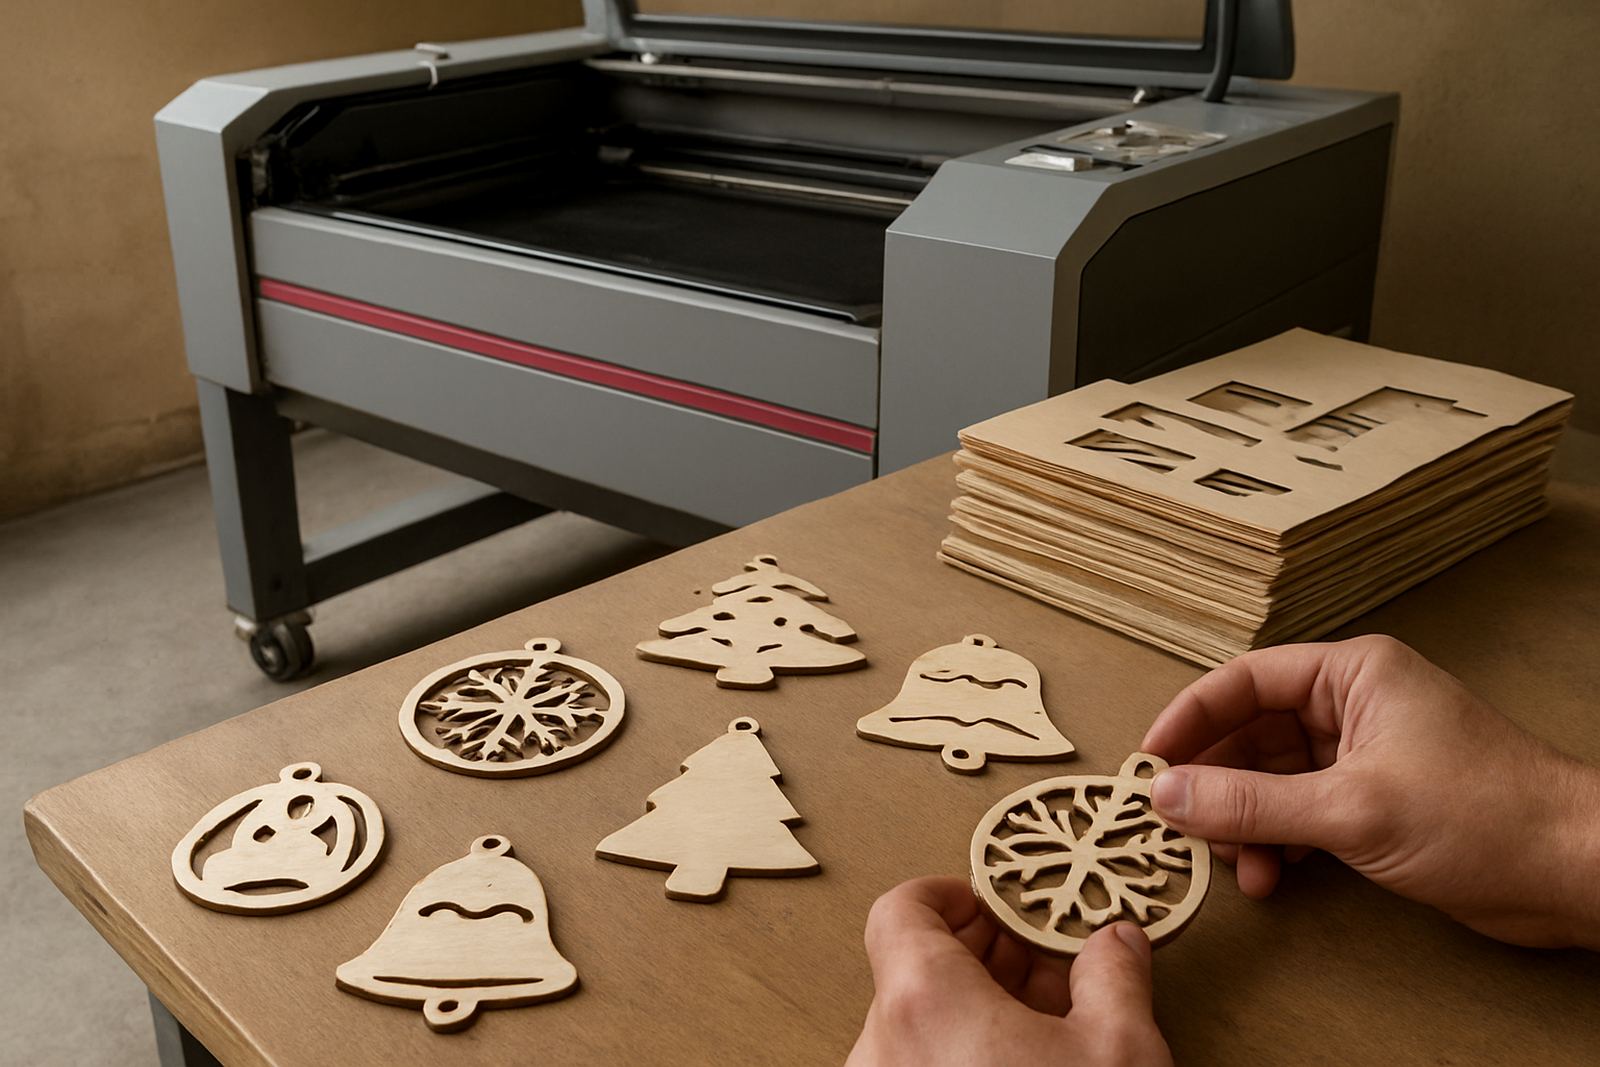
Most solid wood inlay jobs are done with a CO2 laser set up for controlled cutting on timber sheets, veneers and thin hardwood stock. The exact material thickness depends on the detail level, but many workshops work in the 2 mm to 8 mm range for inserts, with thicker sections used for larger decorative panels. Hardwoods such as oak, ash, maple and beech can give a crisp result if the settings are dialled in properly. Softer woods can cut faster, though they may show more charring at the edge.
To keep production steady, the machine set usually includes the following:
- A flat working bed with enough support for thin timber sheets
- Extraction to remove smoke and fine dust during cutting
- Cooling that holds the tube and optics in the correct range
- Air assist to reduce edge burn and keep debris out of the cut line
- Good focusing and beam alignment for fine lettering and small inner corners
- A nesting layout file that reduces waste and keeps grain direction sensible
For shops running in areas with load-shedding, it is worth planning for restart discipline and clean shutdown routines. A sudden power drop can spoil a long panel, so operators should know where to pause, how to recover the file, and when a half-finished part is no longer worth saving. That kind of practical workflow matters just as much as the machine specification.
Layout planning that saves wood and sanding
Inlay work rewards careful planning. If the grain runs across small letters in a weak way, the parts can snap during handling. If the design is too busy, the client may love it on paper but struggle to read the finished item at normal viewing distance. For signs and furniture inserts, simple legible forms often outperform overworked detail. The best layouts balance visual impact with cutting reality.
Before cutting, check the final use of the piece. A wall panel can handle finer detail than a floor inset or a high-touch cabinet front. If the inlay will be filled, stained or sealed later, allow for finishing build-up. If it will sit flush in a clear coated surface, the cut needs to be especially clean because any dark edge line will stand out. This is where accurate line weight and good nesting become essential, not just nice to have.
- Keep interior corners rounded slightly if the fitting method allows it
- Allow a small fit allowance for timber movement and sanding
- Group parts by thickness so one job does not need constant re-setting
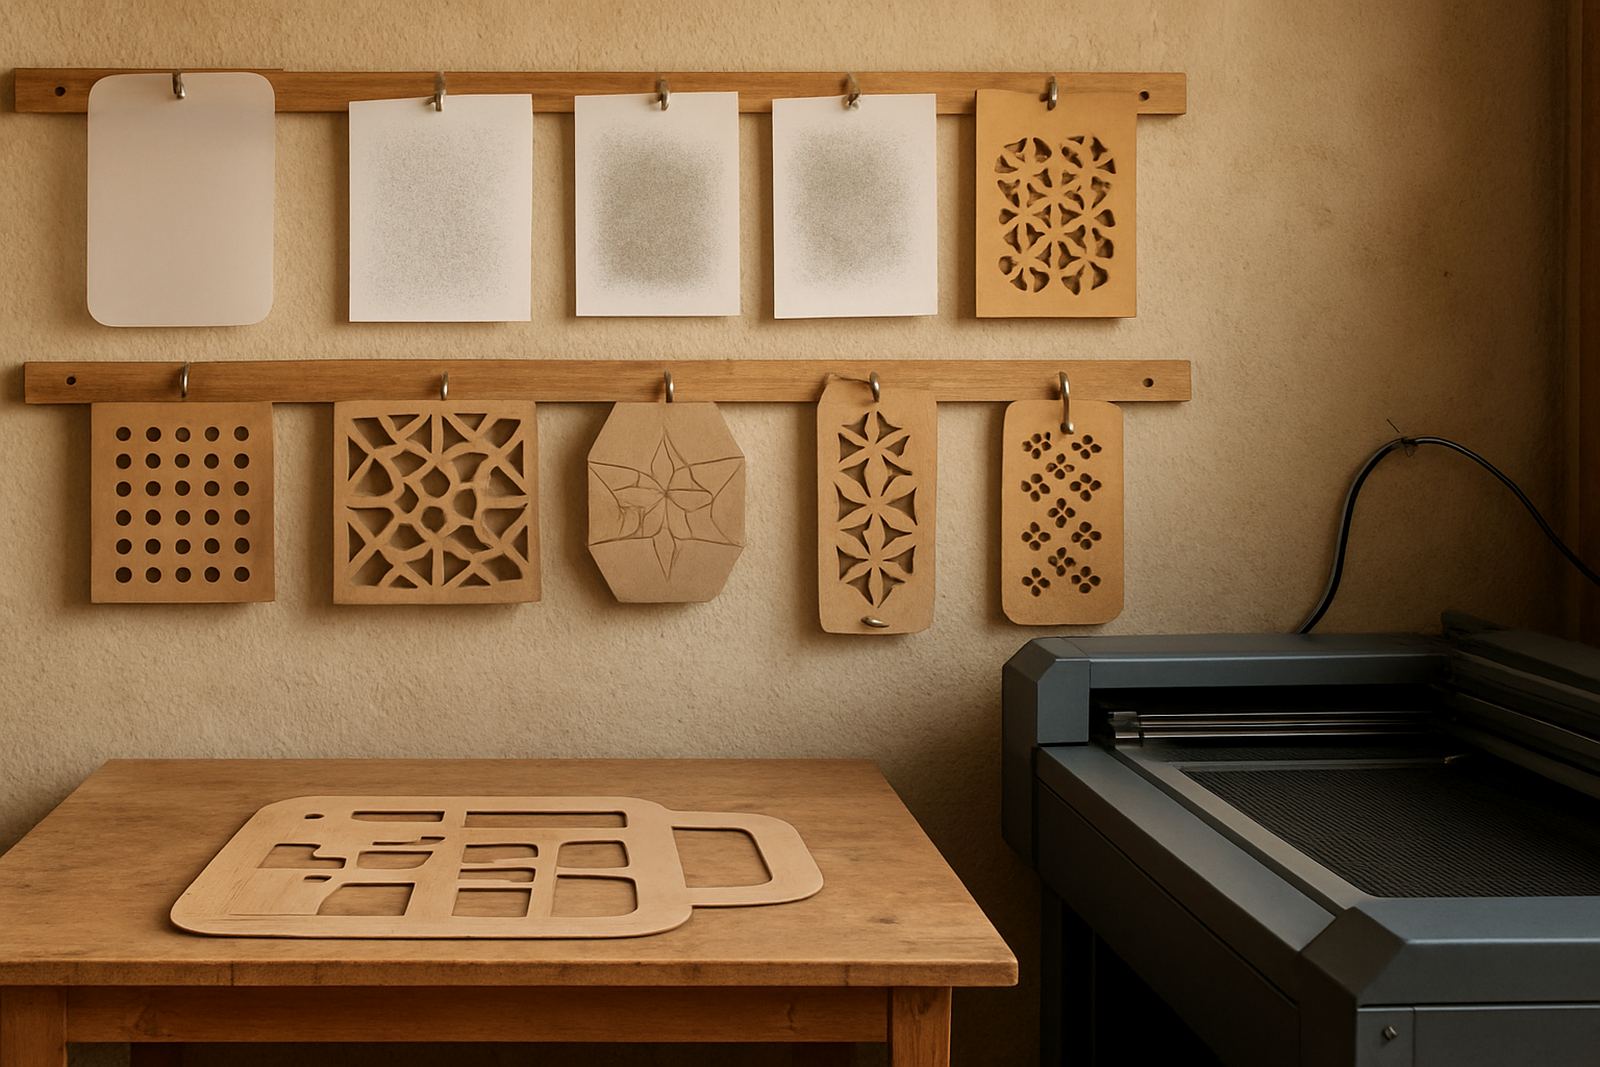
- Test a sample panel before committing to a full set of letters or panels
- Label components clearly, especially when a design has mirrored or repeated parts
In coastal areas like Durban and Cape Town, store timber carefully before cutting. Higher humidity can change fit more quickly than many shops expect. A panel that was tight in the morning can be loose after a wet weekend, so the material should acclimatise in the workshop before production starts.
Where solid wood inlays are used most often
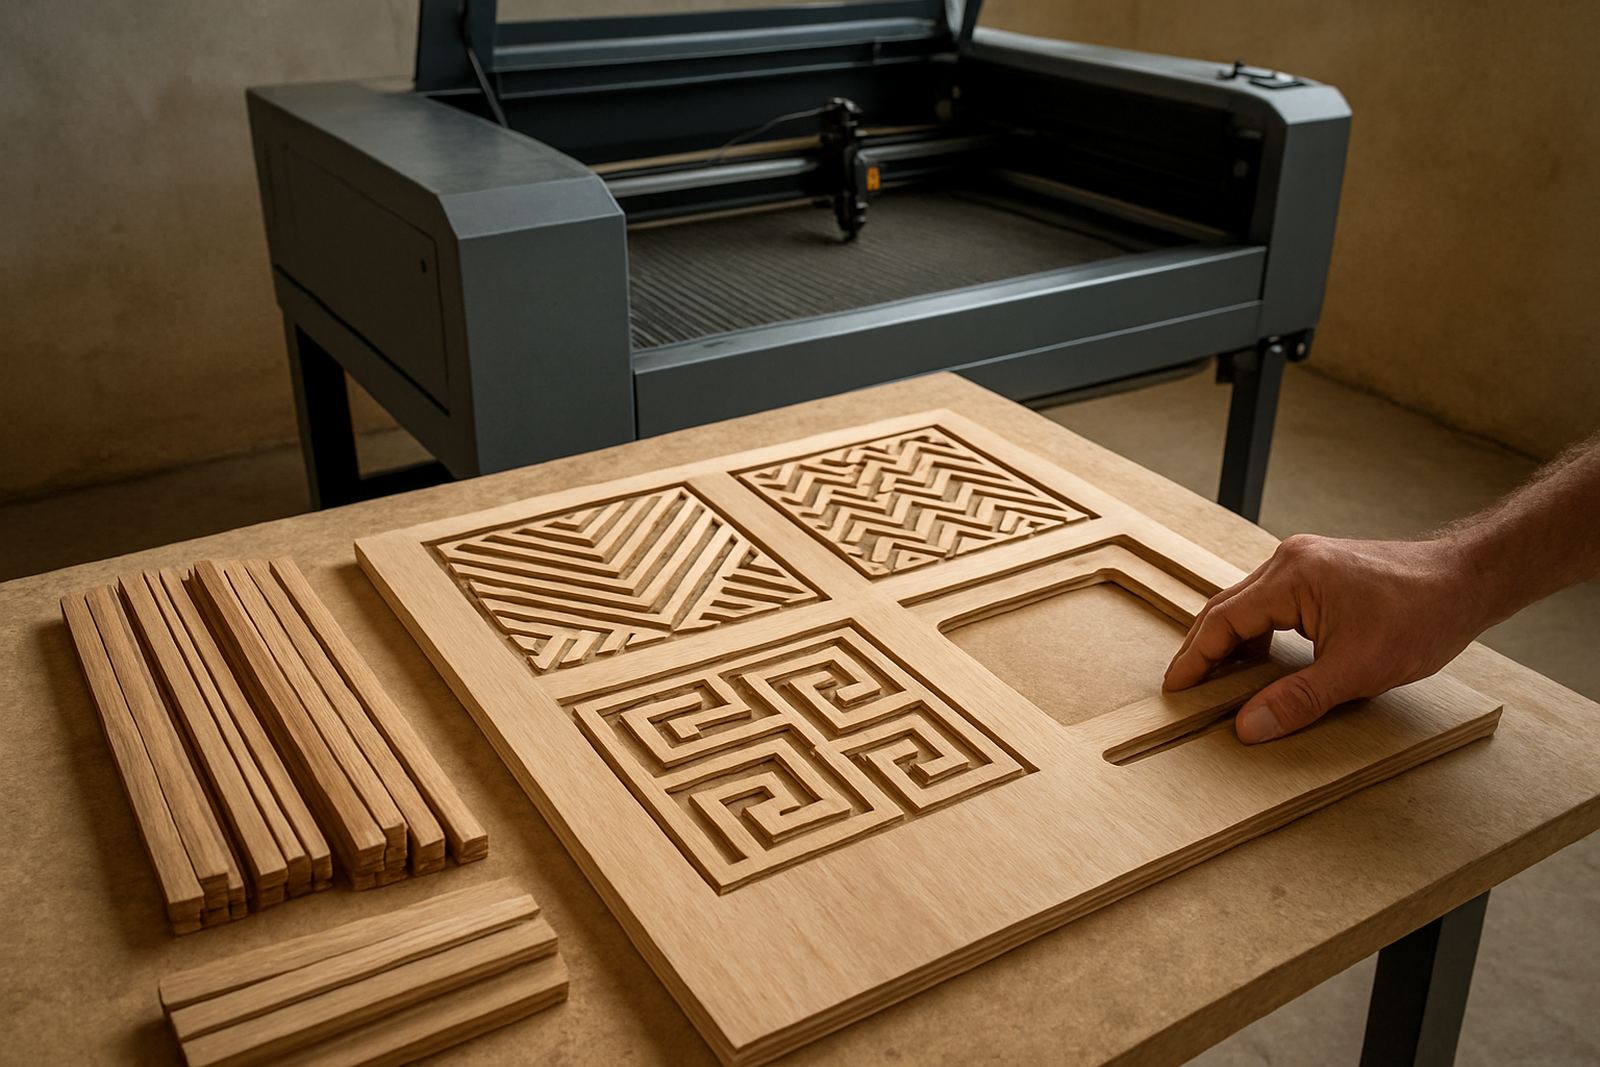
This use case comes up in a wide range of work. Furniture makers use inlays for table tops, cabinet fronts and feature panels. Sign makers use them for reception branding, wall plaques and custom name pieces. Craft producers use them for gift items, decorative boxes and event signage. Interior installers may also use timber inserts in hospitality and retail spaces where a warm natural finish is preferred over acrylic or vinyl.
One of the strengths of laser-cut timber inlays is that they can be repeated. Once the art file is correct, the same piece can be made for a one-off custom order or for a small batch. That helps when a client wants matching room numbers, branding details or repeated decorative motifs across several items. The result is more consistent than hand cutting and often faster than jigs for intricate shapes.
For Johannesburg and surrounding areas such as Sandton, Midrand, Pretoria and the East Rand, many clients combine demo cuts with practical sample approvals before a full run. That is useful on premium jobs where the finish has to match an existing cabinet tone or reception feature. A small test piece can prevent a costly batch from being cut the wrong way round, or with the wrong grain direction.
Common mistakes that waste time and material
Most inlay problems are preventable. The biggest mistake is choosing timber that is too wet, too soft, or not stable enough for the final application. The second is designing details that are finer than the wood can physically hold. A beautiful script font can fail if the stems are too thin, especially on softwoods. Another common issue is skipping test cuts and assuming the first setting will suit every board.
Other problems usually come from workshop habits rather than the file itself:
- Cutting without checking board flatness and causing uneven focus
- Using the same settings for different timber species
- Ignoring smoke staining on lighter woods
- Forgetting to clean optics and check beam alignment regularly
- Rushing finishing and fitting before the parts have fully settled
A practical workshop will also keep the extraction system in good order. Smoke build-up can mark the edges and leave a smell in finished pieces, especially on small enclosed items. Preventive maintenance, optics cleaning and cooling checks help keep the cut consistent, which matters when the same monogram has to be repeated on a batch of gift items or fittings.
What to prepare before your first inlay job
Before the first run, prepare a clean vector file, a confirmed material sample and a finish plan. Decide whether the piece will be glued in dry, sealed first, or stained after fitting. Make sure the client understands that wood is not a fully uniform material and minor tone variation is normal. That avoids arguments later if two boards from the same pack look slightly different once cut.
A good starting checklist is simple:
- Confirm the final size and viewing distance
- Choose a timber species that matches the use case
- Test the fit on a small off-cut before full production
- Plan the finishing steps before cutting begins
- Keep a record of settings for repeat orders
For decorative inlays, the value is in detail, fit and repeatability. When those three are under control, solid wood work becomes a dependable part of the workshop rather than a risky experiment. The right setup gives you cleaner edges, less hand trimming and a better result for the client, with less waste and fewer headaches.