When a stencil needs to survive more than one job
Template stencils are used again and again, so the material choice matters as much as the shape. In workshops, signage shops, décor studios and production lines, a stencil has to keep its size, stay flat and wash off cleanly after use. If the edges are rough or the cut widths vary, paint bleeds through and the marking line shifts every time.
CO2 laser cutting is well suited to this kind of work because it gives a clean edge on acrylic, wood and many leather applications. For local customers in Johannesburg, Sandton, Midrand and the East Rand, the usual brief is simple: make it easy to align, easy to repeat, and tough enough for regular handling.
Typical materials and machine set-up for repeat-use templates
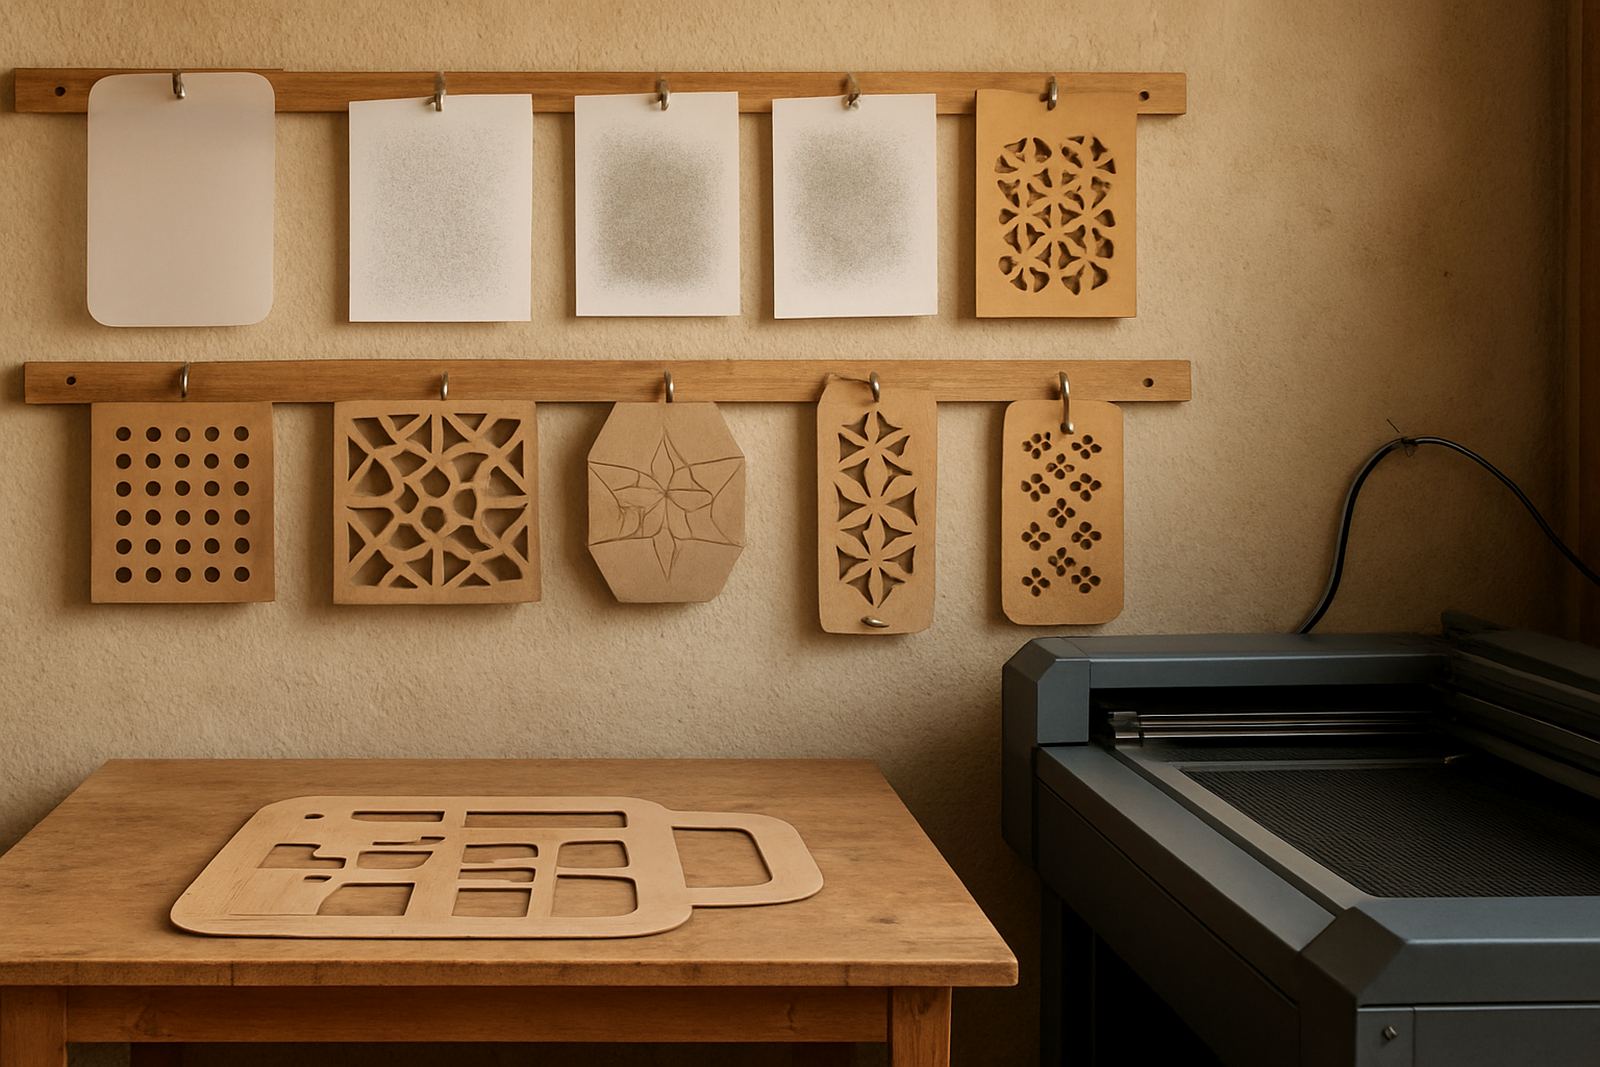
For repeat-use stencils, the common starting points are 1 mm to 3 mm acrylic, thin plywood, flexible sheet material and leather offcuts for marking or embossing guides. The right thickness depends on what you are spraying, painting or tracing. A thicker sheet lasts longer, but can lift off a curved surface or leave a gap under the edge if the job is uneven.
- Air assist helps keep the cut edge cleaner and reduces scorching on wood.
- Good extraction matters, especially indoors or where the workshop shares space with staff and stock.
- Flat bed support is important for thin material so it does not warp during cutting.
- For acrylic templates, polished edges help with visibility and accurate placement.
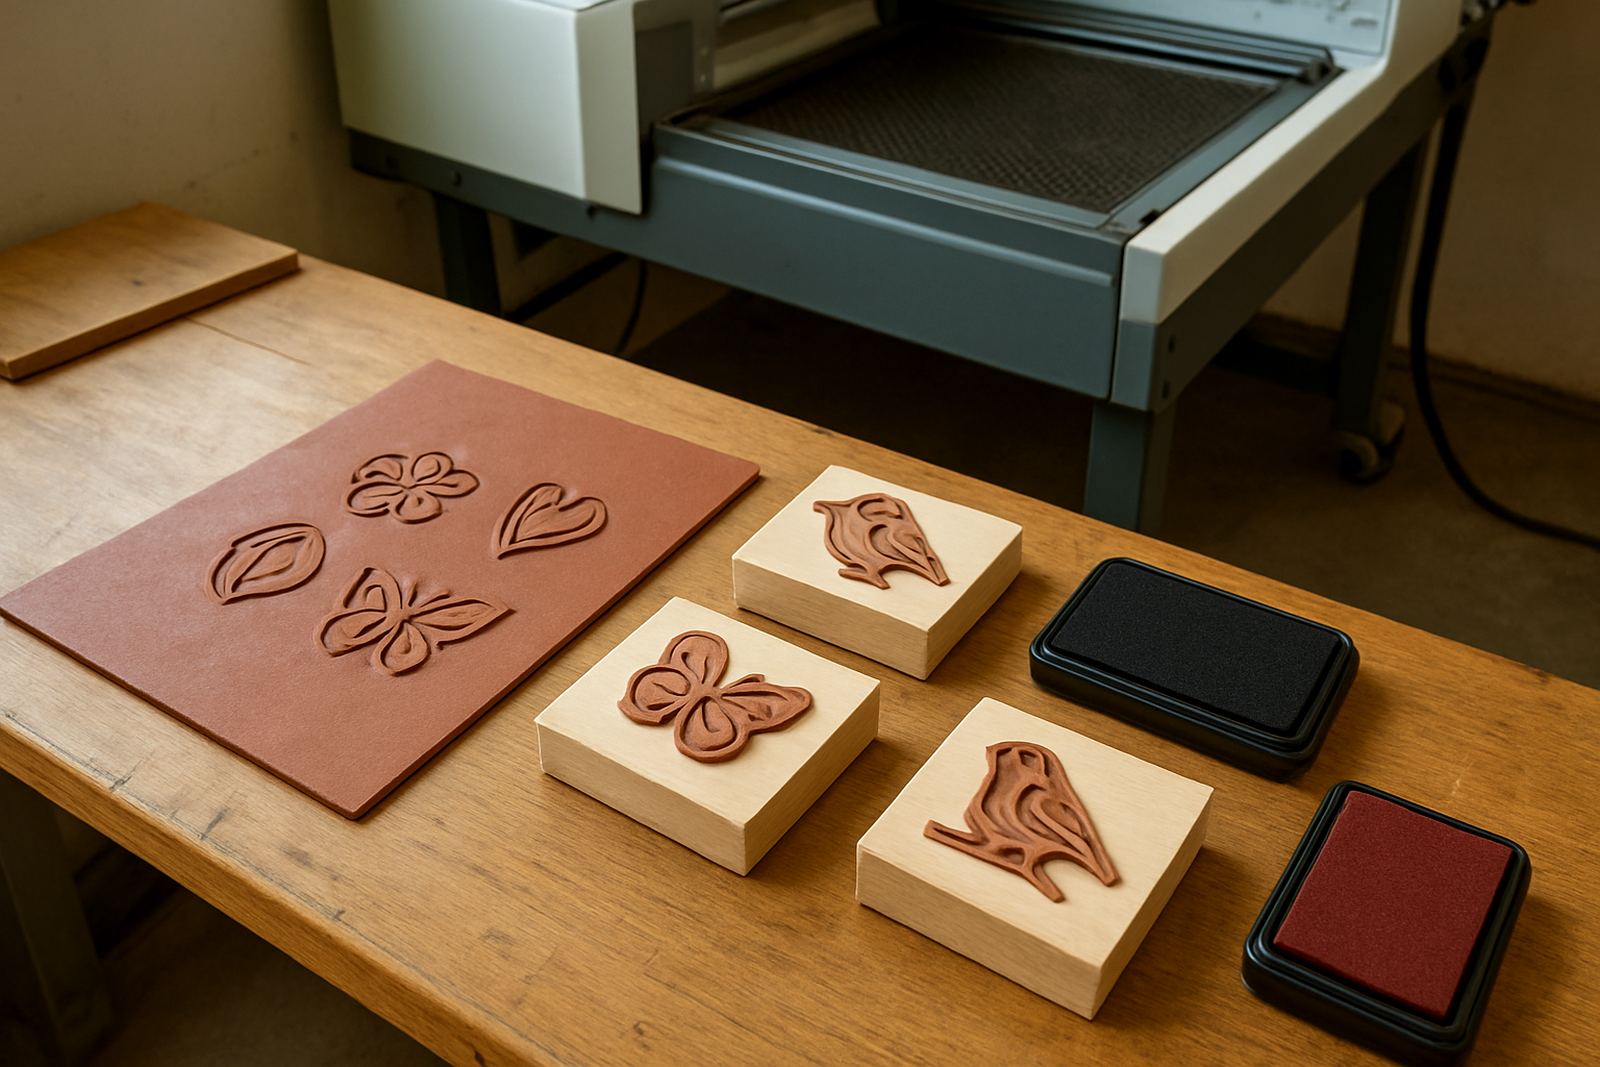
- For leather marking guides, keep the cut pattern simple and avoid sharp internal corners that wear fast.
If you are running through load-shedding or working in a coastal area like Durban or Cape Town, stable power planning and proper storage are worth sorting early. Heat and humidity can affect sheet flatness more than people expect.
Layout planning that saves time on the workshop floor
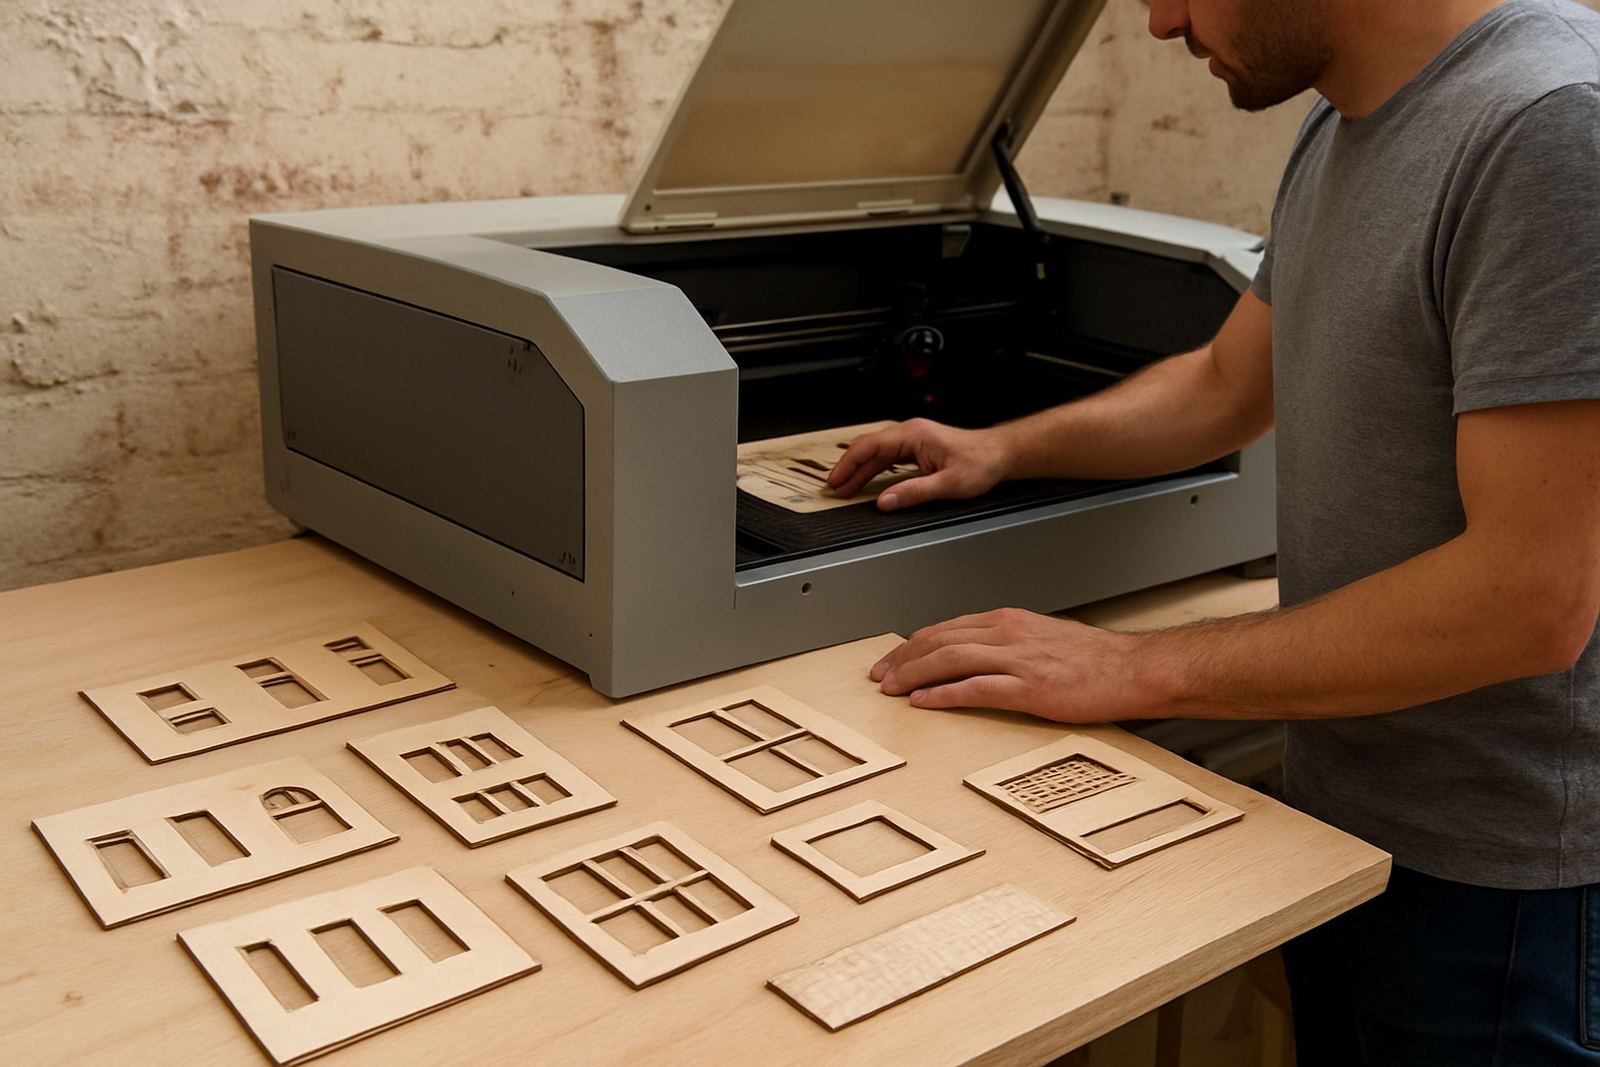
A good stencil does more than carry a shape. It needs registration points, handles if needed and enough space around the cut-out to keep it stable. For production marking, include a border so the operator can place the template quickly without measuring every time. For décor work, leave enough material between cut areas so the stencil does not tear during cleaning.
When we plan repeat-use jobs, we normally look at the way the stencil will be held, wiped down and stored. A template used on timber crates is not the same as one used for wall art or leather branding. If the use is outdoors, UV exposure and dust can also affect how long the piece lasts.
Common mistakes that shorten stencil life
Most stencil problems start before the first cut. The wrong thickness, weak corners and cramped design all shorten the life of the template. Another common issue is ignoring the application surface. A stencil that works on a flat board may fail on a curved drum, a rough panel or a painted wall with texture.
- Using very fine detail where paint or powder will clog the cut-outs.
- Leaving narrow bridges that snap after a few uses.
- Skipping test cuts on the final material.
- Not allowing for shrinkage, flex or heat in the material.
- Making the stencil too small for gloves, clamps or quick placement.
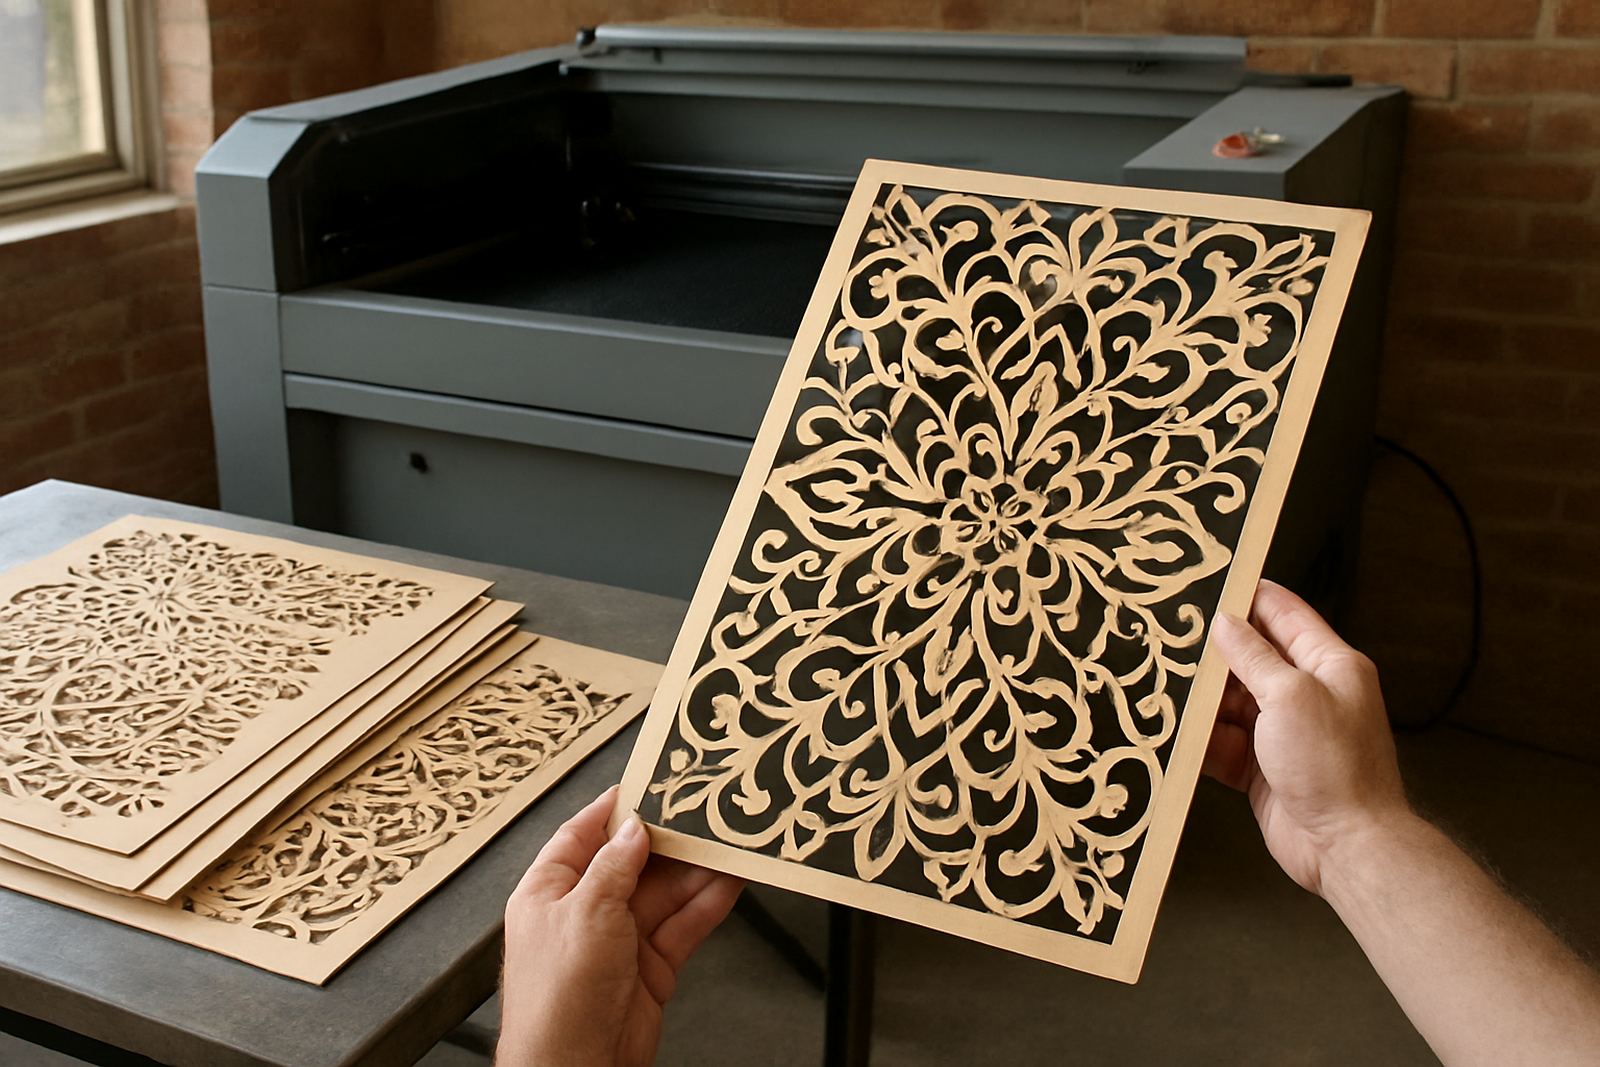
We also see customers underestimate cleaning. If the stencil will be used with solvents, dust or wet paints, choose a material that can be wiped down without curling at the edges.
Budget ranges for stencil projects in Rand
Stencil budgets depend on size, detail and material type. Simple repeat-use templates for small marking jobs can start from around R350 to R850 per piece, while larger workshop or décor templates often sit between R900 and R2 500 depending on dimensions and finish. Custom sets with multiple sizes, alignment marks or storage requirements can move higher.
If you need a run of templates for a production line or training room, ask for pricing based on quantity. Per-piece cost usually drops once the layout is set and the same cut is repeated across several sheets. For businesses in Pretoria, the West Rand or Midrand, it is often worth grouping related patterns into one production batch to reduce handling and setup time.
Installation, training and support for repeat production
Where a customer is running stencil work in house, installation and operator training make a real difference. A well set machine can keep producing accurate templates, but only if the team understands focus height, bed cleaning, lens care and alignment checks. We also show operators how to spot early signs of edge burn, taper or poor extraction.
LaserCutter CO2 supports demo cuts, installs and operator training nationwide from Wynberg, Johannesburg, with service support in Sandton, Pretoria, Midrand, the East Rand, West Rand, Durban and Cape Town. If a machine slows down or the cut quality changes, preventive maintenance and beam alignment usually solve the problem before it becomes a full stoppage.
- Machine Installation for new workshop setups
- Operator Training for day-to-day use
- Preventive Maintenance for steady output
- Breakdown Response and remote support
- Spares Supply, optics cleaning and cooling checks