When Scale Parts Need to Fit Without Filing
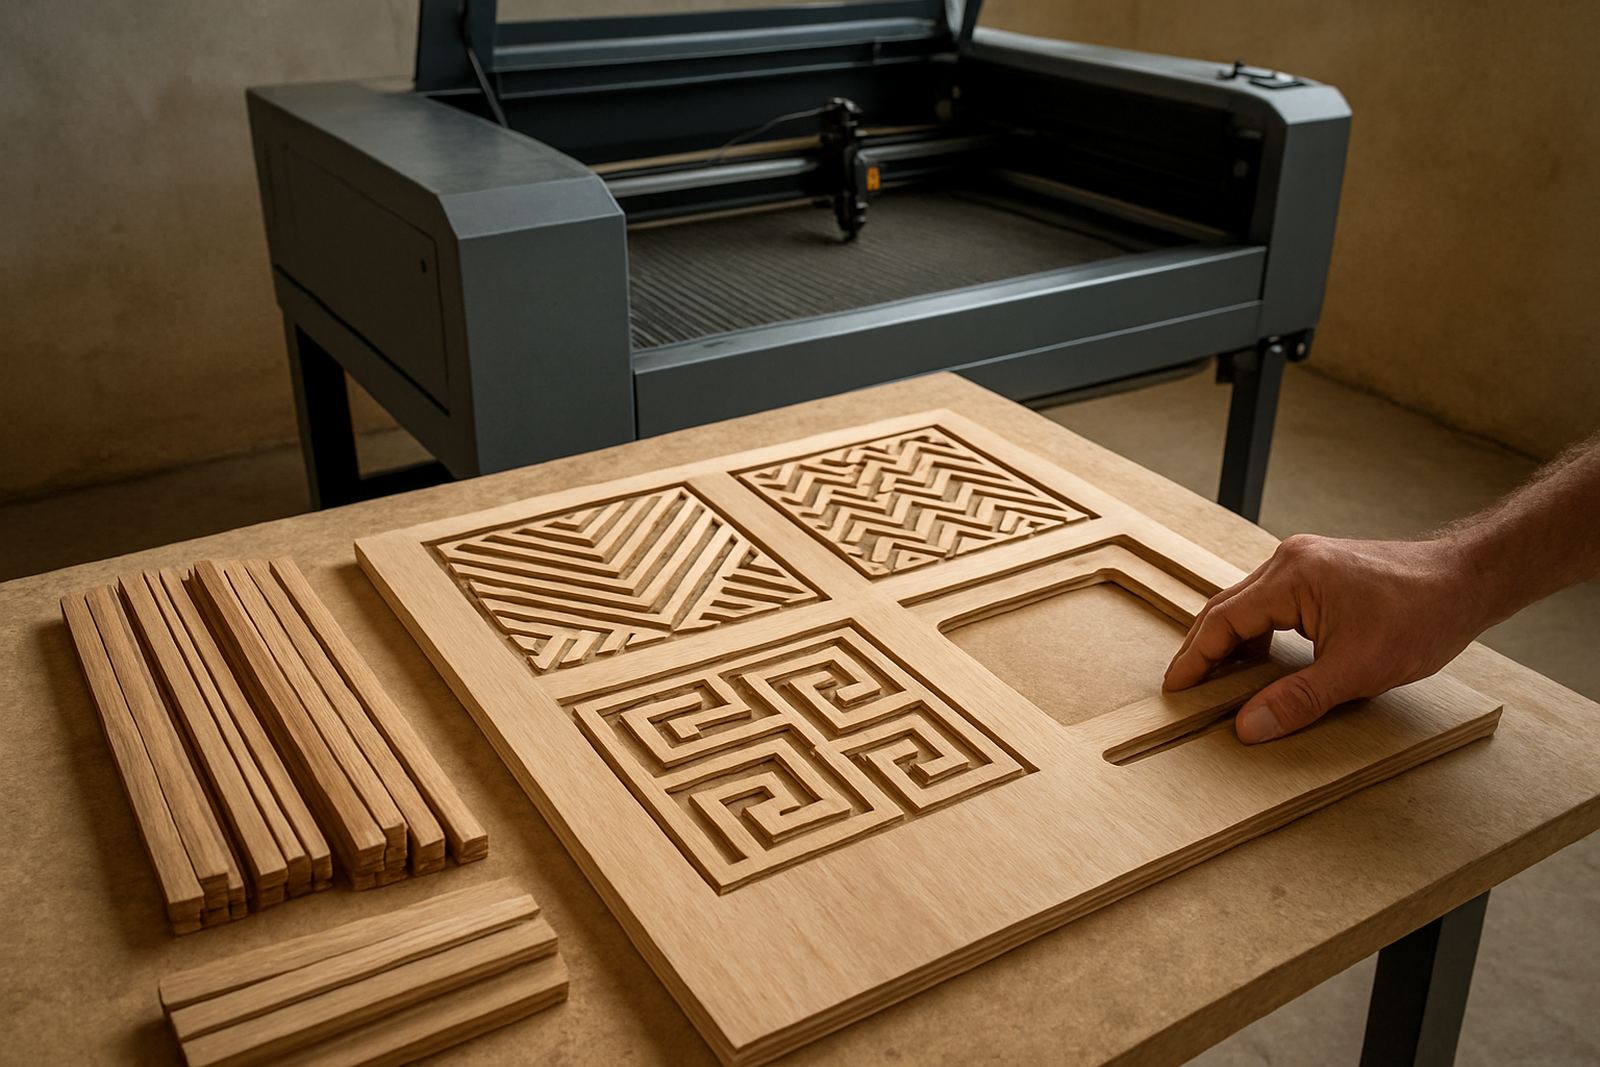
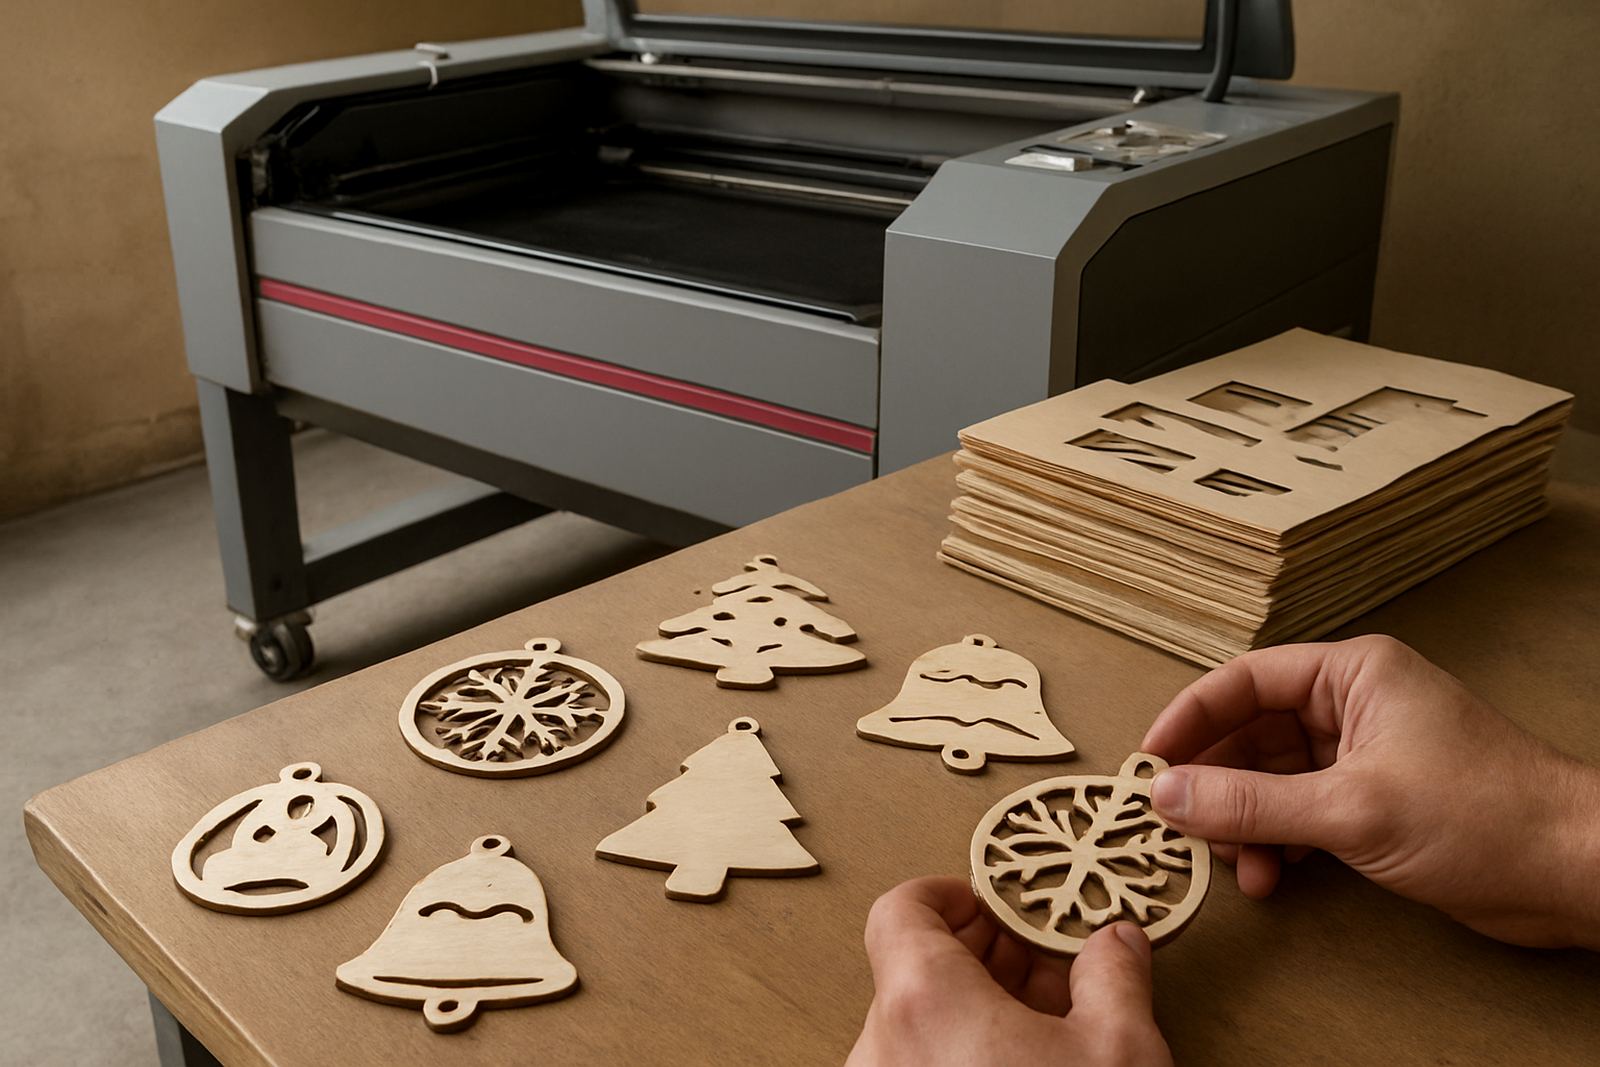
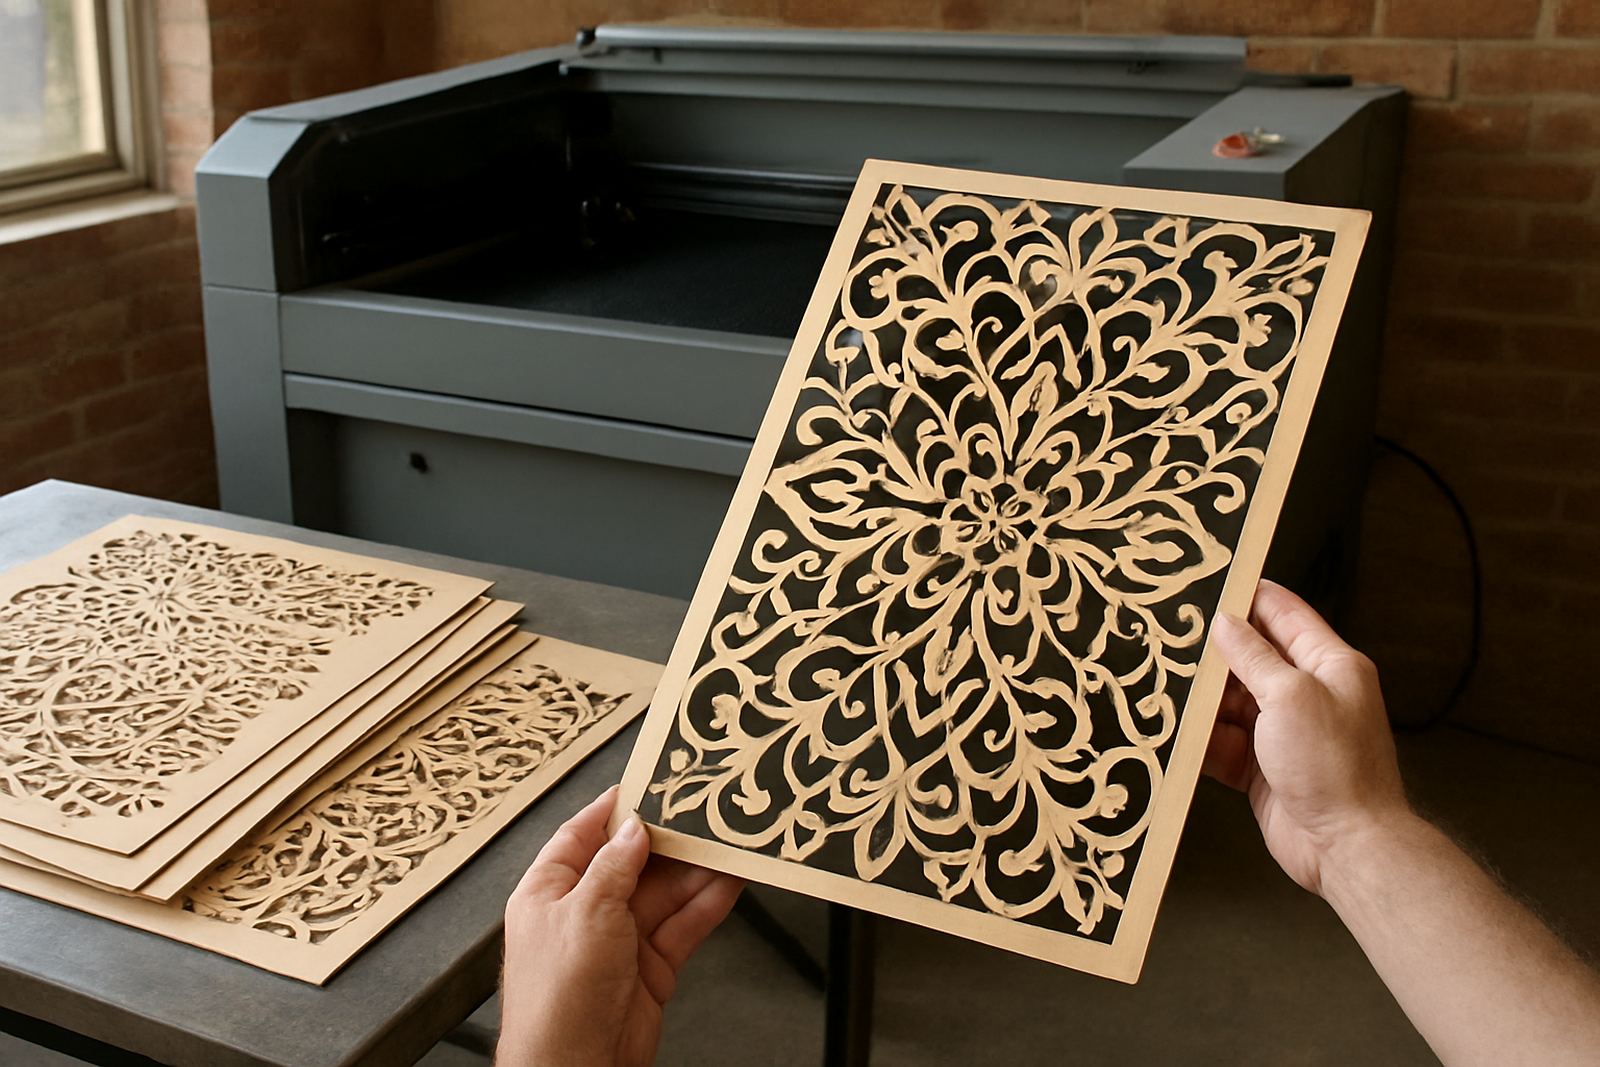
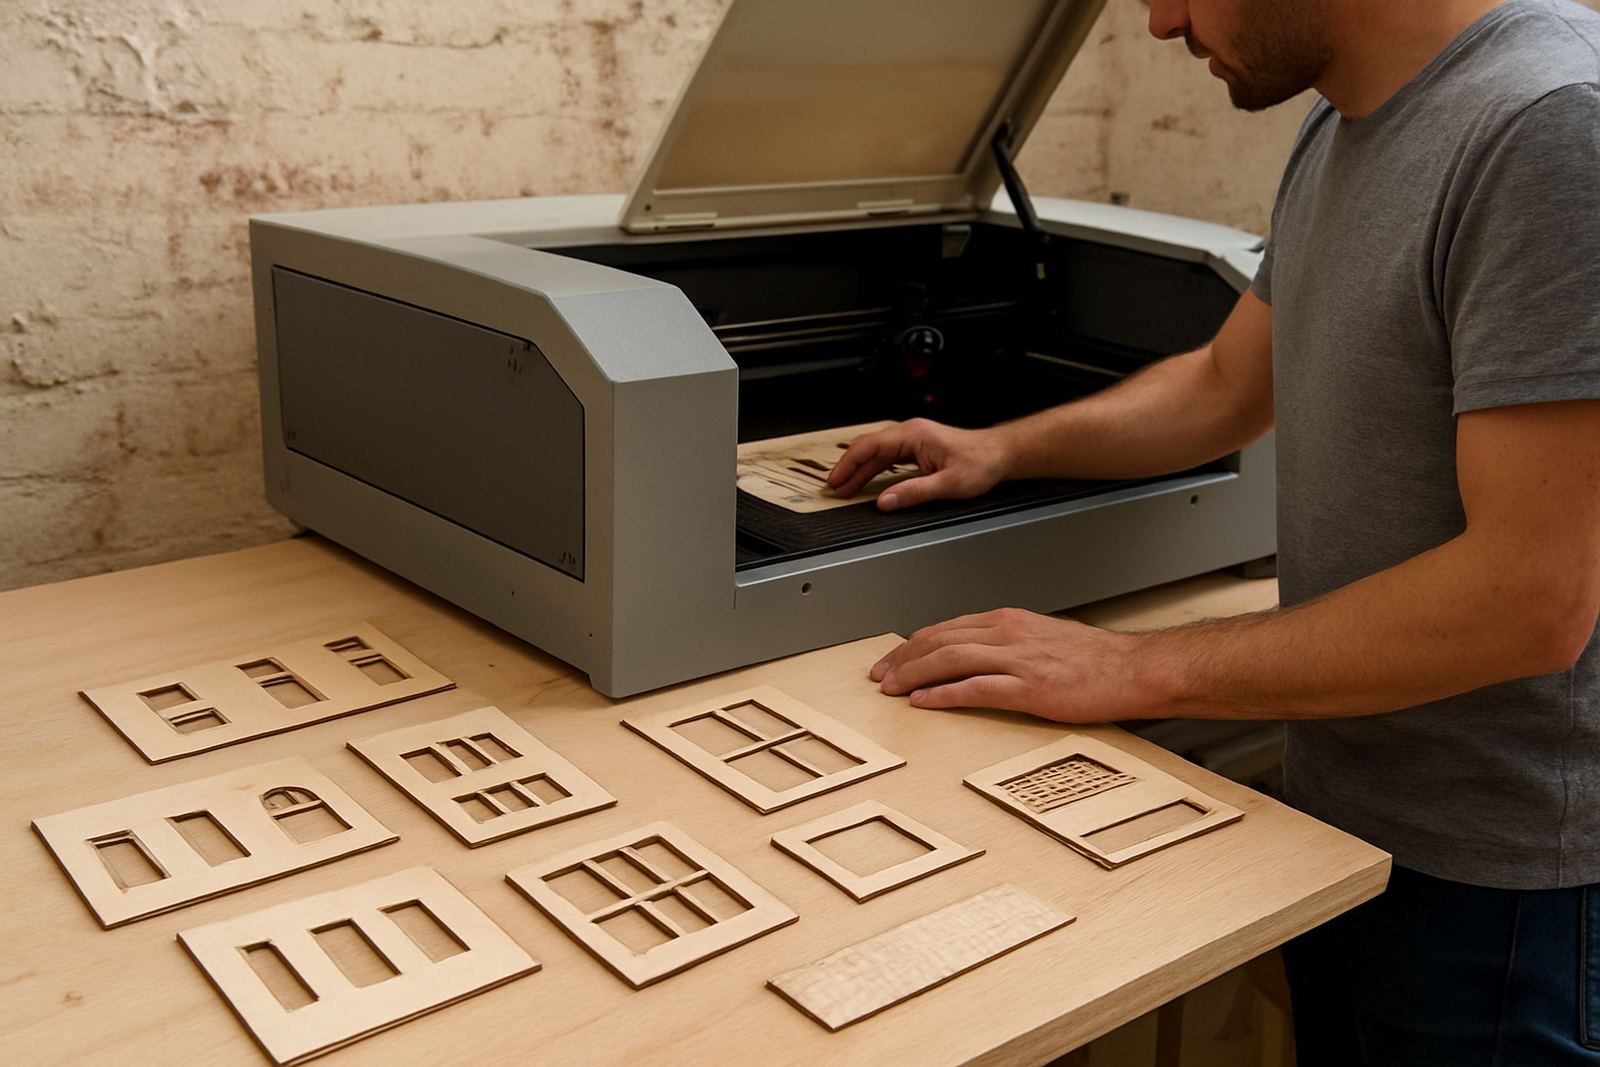
Model making often starts with a good drawing and ends with a lot of hand finishing if the cut is not accurate enough. For building facades, bridge spans, display bases, machine mock ups and exhibition pieces, the work usually involves small repeated parts, fine slots, lettering, and layered assemblies that must line up within a fraction of a millimetre. That is where laser cutting helps, because it gives clean edges and repeatable parts in acrylic, wood and leather without the burn marks or ragged edges that can come from other methods. For clients in Johannesburg, Pretoria, Cape Town and Durban, the biggest advantage is consistency from the first prototype to the final set.
We regularly assist makers who are producing a single concept model, as well as studios and fabrication teams that need batches of parts for client presentations or tender submissions. The practical test is simple: if a part needs to slot, stack, hinge or engrave cleanly, the cutting method must hold its size from sheet to sheet. In many cases the difference between a presentable model and a time consuming rebuild is only 0,2 mm to 0,5 mm on the critical pieces.
Typical Equipment Set For A Small Model Workshop
A model making setup does not need to be large, but it does need to be planned properly. Most workshops start with a CO2 laser cutter suited to sheet material such as 3 mm acrylic, 2 mm plywood, 1,5 mm MDF, veneer backed board and selected leathers. A smaller machine can handle detail work and nested parts, while a larger bed is useful for architectural facades and exhibition panels. For local work in Wynberg and Sandton, many clients also want a ventilation extraction system, cooling support and a clean assembly area where parts can be sorted immediately after cutting.
- Laser cutter with a bed size matched to the common sheet size used in the workshop
- Extraction system for smoke and dust control, especially with wood products
- Water cooling and beam alignment checks to keep cut quality steady
- Simple nesting software or drawing workflow for efficient material use
- Storage for offcuts, small parts trays and labelled assemblies
On coastal projects, humidity can affect wood and board before and after cutting, so storage matters as much as the machine itself. In Gauteng, load shedding planning is equally important, because an interrupted cut can mean waste, misalignment or a part that no longer matches the batch. A small UPS for the computer and a sensible shutdown process can save a lot of trouble.
Layout And Nesting Advice For Model-Making Before The First Cut
Good model work starts with the layout, not the machine. Parts should be grouped by thickness, material type and finish so the operator can cut in the right order and avoid mixing settings. Labels, alignment marks and part numbers save time at the build stage, especially on complex kits with many similar pieces. For architectural models, keep structural parts separate from finish parts. For exhibition builds, separate visible components from hidden support pieces. For engineering models, allow for test coupons so fit can be checked before the final run.
It helps to think in layers. A base layer, frame layer, detail layer and finish layer each may need different settings even when they look similar on the drawing. Small windows, slots and tabs should be checked for kerf allowance before cutting, otherwise the builder ends up trimming every piece by hand. A common rule is to test with a short run on scrap material first, then confirm the fit before the full sheet is released. That approach is especially useful when you are using imported boards or mixed stock with slight thickness variation.
Common Mistakes That Slow Down A Model Build
Most model making delays come from avoidable setup mistakes rather than the laser itself. The first is underestimating how much time is lost when files are not cleaned up before cutting. Open shapes, duplicate lines and tiny gaps can all affect the result. The second is using the wrong material thickness for the joint design. A tab that looks fine on screen may be too loose in 2 mm stock and too tight in 3 mm stock. The third is ignoring smoke marks and edge discolouration, which can be reduced by better settings, cleaner material and proper extraction.
- Do not mix sheets of different thickness in one cut list without checking each batch
- Do not rely on visual fit alone, measure the finished part before final assembly
- Do not place very small lettering too close together or it will fill in during cutting
- Do not skip optics cleaning and beam alignment, cut quality drops fast on fine work
- Do not leave acrylic sheets exposed in a dusty workshop, scratches show up quickly
We also see problems when clients try to use one setting for every material. Acrylic, wood and leather behave very differently, so a single power and speed combination will not suit all three. In practice, a little testing saves material, and it usually saves a deadline too.
Budget Ranges For Model Making Work In Rand
Budget depends on whether you are outsourcing a few parts or setting up a regular in house cutting process. For occasional model making, a small batch of cut parts can be cost effective if the drawings are ready and the material is standard. For ongoing studio work, a proper machine setup may be worth it once the volume of repeat jobs justifies the spend. A small entry setup with a suitable CO2 laser cutter, extraction and basic support can start from around R180 000 to R350 000 depending on size and configuration. Mid-range systems for heavier use and wider sheets may run from about R400 000 to R850 000. Larger production setups can move above R1 million when larger beds, stronger cooling and more advanced handling are included.
Beyond the machine itself, clients should budget for installation, operator training, maintenance and spare parts. A useful rule is to allow for annual service work and a small consumables reserve, especially if the machine will run often or cut a lot of wood. For tight project schedules, remote support and breakdown response can matter as much as the initial purchase. If a model house, exhibition piece or engineering mock up is due for handover, downtime costs more than a service visit.
Support For Makers Working Nationwide
LaserCutter CO2 supports customers from Wynberg, Johannesburg and across South Africa with demo cuts, installation, operator training, preventive maintenance and breakdown response. That matters for model makers because the work is detail heavy and staff turnover can affect output quickly if the machine is not understood properly. Refilwe Mokoena coordinates training so teams know how to load material, check settings, keep the cut area clean and spot early signs of alignment drift. Johan van Wyk handles technical matters, while Tyron Naidoo supports service work when parts need attention or the machine needs a full check.
For model making, the best results come when the workshop treats the cutter as part of the process, not just a machine in the corner. With the right sheet sizes, a tidy layout and regular maintenance, you get better fit, cleaner edges and fewer rebuilds. Whether the job is a one off presentation piece or a steady flow of architectural and engineering parts, practical support makes the work easier to repeat.