When Plywood Needs Clean Edges and Tight Repeatability
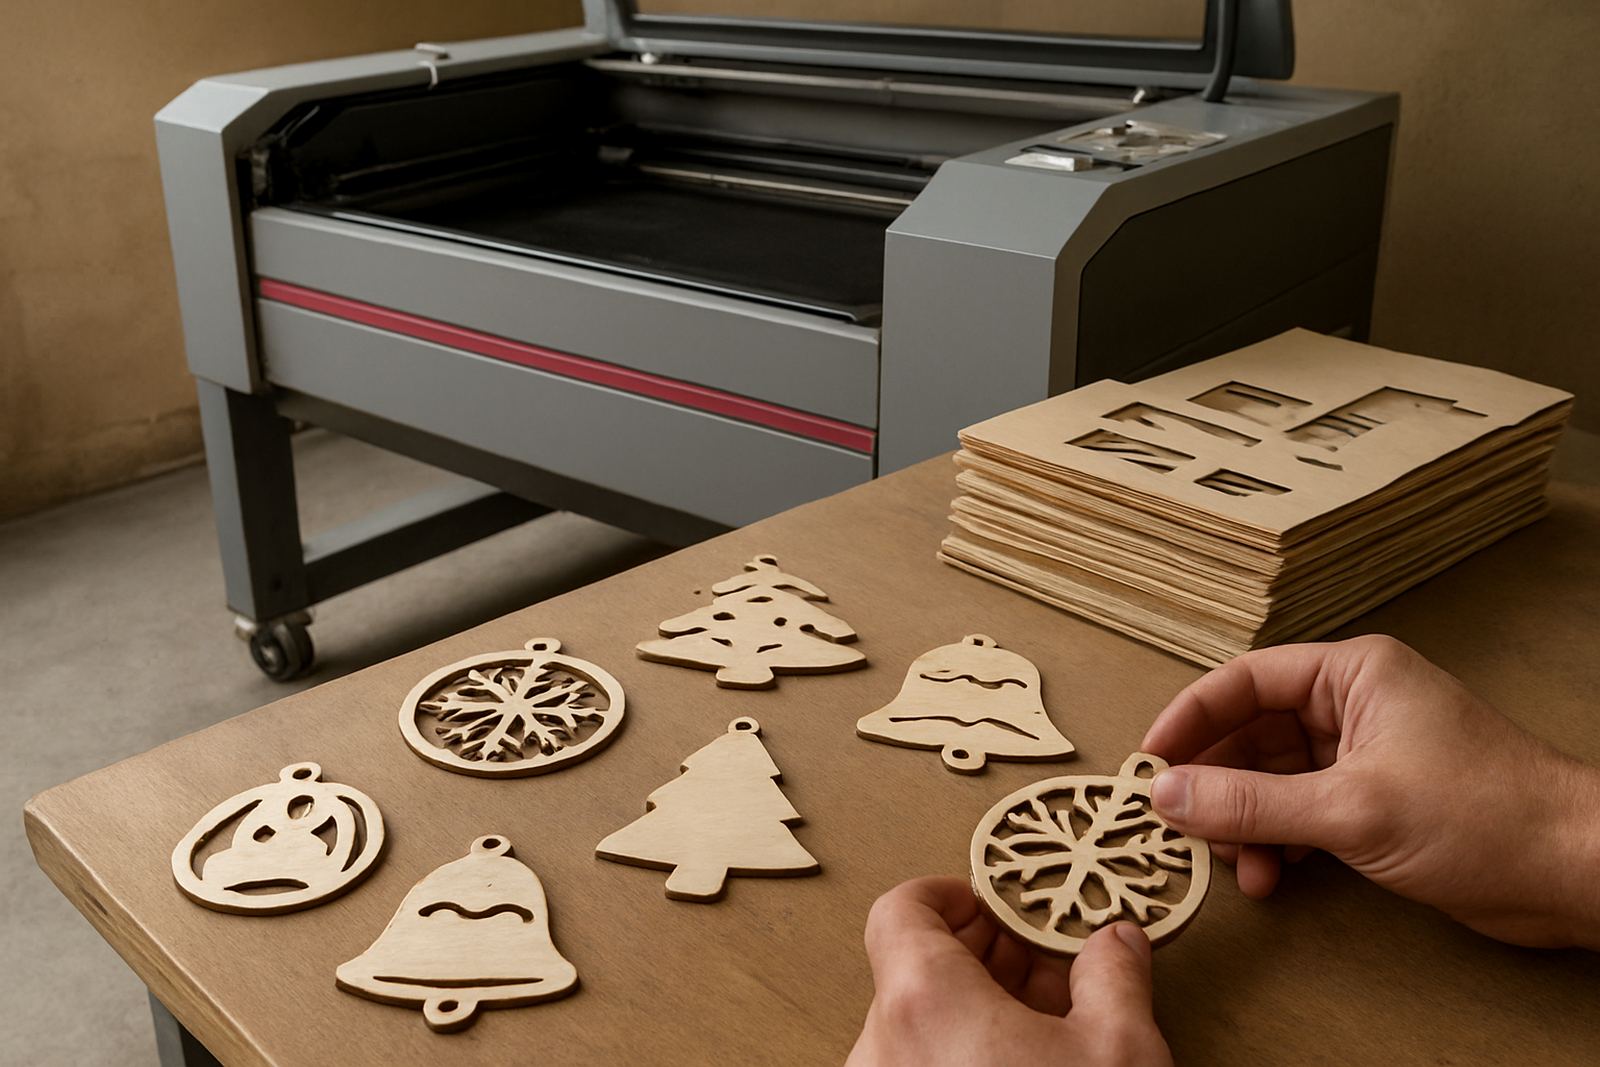
Plywood work often starts with a simple brief: a maker wants a batch of names, a retailer needs display stands, or a model shop needs parts that match each time. Thin sheets are ideal because they cut quickly, hold detail well, and stay light enough for hanging décor, interlocking kits and presentation pieces. In Johannesburg, many businesses use plywood for same week turnarounds, while coastal clients often ask for advice on storage because humidity can bow sheets before they even reach the machine.
Laser cutting suits plywood when you want crisp internal corners, fine lettering and less sanding after cutting. It is especially useful for 2 mm to 6 mm material, though the right power and speed settings matter a lot. If the sheet is uneven or full of glue pockets, you can get charring, smoke marks or slight edge darkening, so the starting material matters just as much as the machine setup.
Typical Setup for Plywood Jobs
A practical plywood workshop usually works with a CO2 laser machine in the 100 W to 180 W range for everyday cutting, and a bed large enough to handle standard sheets or repeated smaller nesting layouts. A clean extraction system is essential because plywood gives off smoke and fine residue. Good airflow helps keep the lens cleaner and reduces scorch marks, especially on longer runs. For many South African sites, a stable power supply and backup planning are also part of the setup because load-shedding can interrupt a cut mid job.
For workshops that produce packaging inserts or repeated parts, the machine is usually paired with a design workflow that supports nesting, numbering and simple repeat orders. If you are cutting a lot of thin plywood, the operator should be able to adjust speed, power and air assist quickly. That flexibility is what keeps edge quality consistent from the first sheet to the fiftieth.
- CO2 laser machine suited to wood based materials
- Extraction and filtration that can keep up with smoke
- Air assist for cleaner edges and reduced charring
- Stable work table and sheet handling area
- Basic finishing space for sanding, assembly and packing
Planning the Workshop Layout Before You Cut Anything
The best plywood setups separate clean material handling from the cutting zone. Store sheets flat, off the floor and away from damp walls, especially in Durban or other humid areas. Leave enough space for loading full sheets, checking cut parts and sorting finished work. If you are doing décor or model work, a small assembly bench nearby saves time and reduces damage when parts are moved around the room.
Think about where the waste drops, where the operator stands, and how the extraction duct will run. Shorter ducting usually performs better, and it is worth planning service access around the machine from day one. In commercial spaces, the landlord or local council may also have requirements around fire safety, extraction outlet positions or noise, so it is smarter to check before the machine arrives rather than after.
- Keep plywood dry and flat to avoid warping
- Allow enough space for loading, sorting and packing
- Plan extraction routes and service access early
- Separate cutting, finishing and storage areas
- Check site rules for fire, ventilation and power
Common Mistakes That Cost Time and Material
One of the most common mistakes is treating all plywood the same. Different glue lines, core quality and surface finishes can change the cut completely. A sheet that looks fine on the outside can still leave heavy burn marks or ragged edges if the core is inconsistent. Another mistake is pushing the machine too fast to save time, which often leads to incomplete cuts and wasted sheets.
Operators also underestimate smoke control. If extraction is weak, resin and dust can build up inside the machine and the lens may need cleaning more often. That affects both cut quality and maintenance cost. A third issue is bad nesting. If the parts are too close, narrow bridges can break during removal and small decorative pieces can be ruined before finishing. It sounds simple, but careful layout saves money very quickly.
Budget Ranges for Small Shops and Production Runs
For a small craft studio or model maker, a starter plywood cutting setup can begin at around R250 000 to R450 000 depending on bed size, power rating and extraction requirements. If you need higher throughput, better motion control and more reliable running for daily production, budget closer to R500 000 to R900 000. Larger systems, stronger extraction and support equipment can push beyond that, especially when you add installation, operator training and site preparation.
Running costs should also be planned. You will have lenses, mirrors, belts, filters, cooling checks and periodic service work. For businesses that cut often, an annual service plan and preventive maintenance make sense because downtime is usually more expensive than routine care. If you are in Pretoria, Midrand, Sandton or the East Rand, it is often easier to set up a service schedule that fits your production days and keeps the machine ready when orders come in.
What Support Looks Like After Installation
Many plywood users need more than a machine drop-off. They need training on settings, material handling and maintenance routines so the first month is not spent guessing. A good support plan covers installation, operator training, beam alignment, cooling checks and extraction service, plus remote support when a job is stuck and the machine is already loaded. For busy shops, that kind of response keeps production moving, and stops small issues turning into full breakdowns.
For sites in Johannesburg and beyond, demo cuts are also useful because plywood quality can vary from one supplier to the next. Seeing the edge finish on your own material helps you choose the right speed, power and air settings before you commit to a larger batch. If the machine is being relocated or moved between branches, proper lifting, levelling and re calibration matter, otherwise cut quality can drift and the operator ends up chasing faults that are really setup problems.