When Veneer Detail Work Needs More Than a Router
Veneer detailing is often chosen when a client wants a refined timber surface without the heavy look of solid wood carving. It suits feature panels, cabinet inlays, signage inserts, display faces, hospitality décor and custom interior work where the grain still needs to show through. In practice, the challenge is not only cutting the shape, but keeping the edge neat enough for glue-up and finishing.
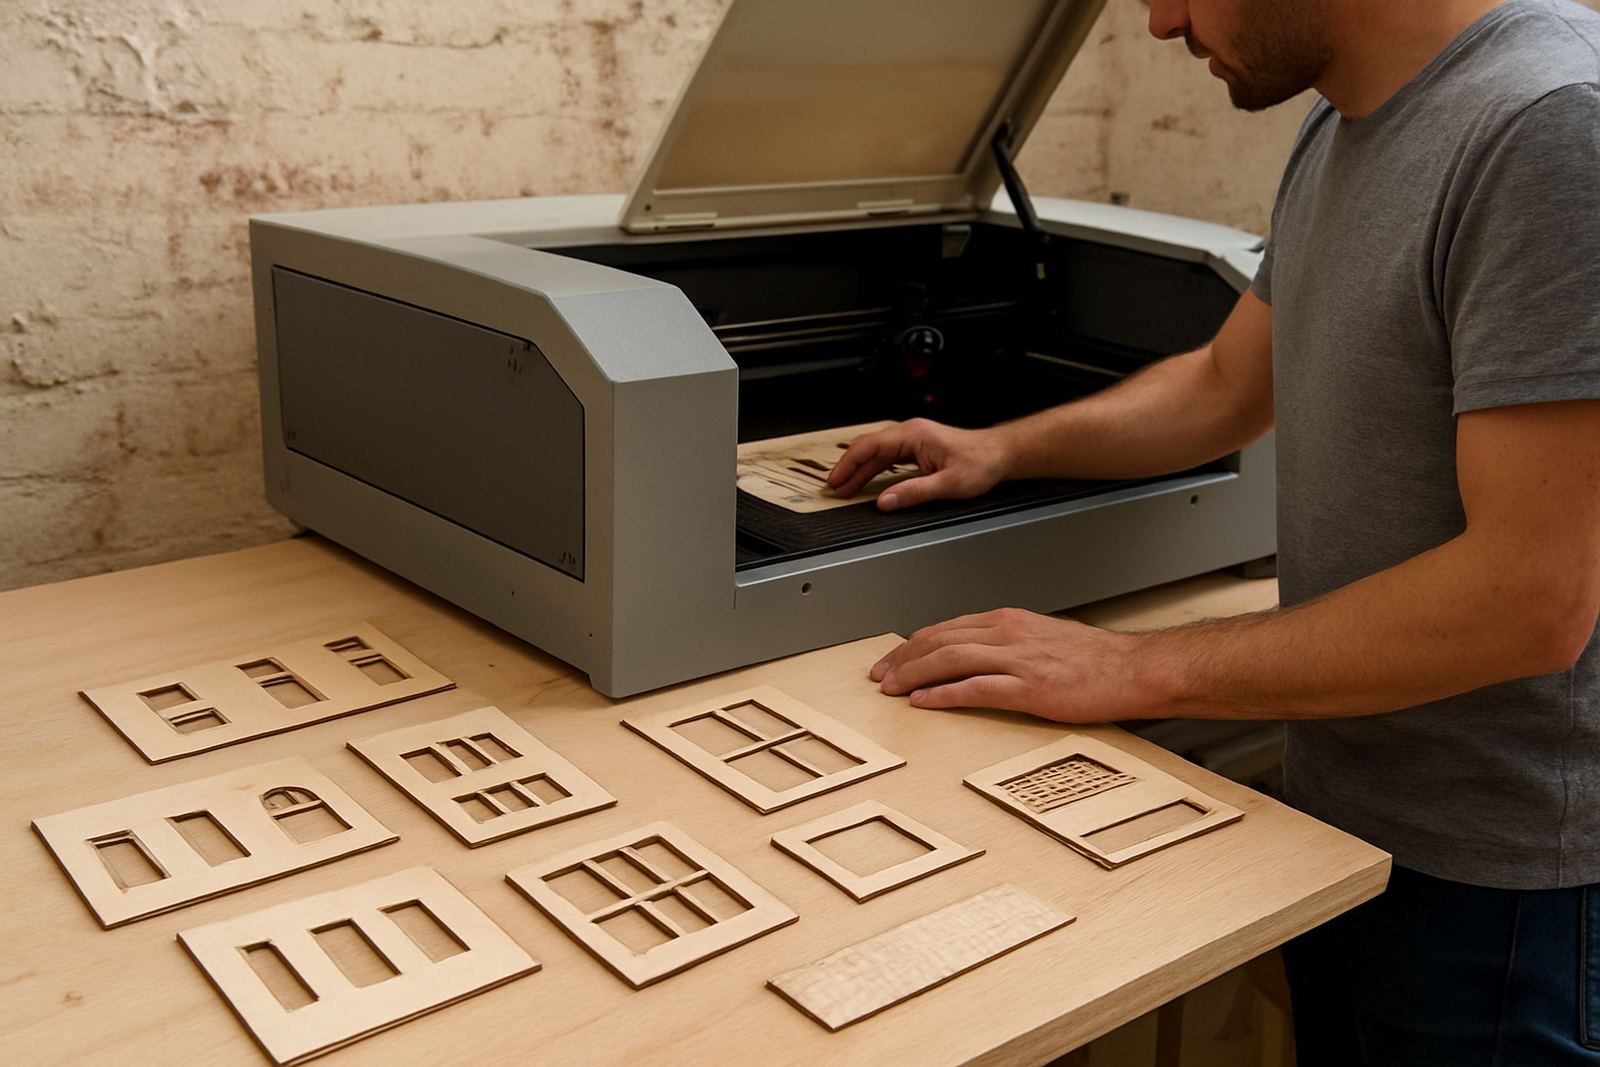
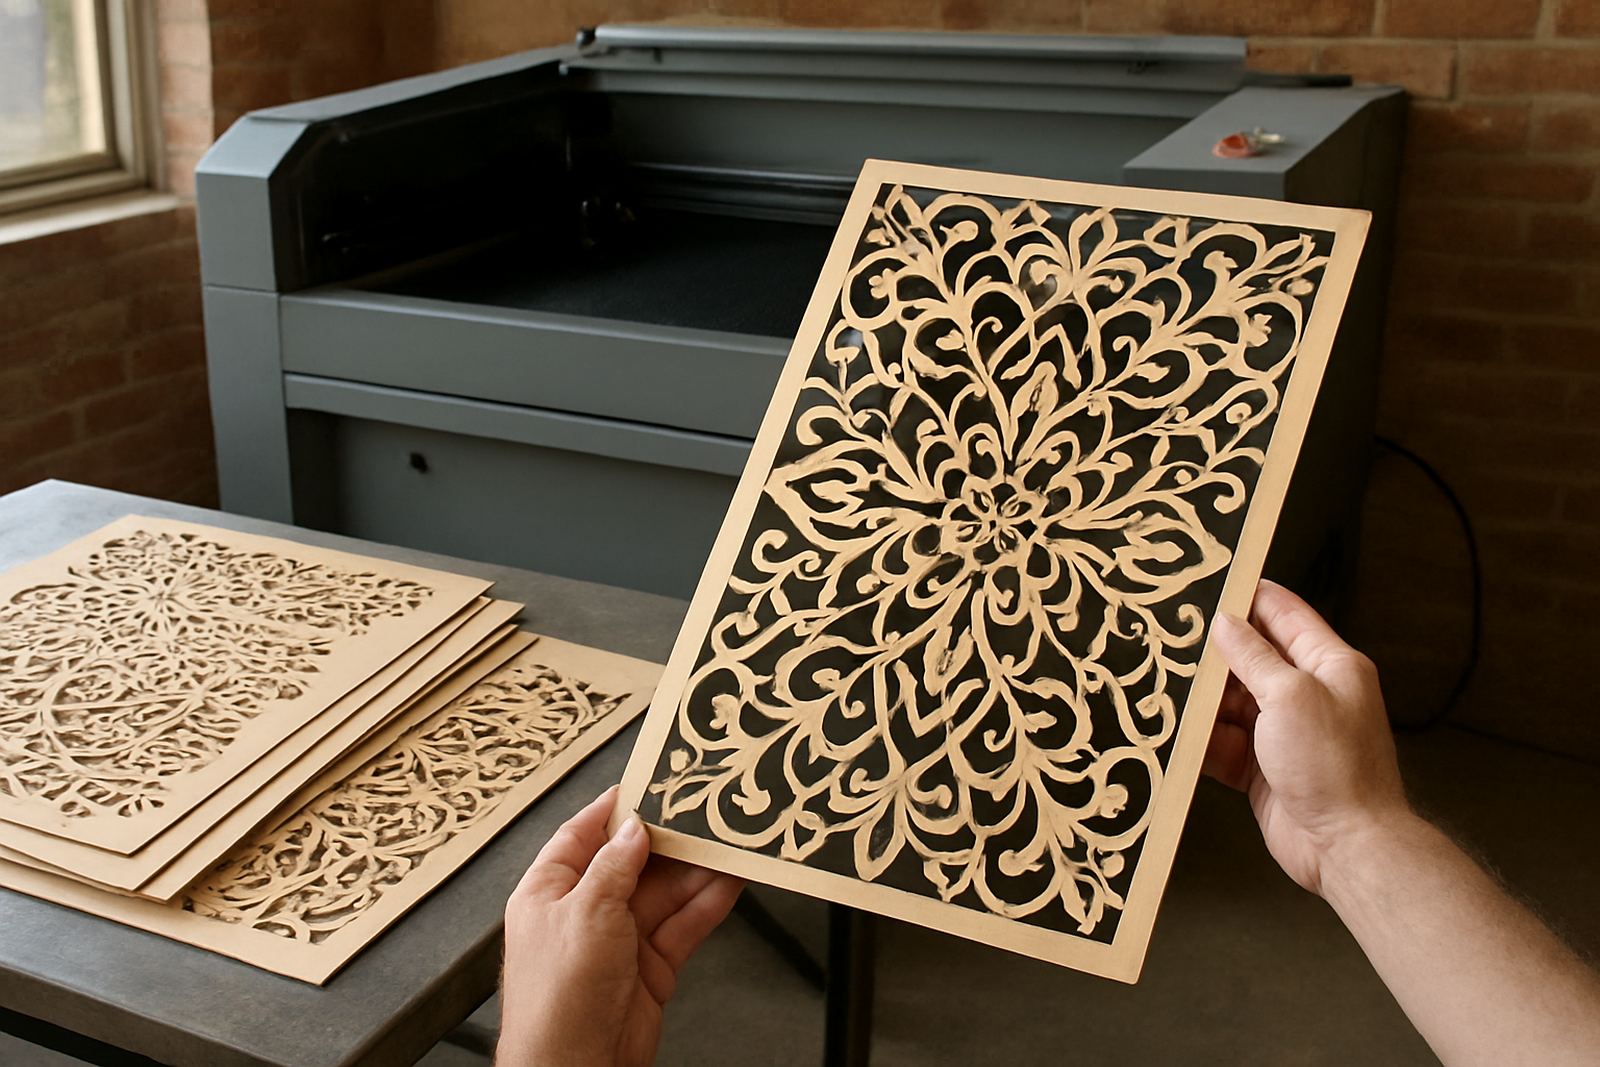
For thin veneer, a CO2 laser can handle intricate forms that are awkward to cut by hand. That includes fine lattice patterns, repeated motifs, number plates, curved leaf shapes and small component parts for layered panels. If the sheet is dry and flat, the cut can be very consistent, and there is less tearing than with blades that drag across the grain.
Our Johannesburg base in Wynberg supports clients who need demo cuts before committing to a setup. For veneer work this matters, because species, thickness, adhesive backing and moisture content can all change the result. A sample run will show whether the edge is crisp enough for your finish schedule, or if the sheet needs masking, lower power or a slower pass.
Typical Equipment Set for Veneer Cutting Jobs
Most veneer detailing operations start with a CO2 laser cutter sized for sheet work, paired with proper extraction and reliable cooling. In South African workshops, that means allowing for load shedding, dust control and a stable floor area. Veneer is thin and can lift or scorch if airflow, focus and support are not set correctly, so the machine layout matters as much as the machine itself.
- CO2 laser cutter with a bed size suited to the sheet format you use most often.
- Fume extraction unit to remove smoke and reduce edge staining.
- Water cooling system to keep performance stable on longer runs.
- Air assist for cleaner edges and reduced burning on fine detail.
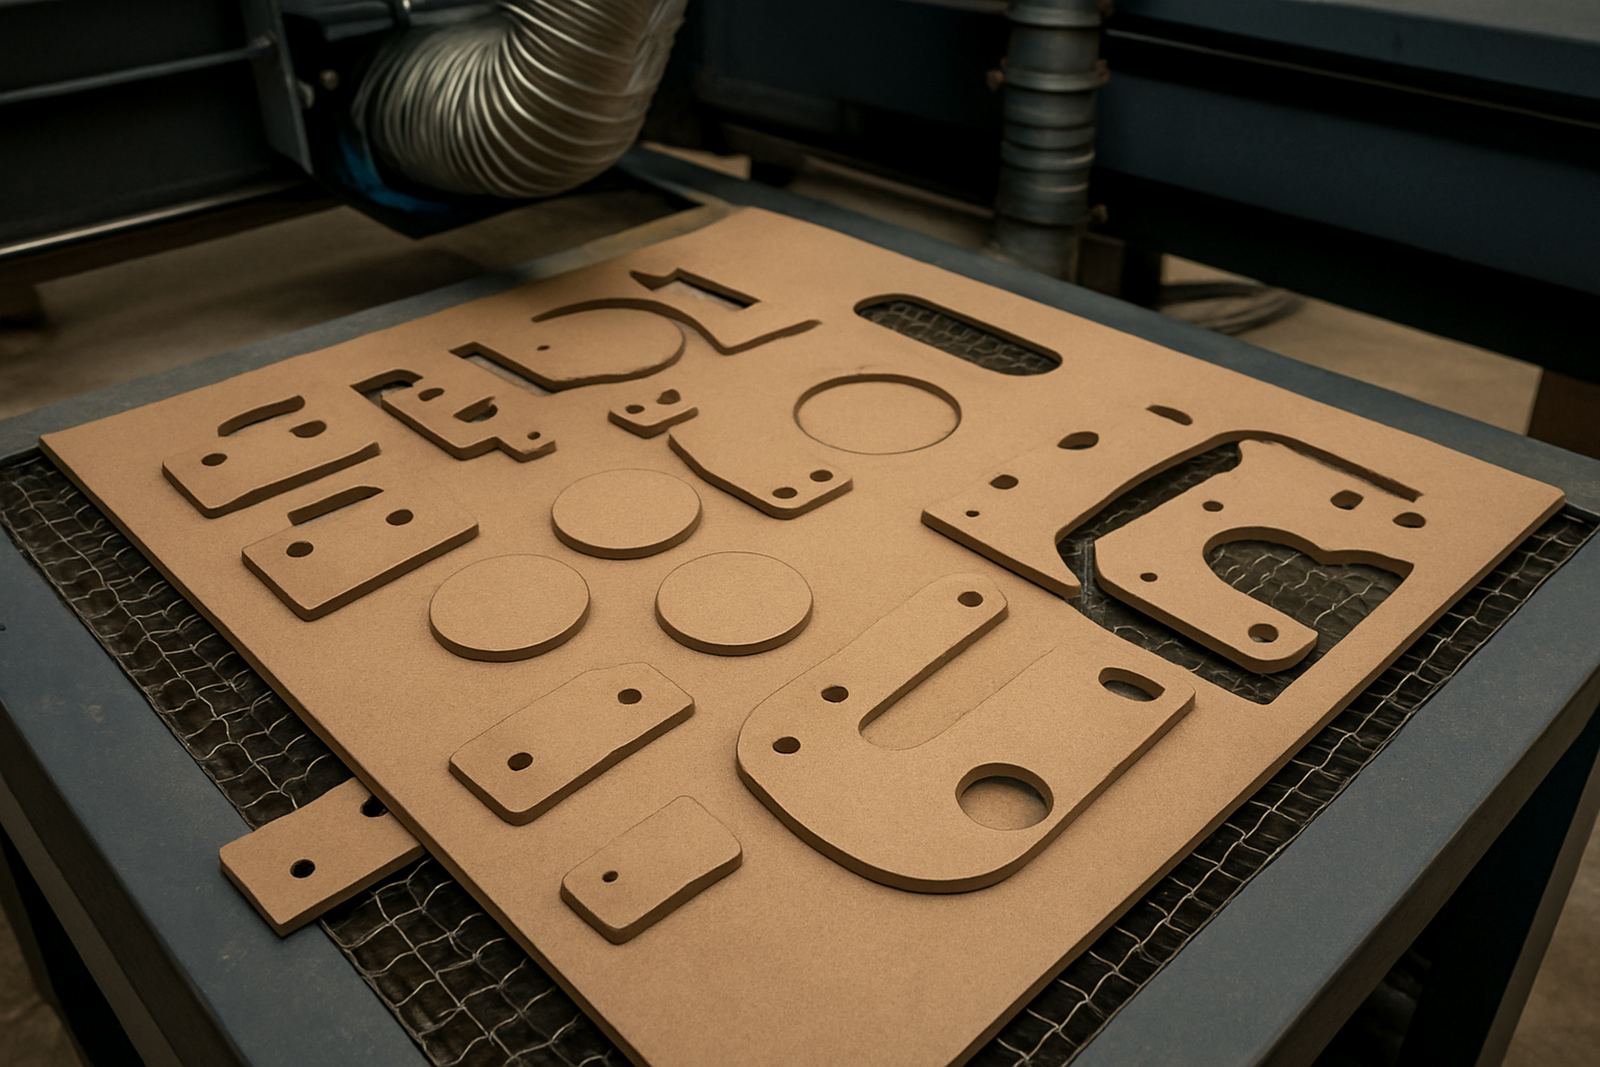
- Honeycomb or slatted support bed to limit back marking on thin sheets.
- Simple jigging or sheet hold-down methods for repeat jobs.
For small production rooms in Wynberg, Sandton or Midrand, the set-up often includes a computer station close to the cutter, but not right in the cutting zone. Keep veneer sheets stacked flat and away from direct sun, because moisture changes can cause curling. In Durban and along the coast, humidity makes this even more important.
Planning the Layout So the Grain Works for You
Good veneer work starts with panel planning. The direction of grain should support the final design, not fight it. For example, a long panel edge may need the grain to run vertically or diagonally, while a decorative centre section can use a mirrored layout to balance the look. When parts are repeated, nest them carefully so you are not wasting expensive material.
It helps to decide early whether the piece will be purely decorative or whether it must be assembled into a functional panel. If the final item will be pressed onto MDF, ply or marine board, leave enough margin for handling and trimming. If you are making inlays, the kerf and fit tolerance must be checked with a small test set first. That saves time and avoids costly remakes.
We often advise clients to separate the job into three stages: design, sample cut, and production. That keeps the pattern clean and makes operator training easier. It also helps with municipal or site rules where dust extraction, fire safety and noise control may be checked on commercial premises.
- Set the final grain direction before drawing the pattern.
- Allow for trimming after pressing or bonding.
- Test the smallest detail first, not the full sheet.
- Keep a record of settings for each veneer species and thickness.
Common Mistakes That Spoil a Clean Veneer Edge
The most common mistake is running too much power on a thin sheet. That can darken the edge, leave soot marks or cause small breaks at tight corners. Another issue is poor material support. If the veneer curls during cutting, the focus shifts and the line loses accuracy. That shows up quickly on fine patterns and repeated components.
Some workshops also forget to control the room. In a hot day near Johannesburg or during a power interruption and restart, the machine may not behave the same way from one batch to the next. A cooling issue, dirty optics or a weak extraction fan can turn a neat sample into a rough edge. Preventive maintenance helps avoid that, and the beam alignment should be checked on a regular schedule.
For bonded veneer, glue residue on the sheet can also burn unevenly. If the material is not clean, the cut edge may look patchy after finishing. A test cut with the actual production stock is far better than guessing from a similar sheet.
Budget Ranges for Veneer Detailing Projects in Rand
Budgets depend on sheet size, pattern complexity and whether you need cutting only or a complete installation workflow. For simple veneer detail samples, the spend can stay modest. For production jobs with repeat nesting, support fixtures and operator training, the cost rises but the waste usually drops, which is better for the job overall.
As a guide, small custom veneer cut runs may start from about R750 to R2 500 for test pieces and short batches. Mid-size decorative panel work can fall between R3 500 and R12 000 depending on quantity and setup time. Larger commercial projects with repeated patterns, installation help and training support can move from R15 000 upward, especially when there are multiple panels or site visits involved.
If a client wants ongoing support, a service plan is often easier to budget for than one-off callouts. That can include optics cleaning, cooling checks, extraction service, beam alignment, remote support and breakdown response. For workshops in Pretoria, Cape Town or Durban, travel and site access can also affect the final amount, so it is worth costing that upfront.
How Our Demo Cuts and Training Help Your Team
Veneer detailing works best when the operator understands both the material and the machine. Our demo room in Wynberg is useful for proving a pattern before a larger run, and our nationwide installs and operator training help teams get repeatable results. Refilwe Mokoena coordinates training, while Johan van Wyk and Tyron Naidoo handle technical support and service follow-up when needed.
Clients often come in with one of three needs: they want to test a new veneer type, improve their edge quality, or train staff to run jobs after hours and through load shedding. We also support relocation help, so if a machine is being moved between sites in Sandton, the East Rand or the West Rand, the changeover can be handled with less downtime.
For business owners, the main benefit is practical control. You can quote veneer jobs with more confidence, plan material use better, and keep the output consistent from one order to the next. That matters when panels are going into shops, offices, homes or hospitality spaces where finish quality is noticed straight away.