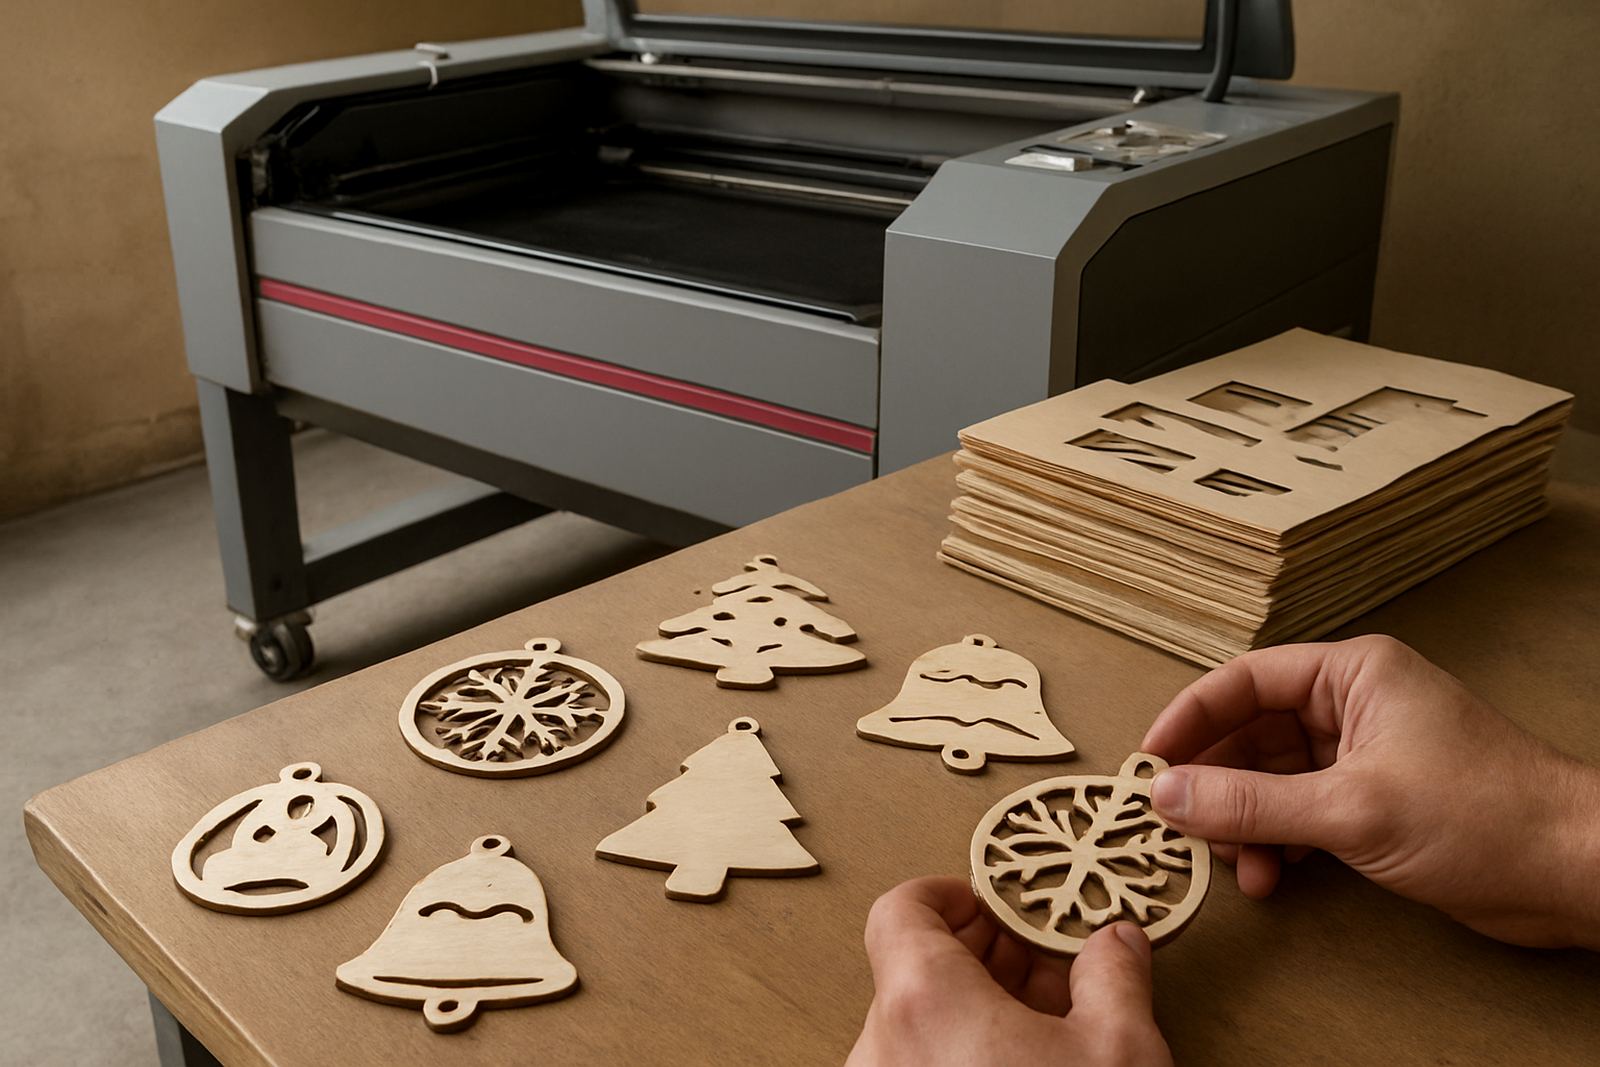
What signage makers ask for day to day
Most signage jobs start with a simple brief: make the letters, the panel layers and the small parts that hold everything together. In Johannesburg, Sandton and Pretoria that usually means reception logos, meeting room signs, directional arrows, floor markers, reception backboards and suspended feature pieces for offices, schools, clinics and retail spaces. The pressure is on neat edges, correct spacing and parts that can be fitted on site without last-minute trimming.
CO2 laser cutting suits these jobs because it handles flat sheet materials well and gives a clean finish on acrylic, wood and leather. For indoor signage, that means less sanding, fewer chips on corners and a better fit when the installer gets to site. It also helps where letters need a slim profile or layered build, especially when the client wants a crisp look under spotlights.
Typical production runs range from a single prototype to several dozen repeated parts. Some clients bring us one sign for a boardroom, others need a full building set with reception, office numbering and wayfinding arrows. The key is consistency, because if one letter is off by 2 mm the whole sign can look out of line.
Typical equipment set for indoor sign work
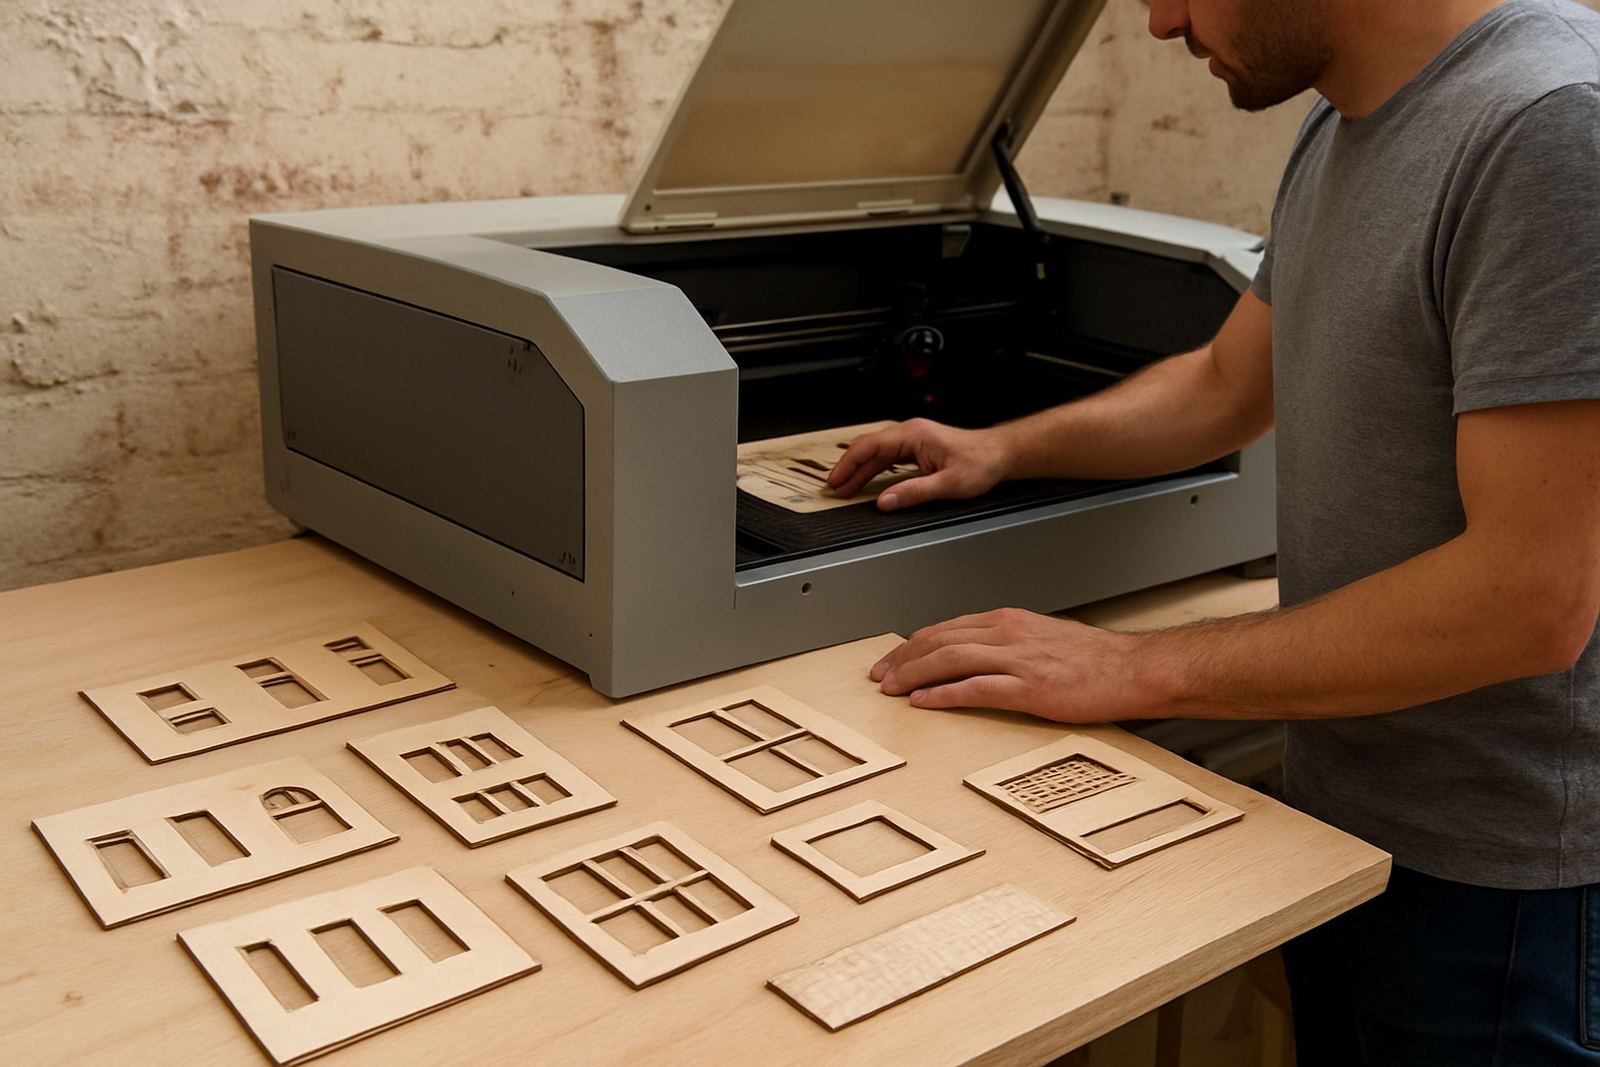
For signage production, the most useful machine set is usually a CO2 laser cutter with a stable bed size, a strong extraction system and enough power to cut acrylic cleanly in one pass. Many shops also use a computer with design software, masking for acrylic sheets, calipers for checks and a well marked storage system for offcuts and repeat jobs. A steady compressor and cooling system matter too, especially in hotter parts of Gauteng where machines can run long shifts.
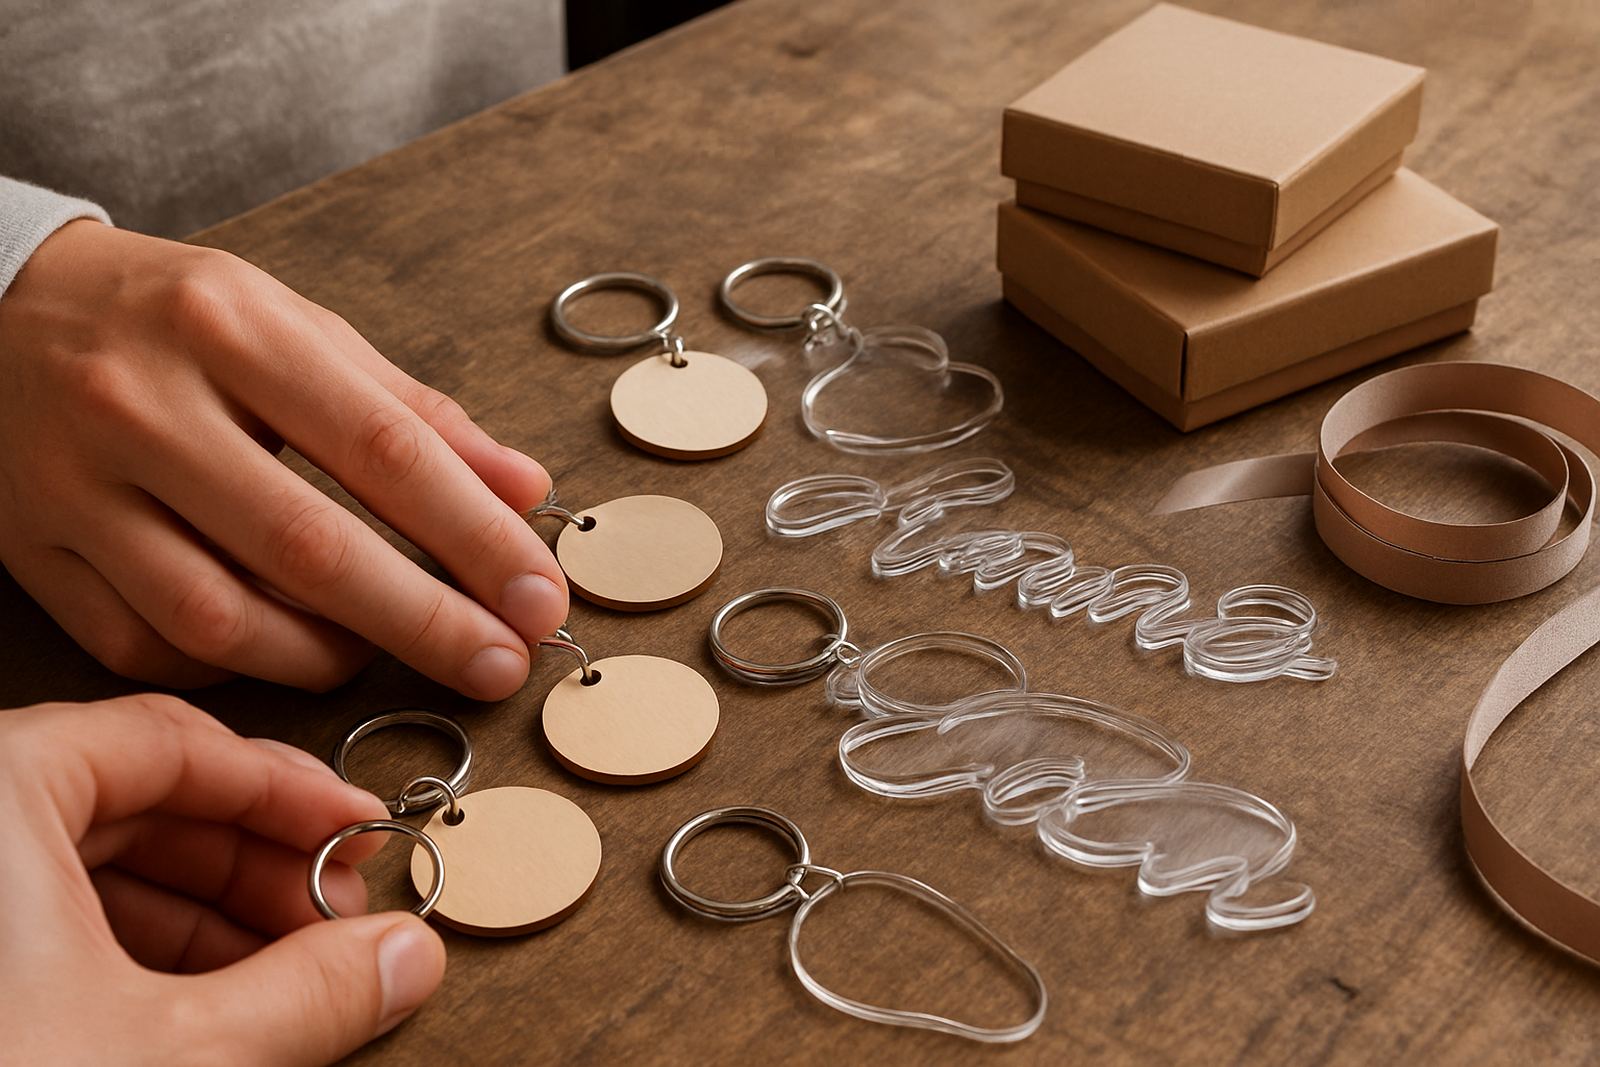
When clients ask for layered signs, the workshop often needs more than one material type on hand. Acrylic is used for letters and face layers, wood for warmer display elements or base boards, and leather for boutique style branding panels or packaging inserts. For indoor use, thicknesses often fall between 3 mm and 10 mm, though larger letters may need thicker stock or a backing board. In coastal areas like Durban and Cape Town, storage conditions matter as well because humidity can affect certain materials if they are left unpacked for too long.
- CO2 laser cutter with clean beam alignment
- Extraction unit for smoke and dust control
- Cooling system sized for longer cut runs
- Computer and layout software for vector files
- Measuring tools for fit checks before dispatch
- Storage racks for sheet material and cut parts
Planning the layout before cutting starts
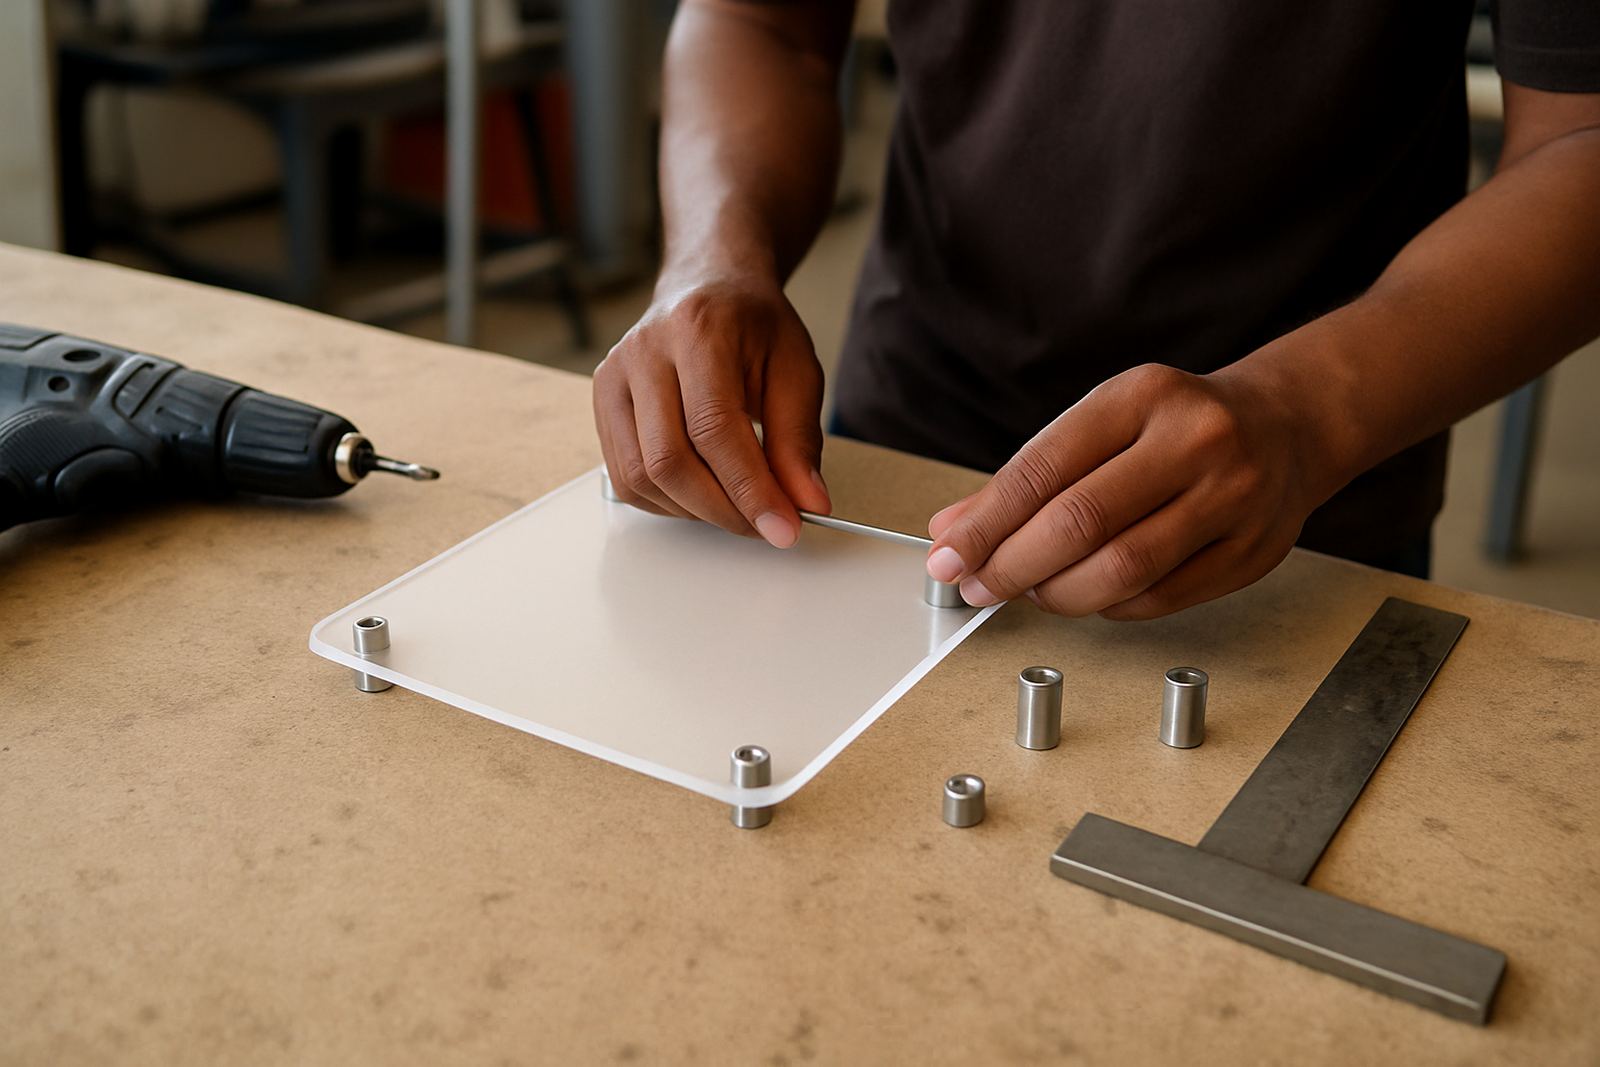
Good signage work starts before the machine runs. The client drawing should show final sizes, letter spacing, fixing points and where the sign will be mounted. If the sign is going above a counter or in a narrow passage, the installer needs to know the wall type, the mounting height and whether the surface is painted drywall, brick or glass. That saves time on site and avoids the common problem of discovering that screws, standoffs or adhesive strips were not factored in.
It helps to plan the job around the actual viewing distance. A reception sign seen from 2 metres needs different letter sizing than a wayfinding sign read from across a corridor. For layered signs, allow room for the backing board, spacers and any shadow gap. If the design has fine internal shapes, check whether those parts are strong enough to survive handling and transport. Some details look good on screen but are too thin once cut, so a small adjustment now can save a re-cut later.
We often suggest a test cut before full production when the job is new or the material is unfamiliar. That is especially useful for frosted acrylic, painted sheet and any layout with tight corners. It is also worth confirming the finish early, because a polished edge and a natural cut edge do not always suit the same application. Small decisions at this stage help keep the install day calm, rather than a rush to make up shortfalls.
Common mistakes that waste time and money
The most common mistake is sending artwork that is not ready for cutting. Pixel images, missing outlines and poorly joined shapes can slow production or create errors when the file is scaled. Another issue is forgetting that what looks centred on screen may not look centred once the sign is fitted to a wall with skirting, a window or a door frame nearby. Site context matters.
Cutting too thin for the intended use is another frequent problem. Indoor signs still need strength, especially in busy spaces such as school passages, clinic waiting areas or retail aisles. A 3 mm part may be enough for a small label, but not for a large letter that will be handled during installation. The same applies to spacing between letters and the depth of layered pieces. If the gap is too tight, dust collects and cleaning becomes awkward.
- Using artwork that is not set up as vector paths
- Choosing material thickness without checking the mount point
- Forgetting fixing holes, spacers or backing layers
- Ignoring transport protection for polished parts
- Leaving installation measurements to the last minute
Another avoidable issue is underestimating repeat work. If a client may need more signs later, it pays to keep the cut file, material notes and finish details together. That way the next batch matches the first one and the supplier is not guessing at dimensions months later.
Budget ranges for signage production in Rand
Budgets for signage production vary with size, material and finish. Small indoor letters or simple directional parts can start from about R450 to R1 200 for a short run, depending on detail and sheet use. Mid-sized reception signs, layered logos and office wayfinding sets often fall between R1 500 and R6 500. Larger feature pieces, multi-layer displays and repeated sets for a whole office floor can run from R7 000 upwards, especially if installation, packing and measured on-site adjustments are included.
For a workshop buying equipment, a sensible entry point is to match the machine to the expected volume. A smaller setup may suit prototype work and lower monthly output, while a production shop in Johannesburg or Midrand may need a faster cutter, better extraction and a stronger cooling system. It is also worth budgeting for training, maintenance and spares. A machine that stops halfway through a run is more expensive than one with a proper service plan from the start.
Clients often ask whether it is cheaper to cut in-house or outsource. The answer depends on how often the work comes in. If signage is only occasional, outsourcing may be simpler. If the work is regular and includes repeated letters, parts and replacement panels, in-house cutting can save time and reduce turnaround pressure. The best choice is the one that keeps the shop profitable and the install dates realistic.
When demo cuts and training help most
Demo cuts are useful when a client is moving from hand-cut or outsourced sign making to a more controlled production method. Seeing acrylic, wood or leather cut in real time helps the team judge edge quality, speed and finish. It also gives the operator a chance to ask practical questions about layout, beam alignment, cooling checks and extraction service before the first paid job goes through the machine.
Our Wynberg base in Johannesburg supports demo cuts, installations and operator training nationwide, including Sandton, Pretoria, Midrand, the East Rand, the West Rand, Durban and Cape Town. For signage teams, that means help with setup, preventative maintenance and breakdown response when a machine is under pressure. It also means the people running the cutter know how to manage file prep, material handling and daily checks, not just the start button.
A well trained operator can keep signage jobs moving through load-shedding, heat and long production days. They will know when to clean optics, check cooling, clear extraction and stop a run before a small issue becomes a wasted sheet. That practical routine is what keeps indoor signage work accurate, repeatable and ready for the installer.